My MQTT network at home moves up and down a lot of messages: sensor values, triggers, notifications, device statuses,… I use Node-RED to forward the important ones to PushOver and some others to a Blynk application. But I also happen to have an LED display at home and that means FUN.
LED displays are cool. Your team’s score, your number in the IRS queue, the estimated arrival time for your next commute,… Now that TVs are replacing LED displays (like the later did with the electromechanical ones) they have acquire an almost vintage-status.
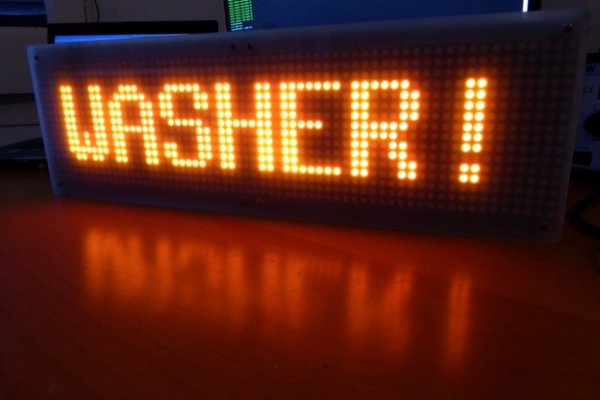
This LED display I own even has a name: The Rentalito. The Rentalito is an old friend, one of those projects you revisit because LED displays are cool… Originally it was an Arduino Uno with an Ethernet Shield in a fancy cardboard case. Then it went WiFi using a WiFly module. And then a SparkCore replaced the Arduino. Now… well, ESP8266 is driving my life.
Let me introduce you the latest iteration of the Rentalito, the MQTT LED matrix display.
The board
Nothing special about the board. A power jack, a regulator, the ESP12 module and the shrouded header for the display flat cable. I brought out VCC, GND, RX and TX to be able to program the ESP8266 the first time, from there on OTA is my preferred way: its a lot faster, specially when uploading the file system. A couple of buttons allow me to reset the controller and pull down GPIO0 to enter flash mode. They are mostly intended for development.
Like in the previous version I’ve added an IR receiver and a DHT22 temperature and humidity sensor. The DHT22 is completely optional, the IR receiver is meant to be able to set the device in sleep mode, so it would only display prioritary messages.
Soldering SMD parts
Most of the parts are SMD. I wanted to gain some practice soldering them and I wanted to keep the board under 50x50mm (cheaper to fab) while soldering parts only on one side of it.
To solder the SMD0805 resistors and capacitors I first added a small blob of solder to one of the pads, then placed the part in place and applied a fin iron tip for a very short time (a lot less than a second) while pressing with the tweezers to place it flat, then heat the other end and apply a small drop of tin. It’s very doable for 0805 parts. And quite fast. I’m really happy with the result although it’s obvious that it’s been hand soldered. Only the electrolythic capacitors gave me some problems. For the bigger one (the one close to the regulator) the pad was completely hidden under the part. Next time I will give my heat gun a try.
Read more: 64×16 MQTT LED Matrix Display