
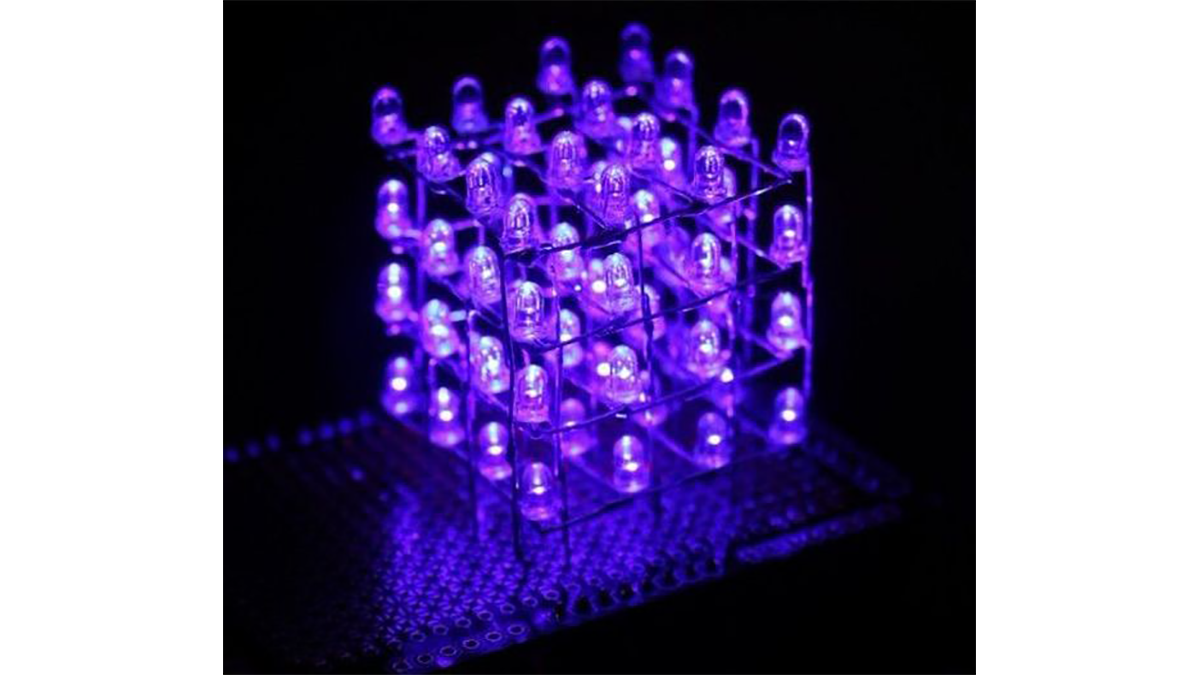
Summary of 4x4x4 LED-cube based Arduino and Flower protoboard
This article guides users in building a 4x4x4 LED cube using an Arduino MEGA2560 and the ElecFreaks Flower ProtoBoard. It highlights the board's suitability for SMD components and point-to-point wiring. The guide details necessary tools, specific electronic parts, and software requirements, including code configuration for pin initialization. It also provides instructions on preparing custom LED holders by drilling holes in plastic bottles to match the protoboard's grid spacing.
Parts used in the 4x4x4 LED Cube:
- 64 pcs led's
- 16 pcs 1k resistors(0603)
- Freaduino MEGA2560 or Arduino MEGA2560
- ElecFreaks Flower V2.2 protoboard
Because of I often use protoboards to test out if a new idea works in practice. I do not use breadboards anymore because I pretty much use only smd parts and I hate the connection problems and high parasitics that breadboards have.
So the Flower ProtoBoard was born. You can solder SMT component. Include 0402, 0603, 0805ï¼SOT-23 and so on. Especially the issue with the longer solder “wires”.
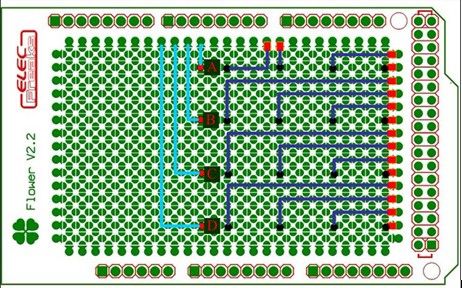
At this LED Cube project you will see the ProtoBard point-to-point wiring is very clear.
The Flower ProtoBoard from ElecFreaks is receiving request sample on December 2011.
Encourage guys who are experienced engineer or with extensive soldering experience, and willing to write a test comment for us. Welcome to request for free product samples. Please send you request to : [email protected]
Request Sample Format:
—· Willing to write a test report or comment for flower ProtoBoard. You can post on yourself Blog or electronics enthusiast Form, please send the post link to us. Of course you also could feedback your report to us or within the post. Any suggestion to improve the Flower ProtoBoard Series is Welcome.
—· Contact person and phone number
—· Shipping address
More infor here:
More idea for Flower ProtoBoard ?? http://www.elecfreaks.com/2423.html
Flower ProtoBoard Evolutionary History http://www.elecfreaks.com/2362.html
ProtoBoard Revolution – Flower ProtoBoard http://www.elecfreaks.com/2303.html
Step 1: you will need:
TOOLS
*soldering iron
*pliers
*small screwdriver
*tweezer
*solder
*Empty plastic bottles or anything you can drill some holes and fix led
*pencil
*ruler
*computer with Arduino software
*USB-cable
*snips
PARTS
*64 pcs led’s
*16 pcs 1k resistors(0603) that go with the LED’s
*Freaduino MEGA2560 or Arduino MEGA2560
*ElecFreaks Flower V2.2 protoboard
SOFTWARE
*DEMO 1 ï¼ FV8XM2MGGPEXFII.zip ï¼The video displayï¼
*DEMO 2 ï¼ FWSTA8ZGSUT1S5W.zip
Note: the demo code LEDPin and LayerPin need change your Arduino IO. Here we define as below:
// Initalize our LED columns (positive)
int LEDPin[] = {6,5,24,26,28,30,32,34,36,38,40,42,44,46,48,50};
// Initalize the LED layers (ground)
int LayerPin[] = {10,11,12,13};
Step 2: Drill the fixed holes
Draw on the bottle a grid with the lines 10.16 mm apart. (Because you will fix the led onto protoboard at the end, so you must fit for the protoboard holes distance.
Our Flower protoboard hole distance is 2.54mm, 4×2.54mm=10.16mm ) Draw 4 lines horizontally and 4 lines vertically. Then use tweezer or other sharp tools drill holes.
*64 pcs led’s
*16 pcs 1k resistors(0603) that go with the LED’s
*Freaduino MEGA2560 or Arduino MEGA2560
*ElecFreaks Flower V2.2 protoboard
For more detail: 4x4x4 LED-cube based Arduino and Flower protoboard
- Why is the Flower ProtoBoard chosen over a standard breadboard?
The author prefers it because they use SMD parts and hate the connection problems and high parasitics found in breadboards. - What types of SMT components can be soldered on the Flower ProtoBoard?
You can solder 0402, 0603, 0805, SOT-23, and similar small components. - How do you determine the hole spacing for the LED holder bottle?
Draw lines 10.16 mm apart because the protoboard hole distance is 2.54mm multiplied by 4. - Which Arduino boards are compatible with this project?
The project uses either a Freaduino MEGA2560 or an Arduino MEGA2560. - What software files are required to run the demo?
You need DEMO 1 (FV8XM2MGGPEXFII.zip) for video display and DEMO 2 (FWSTA8ZGSUT1S5W.zip). - Do the default code pins work without modification?
No, the demo code LEDPin and LayerPin definitions must be changed to match your specific Arduino IO setup. - What tools are needed to drill the fixed holes in the bottle?
You should use tweezers or other sharp tools to drill the holes after drawing the grid.
