I have always been impressed by high-speed photography. The photographic capture of what normally goes unseen, or at least unnoticed, is intriguing and oftentimes beautiful. High-speed cameras, however, are expensive and beyond the reach of many of us.

You can, however, get close to high-speed photography using a simple and inexpensive technique. In this project, we will build two simple and inexpensive circuits that, along with your DSLR camera, a slave flash, and an Arduino Uno, can reproduce some of the characteristics of high-speed photography to capture unusual moments in time.
Requirements:
- Digital camera with manual focus and ability to set long exposure times
- External (slave) flash unit (see text)
- Hot shoe with external terminal capability and a cable (see text)
- Arduino Uno
- One or both of the circuits presented here (see Bill of Materials for each below)
Basic Technique
The “secret” to this technique is simple. First, manually focus your camera. Then, set your camera exposure to a relatively long value, say 4-6 seconds, and in complete or nearly complete darkness, take a picture. Ordinarily, these conditions will produce a totally black picture. During the long exposure period, however, the flash will fire and provide the only illumination during the exposure. A brief moment captured by the flash.
The key is to control the firing of the flash. In this project, we will use an Arduino Uno to fire an external flash when a specific external event is sensed. Almost any external sensor can be used as the trigger event for the flash. Here, we will use two sensors, a force-sensing resistor and a sound sensor, to detect the external event of interest.
Camera
The camera that I used for this project is a Canon EOS 400D (Digital Rebel XTi). This is a relatively low-end (and, now, relatively old) digital SLR (single lens reflex) camera. Any camera with a manual focus and the ability to set long exposures should work. As with any close-up photography, you need a lens that can focus at the desired distance.
Flash Unit
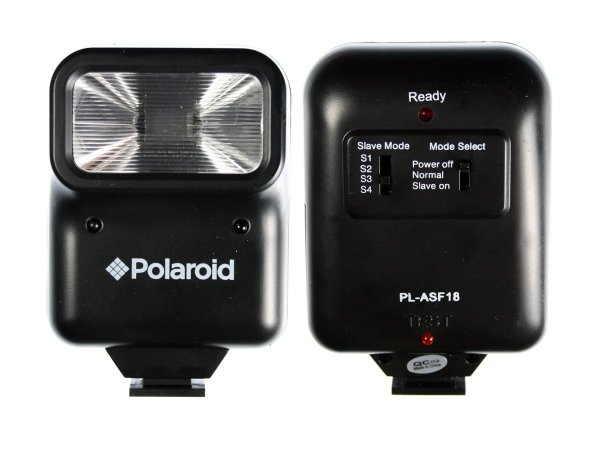
We want the Arduino to trigger the flash, so we need an external flash unit. I used a Polaroid PL-ASF18 slave flash unit, pictured above. This is one of the lowest-priced slave flash units around and it works quite well. One particular advantage is that it can be triggered with a relatively low voltage (<6 V). (Other triggering standards use higher voltages.) For the circuit that follows, it is critical that you use an external flash that accepts a low-voltage flash trigger.
The PL-ASF18 is quite strong for close-up work, yet it operates from two 1.5 V AA batteries. You will likely need to bounce the flash to the target rather than aim it directly at the target. For the shots in this article, I did not point the flash unit directly at the target; rather, the flash was pointed directly away from the target, and the light reached the target by reflecting off a piece of black cardboard. Additionally, I used a light diffuser (a white nylon sheet tent) for some shots. If you have a unit with variable flash power that can be configured externally (the PL-ASF18 does not have that capability), you may be able to accomplish the same effect by reducing the power.
Hot Shoe
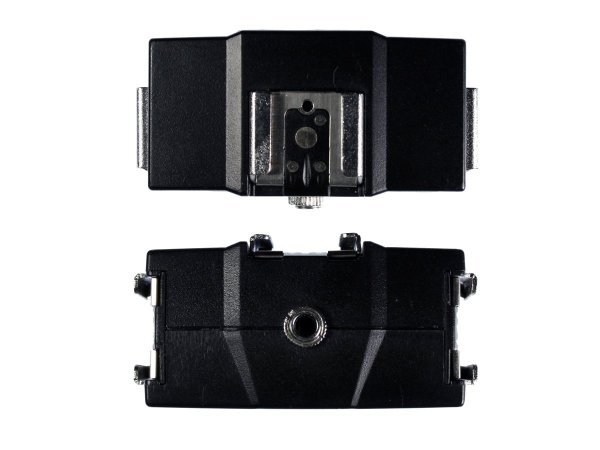
The external flash unit connects to a hot shoe, which is a somewhat standardized “socket” for a flash unit. I used the one pictured above (available here), which contains multiple shoes. More importantly, this hot shoe has a convenient 3.5 mm socket where you usually see the common PC Sync connector. That connector externalizes the center contact and the shoe mount—when shorted, the connection will operate the flash. Most any hot shoe with the “standard” PC Sync connector (example here) will do the same. The advantage of this hot shoe, however, is that the 3.5 mm socket is very common, as is the mating jack.
Regardless of which type of connector you use, you will also need to make a cable with the two leads from the hot shoe for attaching to our circuit. You will need to identify the positive and negative leads using a voltmeter for correct connection. You will also need to measure the voltage between these contacts to make sure that the voltage used to operate the flash is within the limits of our circuit (see further explanation below). The hot shoe, with the flash unit attached, can be mounted on a mini-tripod to facilitate positioning.
Read More: Flash Freeze Photography with an Arduino