The idea is to test the Arduino MKR1000, controlling the on board LED from your smart phone (this case iPhone SE. Hacksterlive Bogota.
Things used in this project
Hardware components |
||||||
 |
|
× | 1 | |||
 |
|
× | 1 | |||
Software apps and online services |
||||||
.png?auto=compress%2Cformat&w=48&h=48&fit=fill&bg=ffffff) |
|
|||||
 |
|
|||||
Story
The idea is to test the power and the possibilities with the Arduino MKR1000 and also the tool “Evothing Studio” in order to make a quick app for a smart phone, in this case iPhone SE. It began during the events in Bogota with the HacksterLive team.
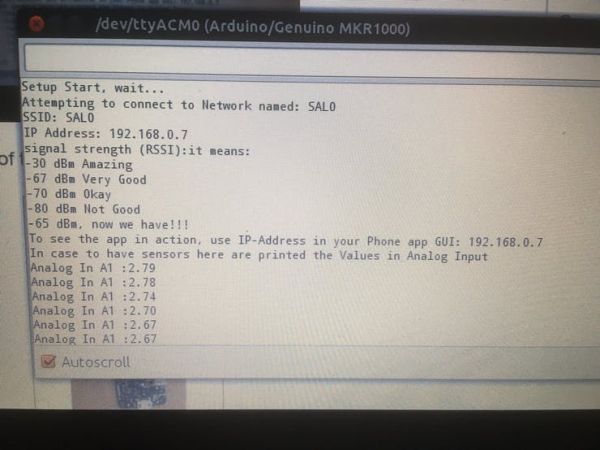
Using the Serial Monitor in Arduino IDE, it monitors the set up and status.
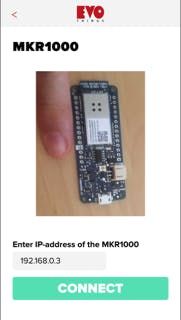
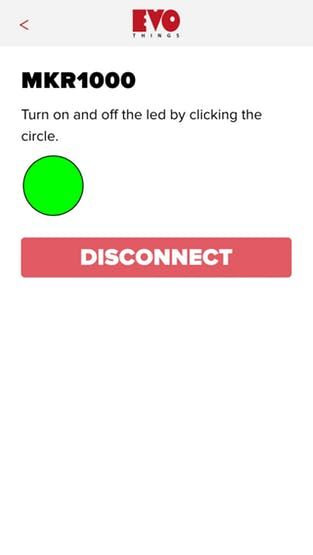
Here some screen shoots of the app:
Schematics
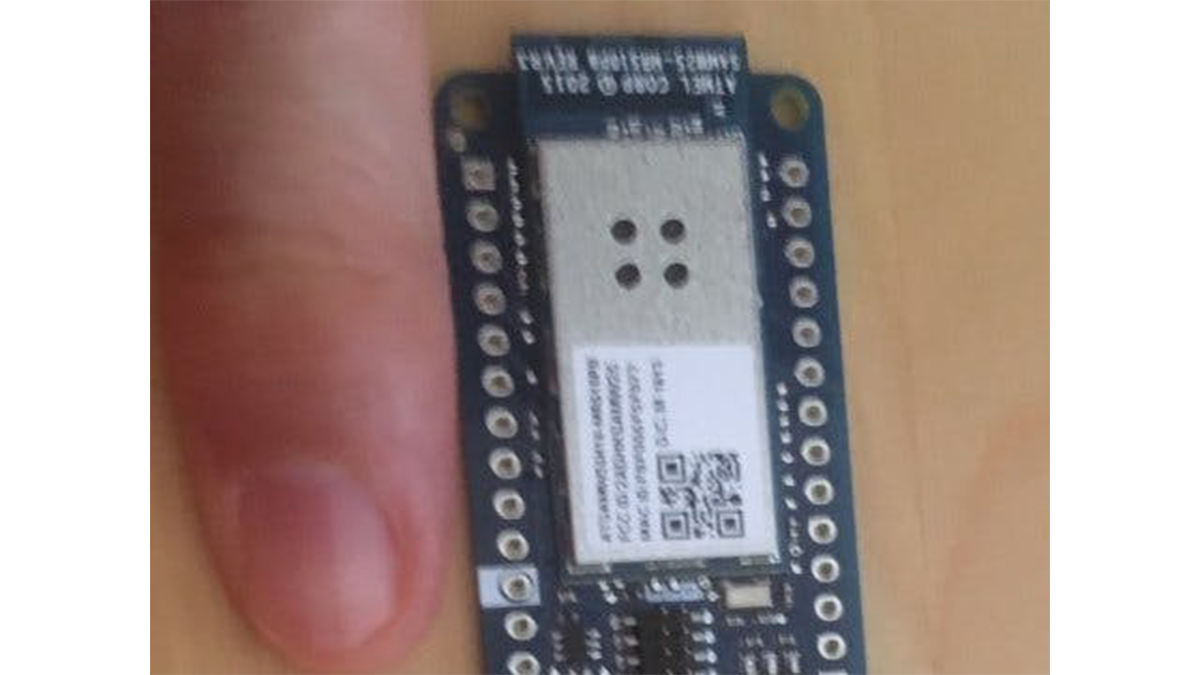
Arduino MKR1000 and Pin 6
The Arduino MKR1000 has a test LED on pin 6, it was used for this work
Code
Source : With your Smart Phone and Arduino MKR1000 Blink a LED