WIP- Using a MKR1000 to create a WiFi Enabled 2/4 Wheeled Robot Platform, Hardware is in hand, now to implement software
Things used in this project
Story
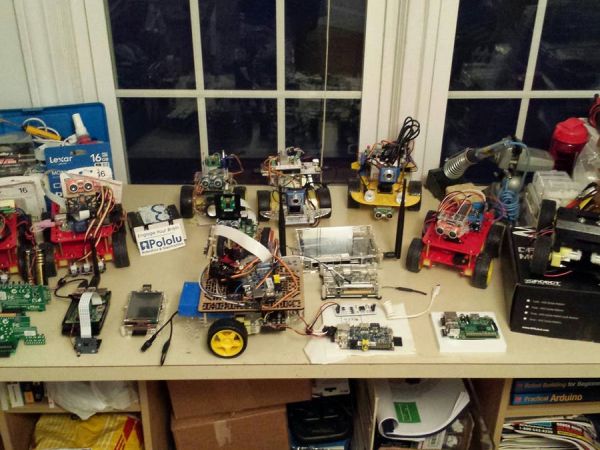
This is my 1st published hackster build. I have been interested in Wifi enabled Robot platforms since hearing about the raspberry pi for $25….. Now I have many Robotic Platforms built around the Raspberry Pi, Arduino, PcDuino and many clones of each of them. I have not mastered coding but have learned how to adapt code that others have published and have felt that not one available Robot Platform can interface with anything, any device. Not that this will, but it is helping me to get there in development.
Here is a link to some of my efforts: PiBot Tour.
1. Gather tools-layout organized
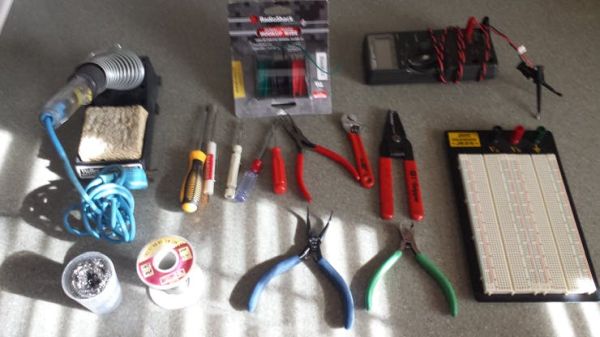
2. Identify / layout hardware
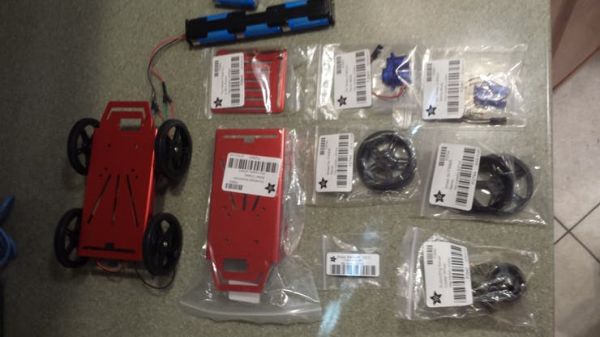
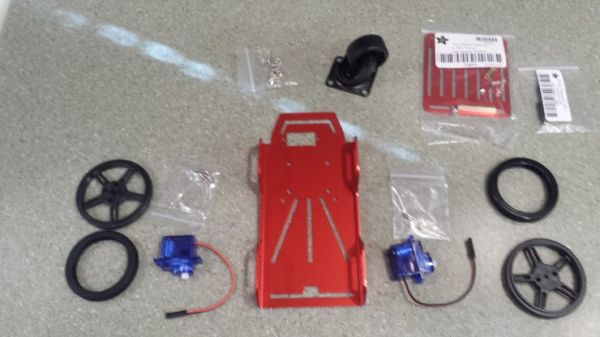
2b.Assemble mini rover platform: (IF 4wheeled version substitute 2 additional dc motors for caster/pivot wheel) also install L298N DC Motor driver.
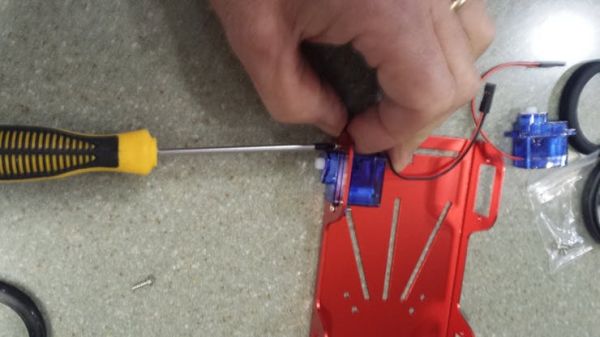
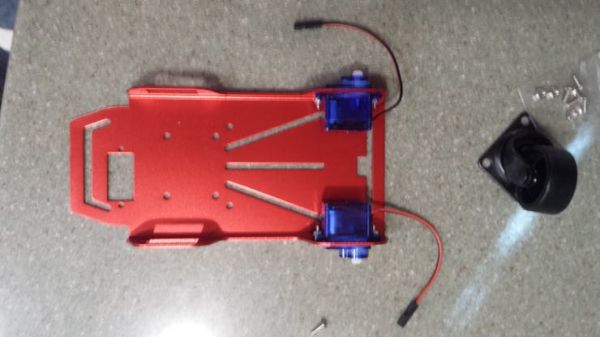
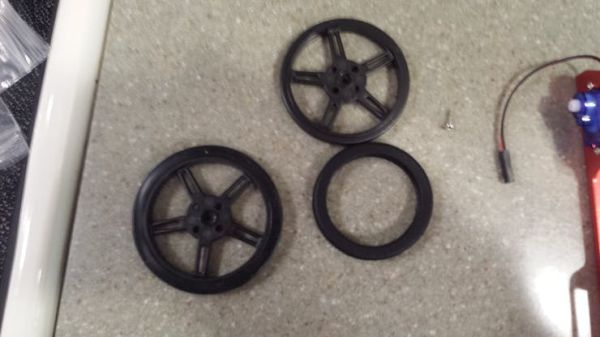
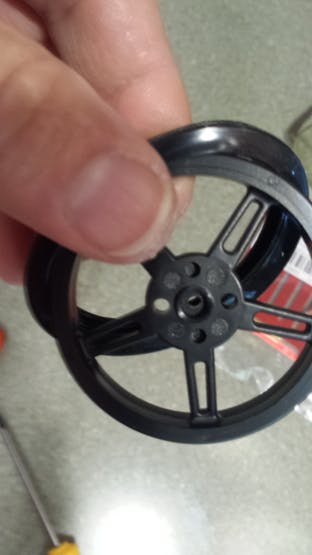
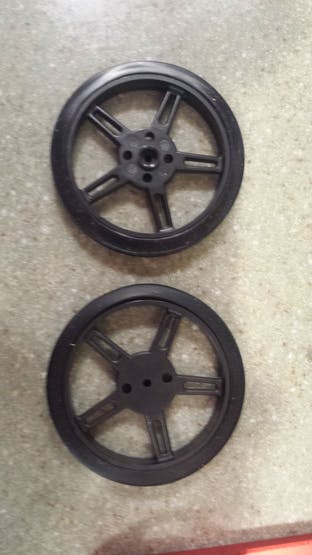
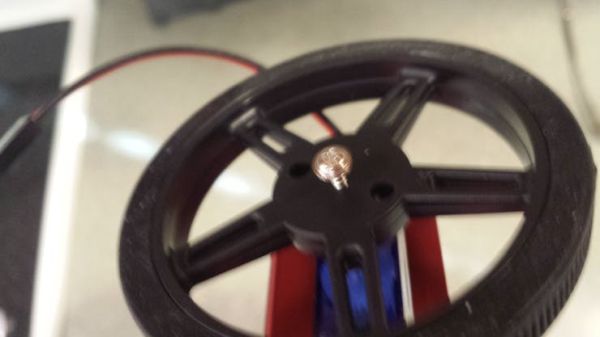
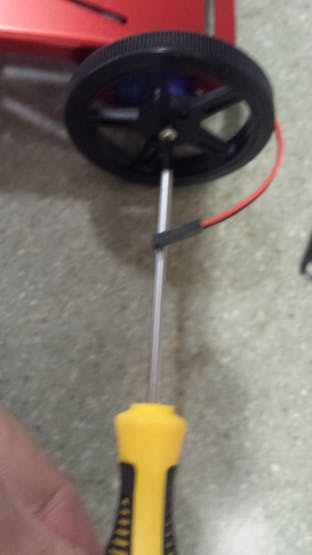
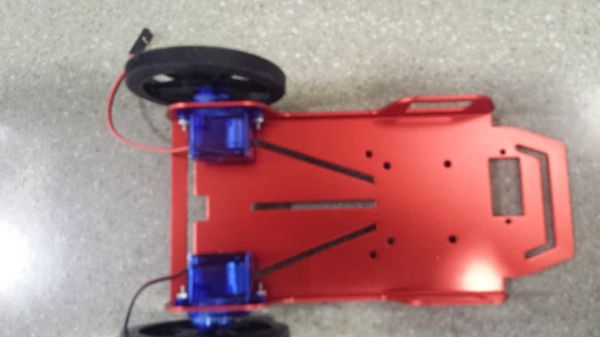
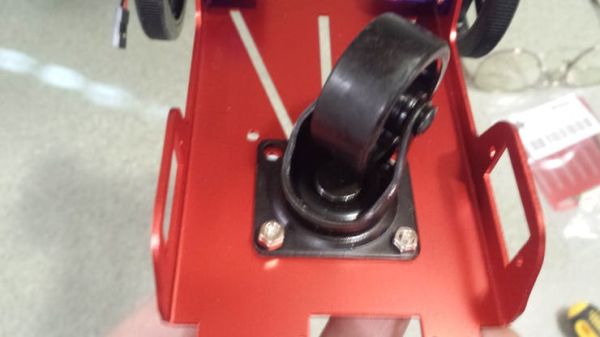
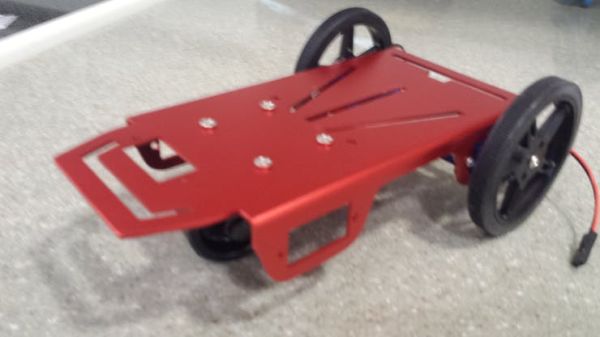
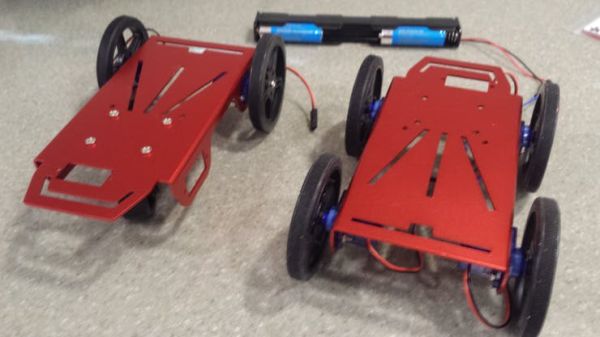
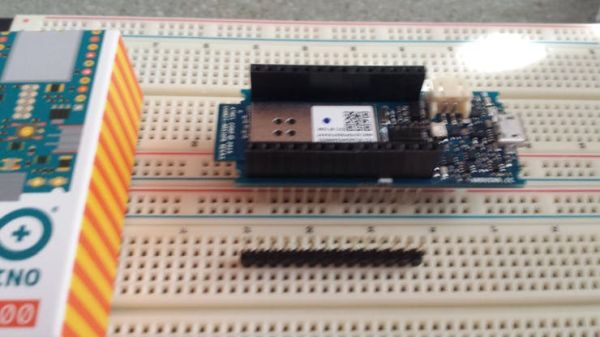
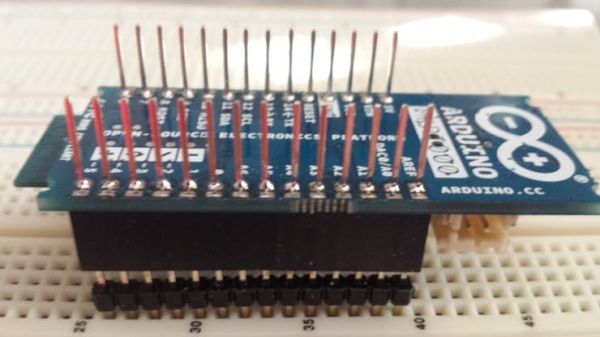
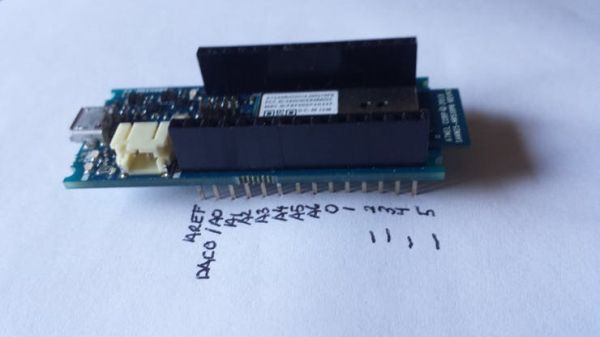
5. Install MKR1000 onto Arduino Stacking pins with component side DOWN.
 MKR1000 with long Arduino Stacking pins already soldered
6. Before soldering header pins onto MKR1000 ensure that they are straight up.
7. Solder Arduino Stacking header pins to bottom side pads on MKR1000.
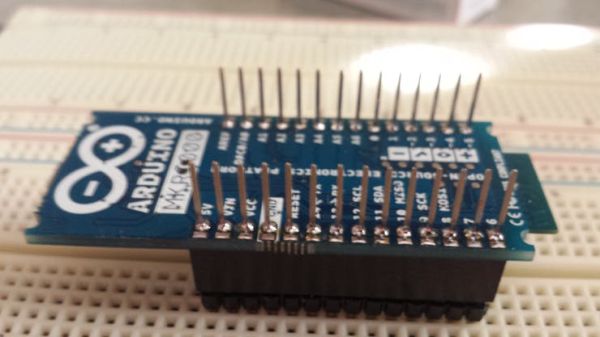
8. ensure that your soldering iron is only hot enough to melt your solder and not the MKR1000.
***on 3/6/16 this “unofficial setup was uploaded” I wish it was done before I started.
9. Connect USB to micro-USB cable to MKR1000 using micro USB cable end
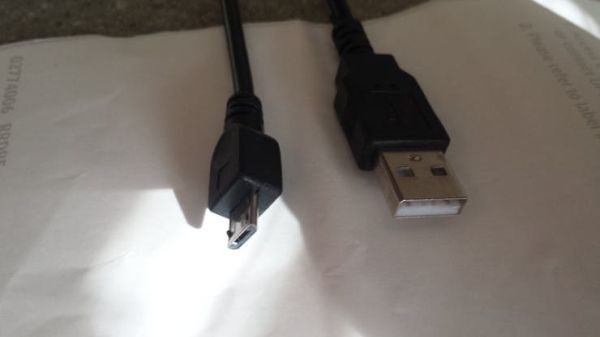
10. Connect larger USB cable end to your PC, after a few moments, Windows will have installed appropriate Device driver for the MKR1000 and also select a COM-port.
11. Open your Arduino IDE interface (1.6.7).
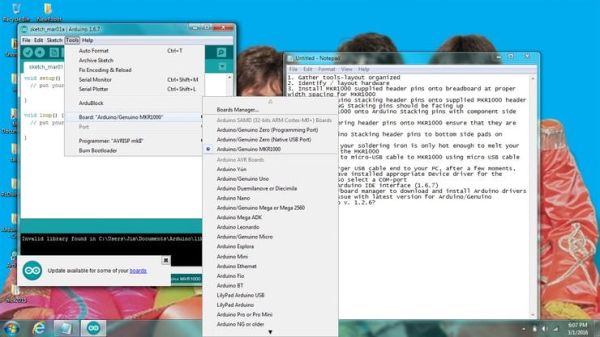
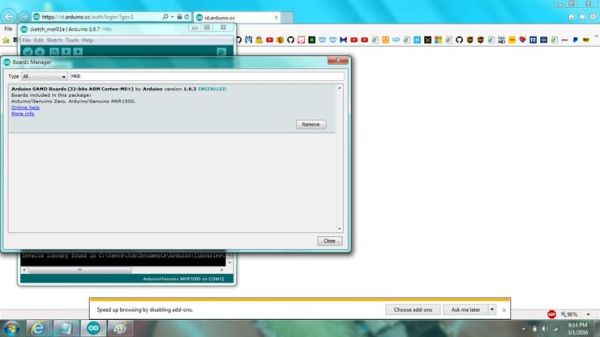
12. Open tools/board manager to download and install Arduino drivers (there is an issue with latest version for Arduino/Genuino MKR1000 under Arduino SAMD (32-bits ARM Cortex-MO+) Boards v. 1.6.3?
v 1.6.4 did not properly recognized/ID my MKR1000. I needed to revert back a version.
13. search for proper latest driver by typing MKR1000 in the Boards Manager search filter.
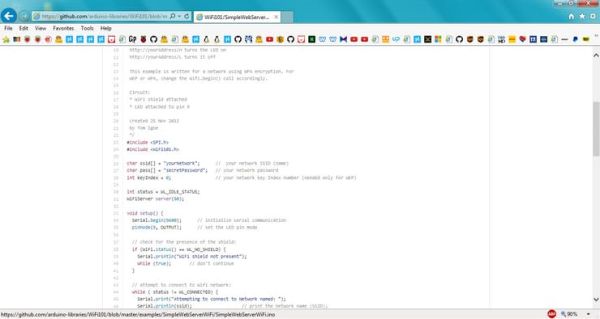
14.Download available example files from GITHUB.COM FOR WIFI101
https://github.com/arduino-libraries/WiFi101
- I built my simple web control interface using the SimpleWebServerWiFi example.
My Modified code is: Revised MKR1000 WiFi Web Server Code can be downloaded from here.
15. I did test the AP_SimpleWebServer example as well, but it chose my HOME’s WiFi Router’s IP address and caused conflicts with my connection.
16. Be sure to revise the example code with your networks’info:
“char ssid[] = “yourNetwork”; “network SSID (name)”
“char pass[] = “secretPassword”; “network “password”
17. Save revision, verify code, upload code to MKR1000 to test function. This code will allow you to turn on your LED on the MKR1000…my board is on pin 6, but this example is on pin 9…experiment/test.
18. Open your webbrowser.
19. With the MKR1000 still connected to your pc via the usb cable, open the serial port window in the Arduino IDE window. you should see the following responses to/from the webbrowser as content is displayed on your browser and you select led on/off.
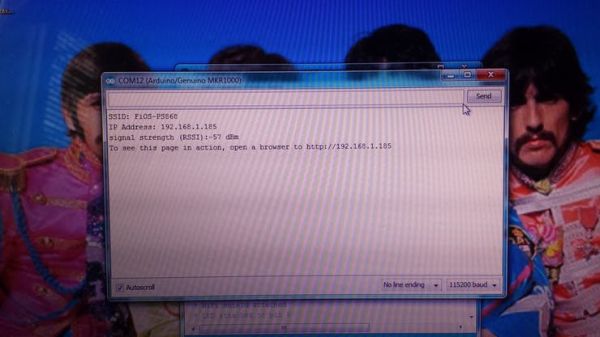
20. If no response in serial window, ensure the baud rate of COMport of pc matches the baud rate in the code uploaded as well as in the serial window. in my case, all three are 115200.
21. If all 3 baud rates match, try reloading the code example again.during my development and test i needed to perform this task multiple times, i did not try a slower baud rate.
My 1st Code mishap:
I had the DC Motor code in the Void loop, so it was always running while the Webpage was trying to update!!! corrected code below.
22. If this web page loads and functions correctly, you can upload my motor control version : SimpleWebServerWiFi_MKR1000_L298N_Control from here. (Video is not uploaded yet)
23. Helpful guides found after my 1st few days…1 week passed (revised 3/6/16)
https://www.hackster.io/nazarenko_a_v/mkr1000-connecting-to-the-wifi-3-steps-d02fed?ref=part&ref_id=15858&offset=7
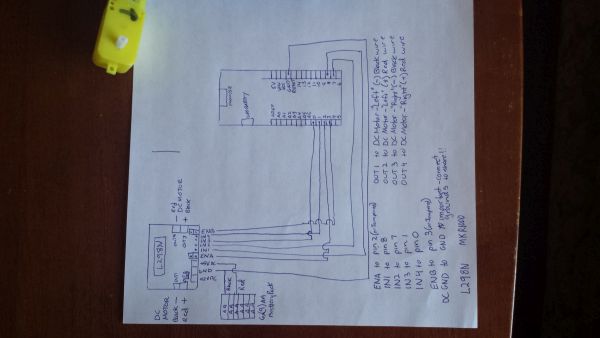
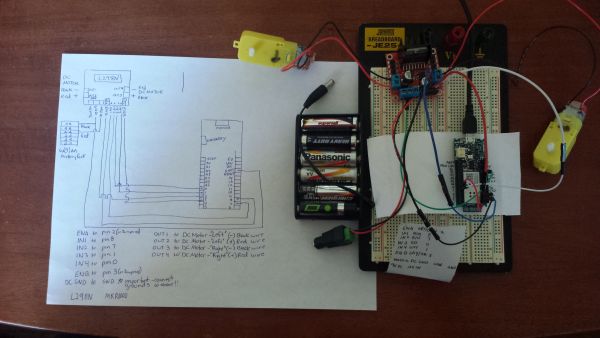
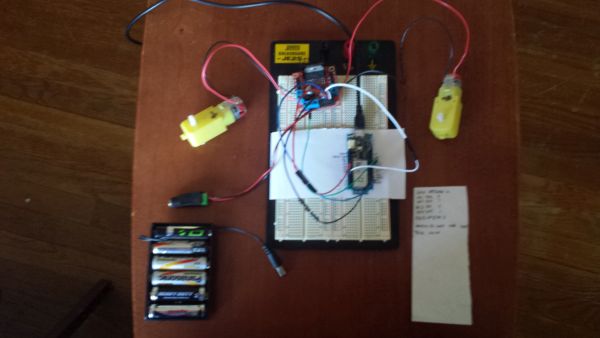
24. Layout and test of WiFi_L298N_DC_Motor Control Test Bed.
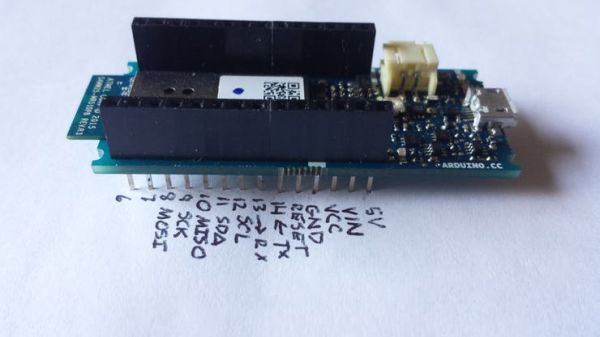
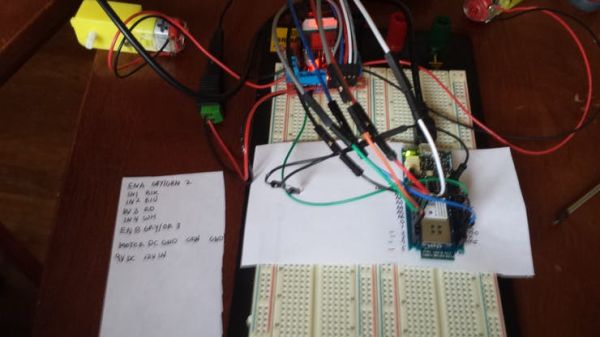
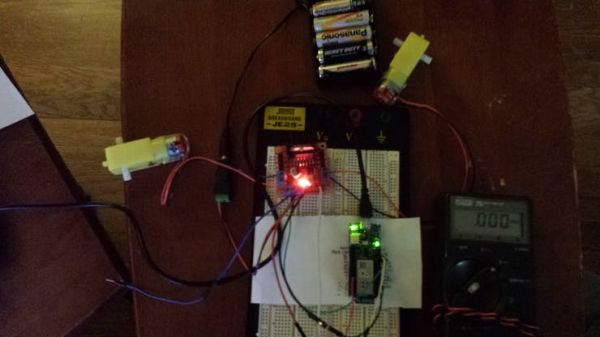
This is MKR1000 SimpleWebServerDCMotorControl-Version 2


