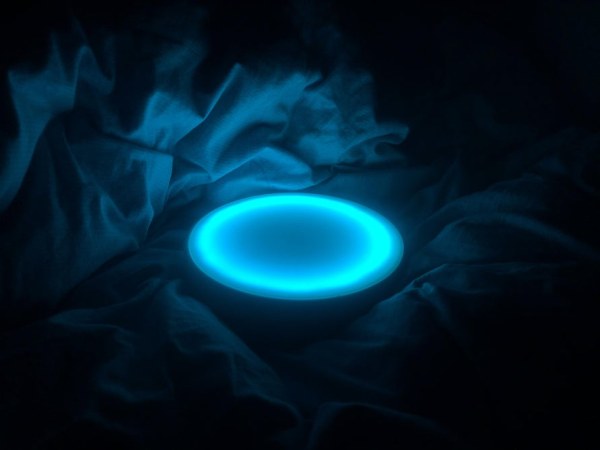
This Instructable will show you how to make an atmosphere lamp that lights up just like making little waves on the water surface. It can be placed on your table, shelf, or bedside to create a harmonious atmosphere, bringing an absorbing experience to the user. To do this, you’ll first want to gather the following materials:
Step 1: Parts, Tools, Supplies
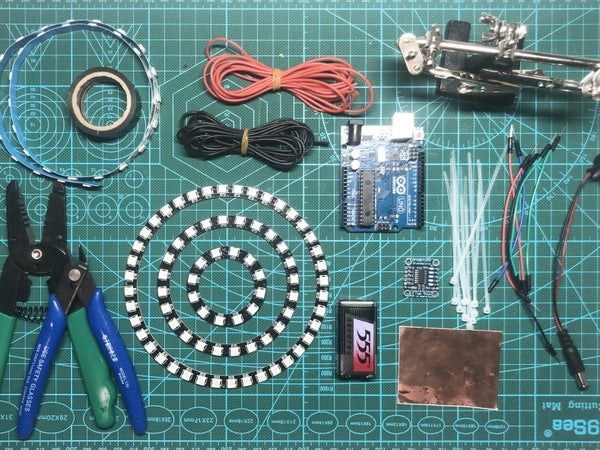
– Capacitive touch sensor breakout
– Neopixel ring – 12 x 5050 RGB LED
– Neopixel ring – 24 x 5050 RGB LED
– Neopixel ring – 40 x 5050 RGB LED
– Neopixel digital RGB LED strip
– 9V battery clip with 5.5mm/2.1mm plug or Power bank with cable
– Cardboard 25cm x 25cm
– Hot melt glue gun
– Soldering iron & Solder
– Stranded-Core wire spool (multiple color)
– Nylon cable ties
– Ventilation tape
Step 2: Circuit Diagram and Code
1. Simulate the final lighting effect:When people touch the center area to turn it on, the light effect will be like water waves, as if a hand touches the water surface.
2. The connection method of the touch sensor switch is shown in Figure 2. The open blue wire is to connect the conductive tape.
3. Connect the touch sensor and Neopixel rings with Arduino Uno, and play with the code to get a desired color affect.
You can change the code as follows according to your own Neopixel rings:
#define BUTTON_PIN   4
#define PIXEL_PIN    6
#define PIXEL_COUNT 111
#define BRIGHTNESS 50

bool oldState = HIGH;
int showType = 0;
#define PIXEL_COUNT 111
Total number of leds.
void startShow(int i) {
  switch(i){
    case 0: colorAll(strip.Color(0, 0, 0), 0);    // Black/off
            break;
    case 1:
      colorlast4(strip.Color(0, 255, 255), 0);
      for(int i=0; i<3; i++){ // change to i<2 to reduce from 3 to 2 repeats
      // adjust last value in each of these function calls to control speed
      // (more than 200 milliseconds for slower, less than 200 for faster)
      colorInnerRing(strip.Color(0, 150, 150), 200);
      colorInnerRing(strip.Color(0, 255, 255), 0);
      colorMiddleRing(strip.Color(0, 150, 150), 200);
      colorInnerRing(strip.Color(0, 150, 150), 0);
      colorMiddleRing(strip.Color(0, 255, 255), 0);
      colorOuterRing(strip.Color(0, 150, 150), 200);
      colorInnerRing(strip.Color(0, 0, 0), 0);
      colorMiddleRing(strip.Color(0, 150, 150), 0);
      colorOuterRing(strip.Color(0, 255, 255), 200);
      colorInnerRing(strip.Color(0, 0, 0), 0);
      colorMiddleRing(strip.Color(0, 0, 0), 0);
      colorOuterRing(strip.Color(0, 150, 150), 200);
      colorOuterRing(strip.Color(0, 0, 0), 0);
    //colorAll(strip.Color(0, 0, 0), 0);
            break;}
}
colorInnerRing(strip.Color(0, 150, 150), 200);
Adjust the color of the leds.
void colorInnerRing(uint32_t c, uint8_t wait) {
  for(uint16_t i=0; i<12; i++) {
    strip.setPixelColor(i, c);
  }
  strip.show();
  delay(wait);
}
for(uint16_t i=0; i<12; i++)
In this line, “I” stands for the number of leds. The inner Neopixel ring has 12 leds, so the code will be “I=0; I<12”.
Step 3: Built the Circuit
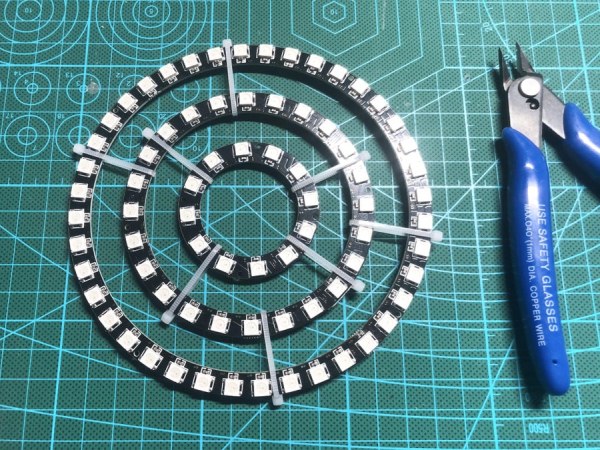
Fix the position of Neopixel rings with nylon ties.
2. Build your circuit according to the circuit diagram above. You can test them on a breadboard first before soldering them together.
3. Plugin your Arduino board to your computer.
4. Download Arduino IDE if you haven’t already. Copy the code and run it in your Arduino IDE. Don’t forget to install the Adafruit NeoMatrix libraries before running the code if you never used an LED matrix before. Read this Adafruit-NeoPixel-Uberguide about NeoMatrix libraries, it will tell you the basics about NeoMatrix and how to install the libraries.
5. Download the code provided and upload the code to your Arduino.
6. Power supply with power bank.
Step 4: Assembly
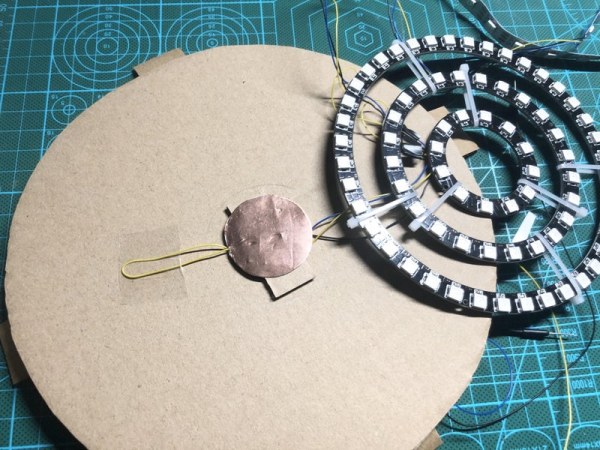
1. Cut the cardboard. Cut a hole in the middle and make four supporting plates under the cardboard
2. Hide the Arduino Uno, the touch sensor and wires underneath.
3. Fix the rounded conductive tape in the center of the cardboard.
4. Secure the lamp on the cardboard with nylon ties.
5. Connect the power and test it.
6. Put everything into the bowl.
7. Stick a Neopixel strip around the inside of the bowl.
8. Cover the bowl with acrylic sheet.
Step 5: Final Outcome
Source: Water Surface Lamp