Summary of Wall-e, an Obstacle Avoiding Robot
This article guides readers through building a simple Arduino-based obstacle-avoiding robot inspired by Wall-E. It details the assembly of a chassis using an acrylic sheet, BO motors, and wheels, while explaining how to interface an ultrasonic sensor and servo motor with an Arduino Uno. The guide covers two connection methods: using a dedicated Robot Shield for simplicity or an L293D motor driver IC for those without the shield. Finally, it provides instructions on uploading the necessary code via the Arduino IDE to make the robot functional.
Parts used in the Wall-e Obstacle Avoiding Robot:
- Arduino Uno
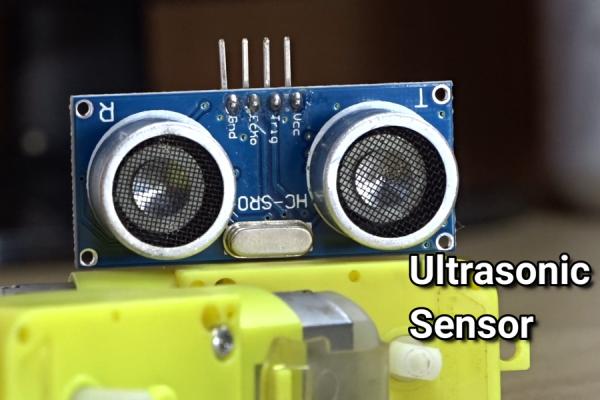
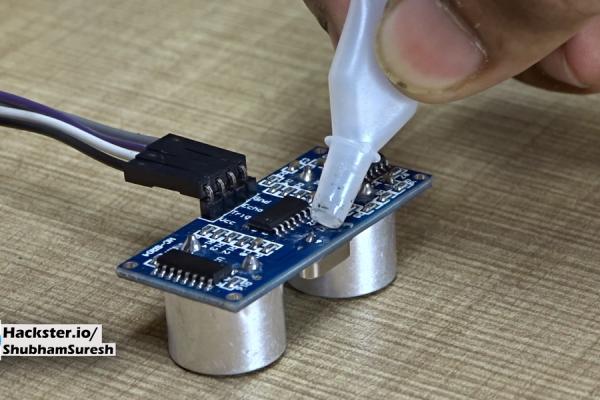
- Ultrasonic Sensor
- Servo Motor
- BO Motor (x2)
- BO Wheels (x2)
- Battery
- Castor Wheel
- Robot Shield
- L293D Motor Driver IC
- Acrylic Sheet
- Double-sided Tape
- Foam Tape
It’s not Wall-e, But it looks like Wall-e a bit.
In this Instructable, I’m going to show how you can make a simple obstacle avoiding robot using Arduino in a very simple manner. learn to interface a servo motor and ultrasonic sensor with Arduino.
Step 1: What You Need to Build This Robot?
To make this project you need the following components
I used here a specially design Robot shield. But this robot shield is not mandatory you can also use a normal motor driver if you have some basics knowledge about Arduino and motor drivers. This robot shield makes the connections easy that’s why I used it here.
Component Buy links
1- Arduino Uno x1 ———————————————-India/Other
2- Ultrasonic Sensor x1 —————————————India/Other
3- Servo motor X1 ———————————————-India/Other
4- BO Motor X2 ————————————————–India/Other
5- BO wheels X2 ————————————————India/Other
6- Battery X1 —————————————————–India/Other
7- Castor Wheel X1 ——————————————–India/Other
7- Robot Shield x1 —————- to buy this Shield DM Here
Step 2: Make the Robot Body
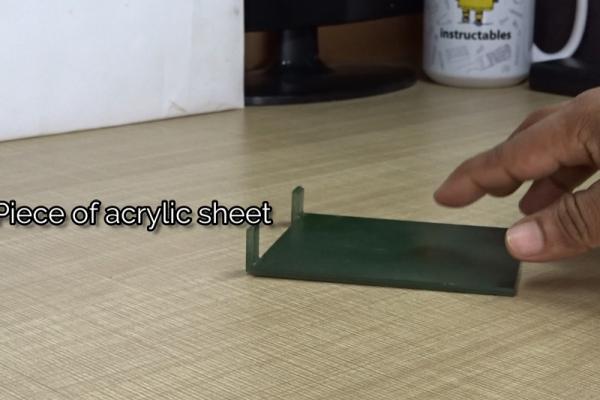
I keep the assembly of robot body very simple. I used a piece of acrylic sheet as base and stick both motors on it with the help of double-sided tape, in such a way that the shaft of both the motors are in a line. Stick Castor Wheel on the opposite side of the motors in such a way that the max weight of motors coming on that wheel. Now put Plastic wheels in motors shaft. Put Battery inside of it. Follow the video to understand the construction of the robot body.
Step 3:
After making the base place servo motor in front side of the bot and stick the ultrasonic sensor to it.
Step 4:
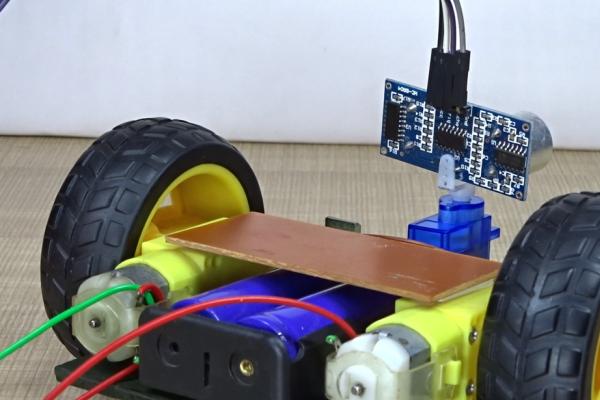
Stick Arduino Uno on Suitable position on the body using Foam tape. Insert Robot shield in Arduino carefully. and make all the connections with shield as shown in the diagram.
Step 5: What If I Don’t Have the Robot Shield?
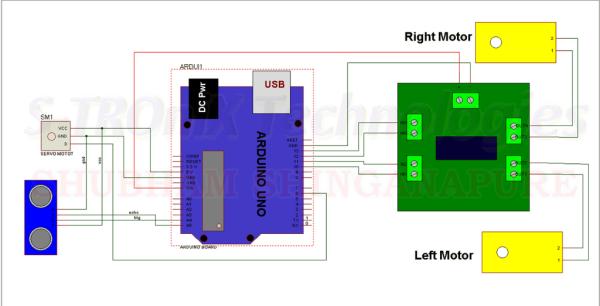
Don’t worry, if you do not have the Robot shield. Just make all the connections as shown in this circuit diagram. You need an extra component to make this circuit. that is a motor driver ic L293D.
You can buy it fromhere
Now after Doing all connections, it’s time to program it.
Step 6:
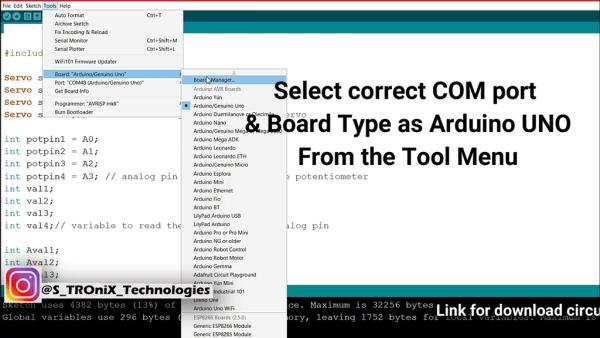
Connect it with PC using USB cable. Open the given code. Select the COM port from the tools menu on which, your Arduino is connected. Select board type as Arduino UNO from the tools menu and click upload, after successfully upload the program now it’s ready to play.
Download the code fromHERE
Hope you find this useful. if yes, like it, share it, comment your doubt. For more such projects, follow me! Support my channel on YouTube.
Source: Wall-e, an Obstacle Avoiding Robot
- How do you build the robot body?
Use an acrylic sheet as a base, stick two motors on it with double-sided tape so their shafts are in a line, attach a castor wheel opposite the motors, and place plastic wheels on the motor shafts. - What is the alternative if I do not have a Robot Shield?
You can use a normal motor driver IC called L293D and follow the provided circuit diagram to make the connections. - Where should the servo motor be placed?
The servo motor should be placed on the front side of the bot with the ultrasonic sensor stuck to it. - Can I use a motor driver instead of a Robot Shield?
Yes, a Robot Shield is not mandatory; you can use a normal motor driver if you have basic knowledge about Arduino and motor drivers. - How do you upload the program to the Arduino?
Connect the Arduino to a PC via USB, open the code in the IDE, select the correct COM port and board type as Arduino UNO, and click upload. - What components are required to buy for this project?
You need an Arduino Uno, Ultrasonic Sensor, Servo motor, two BO Motors, two BO wheels, a Battery, a Castor Wheel, and either a Robot Shield or an L293D IC. - How do you secure the Arduino Uno to the body?
Stick the Arduino Uno on a suitable position on the body using Foam tape. - Does the project require specific coding skills?
No, the article provides a downloadable code that users simply need to open, select the correct settings, and upload.