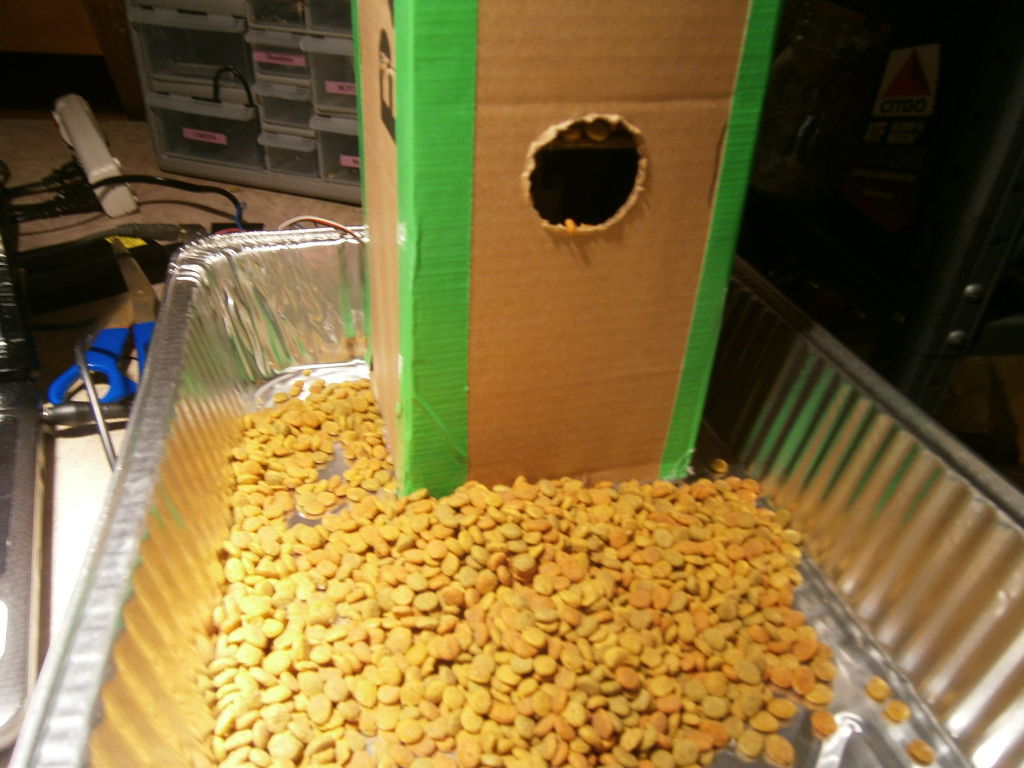
If you are a pet owner, going on vacation can be stressful. Usually, you need a friend or neighbor to come over every day and feed your pets. However, by enslaving robots you can keep your pet happy and enjoy a stress-free holiday. To save money and learn something new, I decided to make my pet feeder out of recycled materials like cardboard and glue sticks. Cardboard is great for rapid prototyping.
I have entered the pet feeder into the Make It Real Challenge because it relies on 3D modelling software for a rapid prototype design. I made this instructable especially for the contest after writing the original article for wonderhowto.com. As much as I love cardboard, I could prototype more precise designs with a 3D printer and build up my design skills for rocketry and robotics mechanisms. Please rate, vote and comment to help make my cardboard dreams a plastic reality!
Materials
- Glue stick
- Cardboard
- Scissors
- Hot glue
- Continuous rotation servo
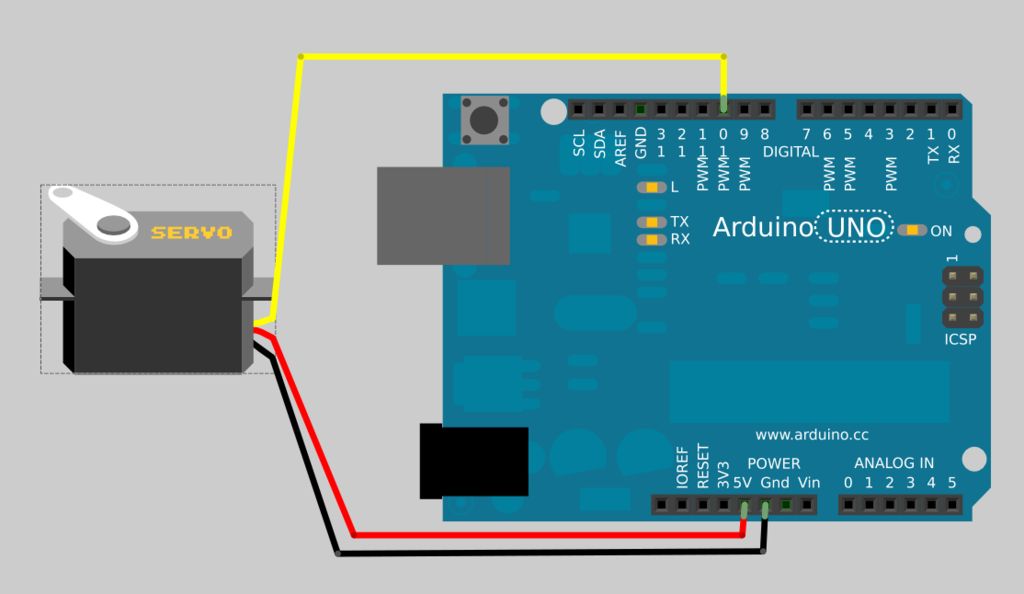
- Arduino board
Step 1:
We will be using the glue stick case as a linear actuator. To attach it to our servo, we must first get rid of the glue. Remove the glue from the tube and pry it off of the inner plastic slide. This can get messy so be careful! Remove the circular cap at the base of the glue and set it aside.
Step 2: Make Actuator Arm
1. Hot glue the tube into the small plastic cup from inside the glue stick. The hollow tube will fit neatly around the inner corkscrew of the glue stick.
2. Make four notches in the handle of the glue stick and fit them over the servo horn. Use hot glue to secure the connection. It is important to make sure the glue dries while the servo and glue stick are perfectly aligned. This will prevent wobbling.
Step 3: Make an Enclosure
 petfeed.skp478 KB
Step 4: Attach Arm to Base
1. Make the platform slightly smaller than your enclosure to allow the platform to slide inside the box.
2. Glue the bottom of the servo to a cardboard base.
3. Push the actuator arm into the box and seal the bottom with hot glue or tape.