Summary of The Interactive Donation Box
This article details a DIY interactive donation box prototype using an Arduino. The system detects coins via an ultrasonic sensor, triggering RGB LEDs to flash and a servo motor to wave with a "Thank You" message. Designed for public spaces like shopping complexes, the project is low-cost, requires basic electronics skills, and can be completed in 3–4 hours. It serves as a scalable concept for charity initiatives.
Parts used in the Interactive Donation Box:
- Arduino UNO or Nano
- Servo motor (standard size)
- Ultrasonic sensor
- RGB LEDs
- Cardboard box (approx 6 x 6 x 6 inches)
- Brown paper
- Transparent sheet
- Jumper wires
- Perforated board
- Male headers
- Female headers
- Rainbow wire
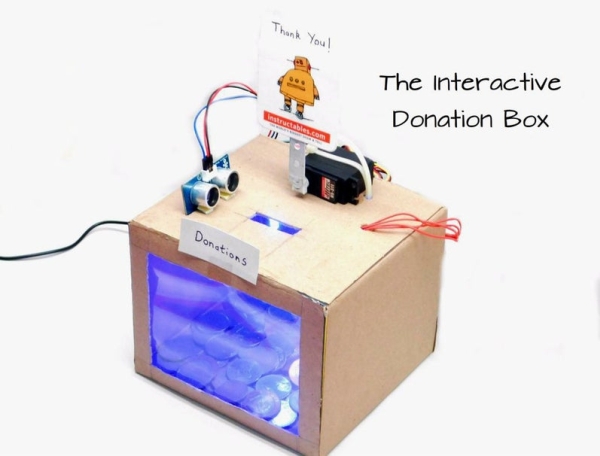
Donation boxes can be much more interesting and attractive when you combine them with electronics and a little bit of programming. This instructable will show you how to. As the name explains, making donation boxes interactive can help you gain much more attention and make people happy at the same time! Indeed, and awesome way to set up a charity and help the needed ones by installing it in shopping complexes and other public places (if a bigger version of the same is made). This was just a prototype to present the basic idea which when modified and used at a bigger level, can definitely help.
The following project uses an arduino for all it’s processing. The RGB LEDs installed inside the box keep on flashing and changing colors which can attract much attention. When a person donates a coin, the ultrasonic sensor installed just on the box detects that and the servo present at the top waves 2-3 times with a ‘Thank You’ message displayed. This feature can surely bring a smile on the person’s face who just donated that coin! Using only arduino and some other basic parts, you can make this project within 3-4 hours max. without the need of hunting the parts. Although a bigger version of the same would be much better, but that doesn’t mean that this small one is useless. Even this one can be put at various places.
Here is a short video of the project:
For any doubts related to this instructable, you are free to ask it in the comment section below. Don’t forget to follow and vote.
Subscribe to my YouTube channel here:
Step 1: Parts and Tools
The following parts and tools are required to make this project:
______________________
Parts/Materials:
- 1x Arduino UNO or Nano (any other compatible would work)
- 1x Servo motor (standard size)
- 1x Ultrasonic sensor
- 4x RGB LEDs
- 1x Cardboard box (approx 6″ x 6″ x 6″ or a shoe box)
- Brown paper
- Transparent sheet
- Jumper wires
- Perforated board
- Male headers
- Female headers
- Rainbow wire
Tools:
- Soldering iron
- Solder wire
- Hot glue gun
- Paper glue
- Wire cutter/stripper
- Pliers
Total cost of Parts/Materials: $20 (1200 INR)
Step 2: Make a Shield for Arduino
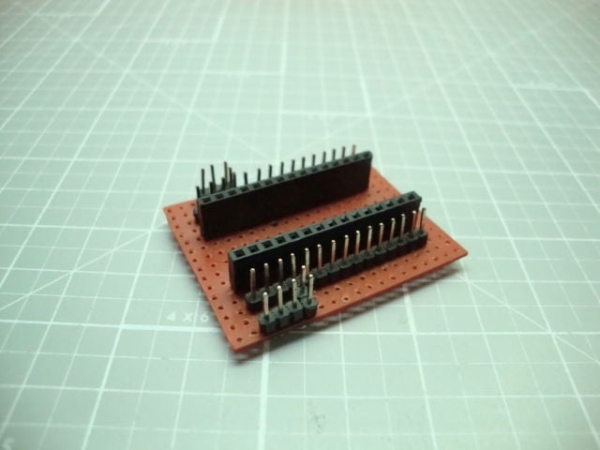
The very first step to start this build is to make a shield for arduino. As I do for all of my projects, making such a shield will greatly help you to make all the connections easy by use of jumper cables. This also eliminates the need of soldering everything up which can sometimes be time consuming. You can just plug in and out your arduino to be used in other projects at the same time. However, this won’t be mandatory for UNO users.
For making the shield, just check for the number of pins on your arduino and solder the same number of female headers on a piece of perforated board. Check if your arduino fits in easily. Now solder male headers corresponding to each pin on your arduino. Add some extra headers 5v and Gnd pins which are more frequently used.
Step 3: Cover Your Box
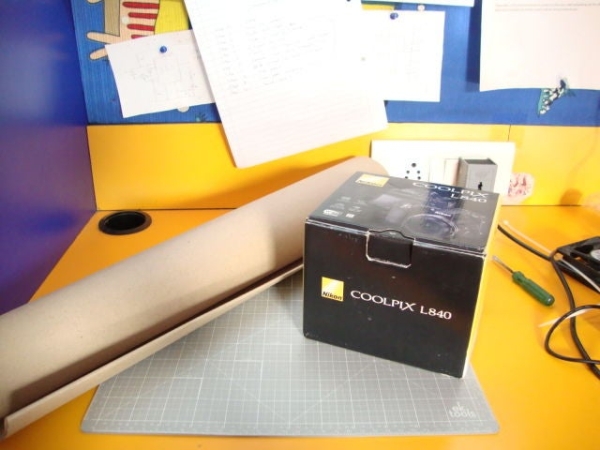
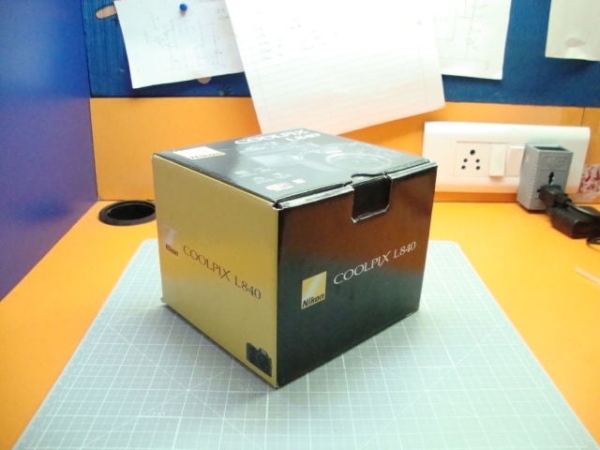
Now moving a little away from electronics, here comes some craft work. You have to now cover your box with some colored paper. But before that, it can be sometimes difficult to find the correct box to suit your needs. If you want to make it just as a project, then the best way is to hunt for shoe boxes, courier boxes or you can even make one from some scrap cardboard. I used a camera box which was just the perfect one.
You can cover the box with any colored paper you want. For making it simple, I used plain brown paper as I don’t have much experience and designing skills in art and craft. You can even add some patterns, decorations to make it look more attractive. As for mine, I simply took the measurements, cut the paper and covered all the sides of the box with it.
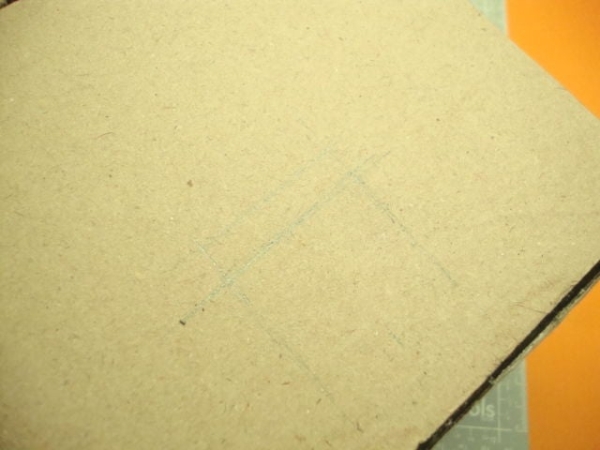
Step 4: Make the Front Side Transparent
A pretty interesting feature, this can make the box look much better and will also allow to add some LED lighting inside the box. So I chose to cut the front part and cover it with transparent sheet.
You just have leave some of the cardboard to the front side and cut the rest of it (dimensions depend on the size of your box). Cover the cut part with transparent sheet which should be tight and shouldn’t sag.
Instead of that thin sheet, you can use acrylic/plexiglass or even ordinary glass to cover the front portion to make the project more permanent. I have no experience on working with glass so chose an easier option.
Step 5: Cut a Coin Slot
This one’s very easy. You just have to cut a big coin slot for the coins to be donated inside. Simply cut out a rectangular part measuring about 1.4″ x 0.3″. It should be big enough for all types of coins to pass through.
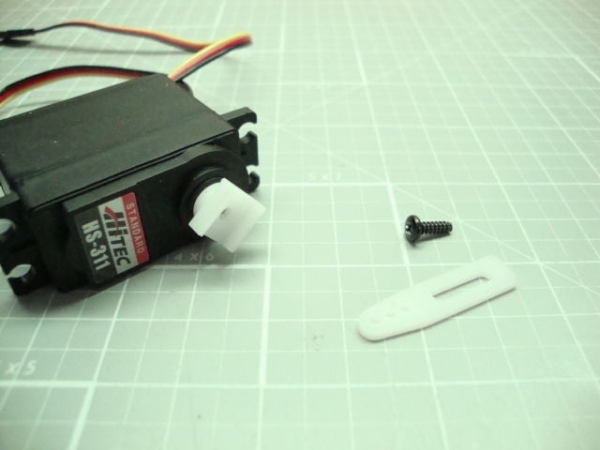
Now again coming to the electronics part, you have to now mount and connect the servo motor. The purpose of it was to wave whenever a person donated a coin to the box. The best option is to use a standard servo but as you don’t have to lift a large weight, even micro servo would work. Also, attach a proper attachment to your servo before connecting it. I used a one sided rotating shaft for the purpose. Connect it to arduino as per the following:
- Vcc (red) of Servo to 5v of Arduino
- Gnd (black) of Servo to Gnd of Arduino
- Signal (yellow) of Servo to Arduino digital 3 (PWM)
Finally, mount the servo at the top using zip ties or hot glue. While mounting, you must take care that the attachment connected to the servo doesn’t bang with the cardboard box while moving. In other words, check the angles before mounting it.
Read more: The Interactive Donation Box
- How does the donation box detect a coin?
An ultrasonic sensor installed on the box detects when a person donates a coin. - What happens when a coin is donated?
The RGB LEDs flash and change colors while a servo motor waves 2-3 times with a Thank You message displayed. - Can I use a micro servo for this project?
Yes, even a micro servo would work since there is no need to lift a large weight. - How long does it take to build this project?
You can make this project within 3-4 hours max using only arduino and some other basic parts. - What materials can cover the front of the box?
You can use a transparent sheet, acrylic, plexiglass, or ordinary glass to cover the front portion. - What are the dimensions for the coin slot?
The rectangular coin slot should measure about 1.4 by 0.3 inches. - Does the shield for Arduino have to be soldered permanently?
No, making a shield helps eliminate the need of soldering everything up so you can plug in and out your arduino easily. - Where can this donation box be installed?
It can be installed in shopping complexes and other public places if a bigger version is made.