internet

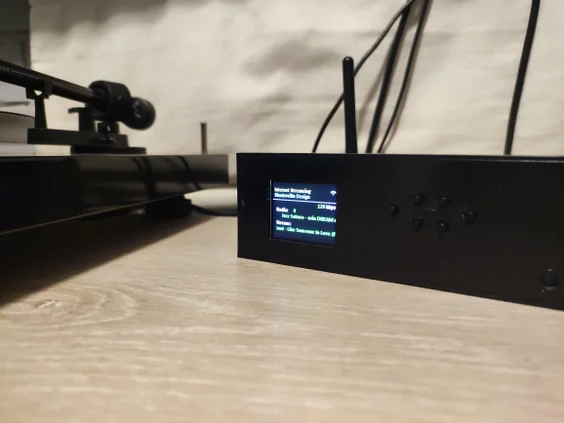
HiFi Online Radio Internet Streaming With ESP32 and VS1053

“HiFi” Online Radio: Internet Streaming With ESP32 and VS1053

Instructions on creating an Internet Radio Streamer with the ESP32 and the MP3 decoder “VS1053”. Numerous tutorials exist for a device like this online (many of which provided the information and ideas I needed), but I decided to share my own version as I had to find unique solutions to meet the requirements of my

“HiFi” Online Radio: Internet Streaming With ESP32 and VS1053 Continue Reading
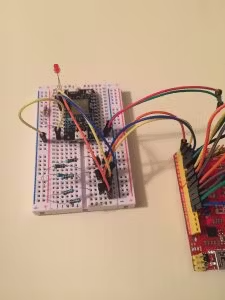
The Particle Photon starter kit comes with one along with the Arduino Starter Kits

Particle Photon Email Integration for Arduino Innovations

Introduction This tutorial is brought to you by BreakoutBros.com. Access the complete version by following this link. Having explored the Particle Photon, I felt inclined to revisit one of our tutorials and introduce IoT (Internet of Things) capabilities using the Photon. In this guide, I will demonstrate how to enable the Particle Photon to send

Particle Photon Email Integration for Arduino Innovations Continue Reading

Getting Started With the Particle Photon Internet Controlled LEDs

Getting Started With the Particle Photon (Internet Controlled LEDs)

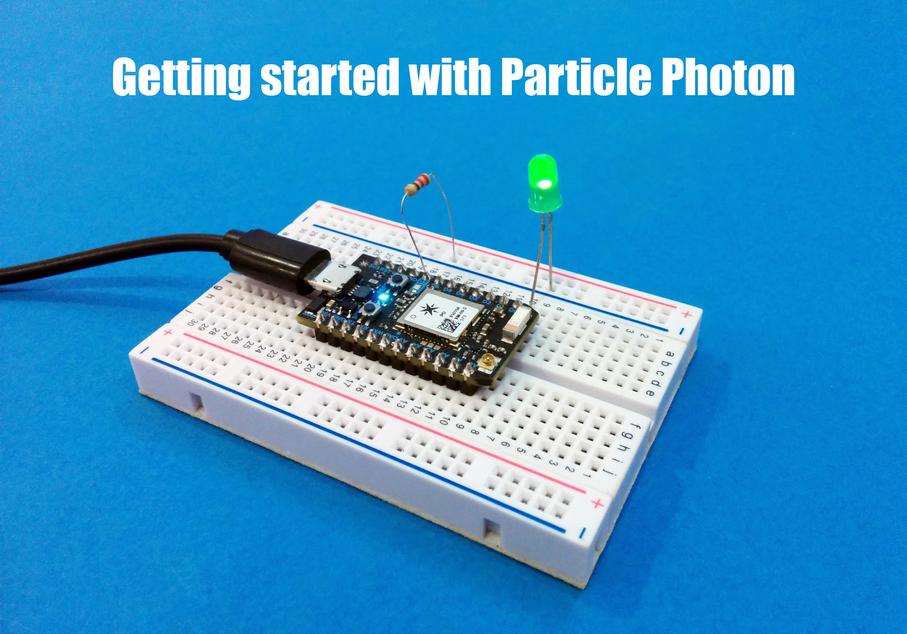
In the previous instructable I showed you how to get started with IoT using the nodeMCU, in this instructable I will be featuring the Particle Photon which is an easy to use IoT device to get started with designing IoT projects. The particle photon is smaller than the nodeMCU and features STM32 ARM Cortex M3 microcontroller on

Getting Started With the Particle Photon (Internet Controlled LEDs) Continue Reading

IoT Set up to Operate control 220 240 Volt AC Bulb Device NodeMCU Amica 5V Relay MQTT Arduino IDE Web Browser HTML JavaScript jQuery

IoT Set-up to Operate/control 220-240 Volt AC Bulb/Device; NodeMCU Amica + 5V Relay + MQTT + Arduino IDE + Web Browser (HTML + JavaScript/jQuery)

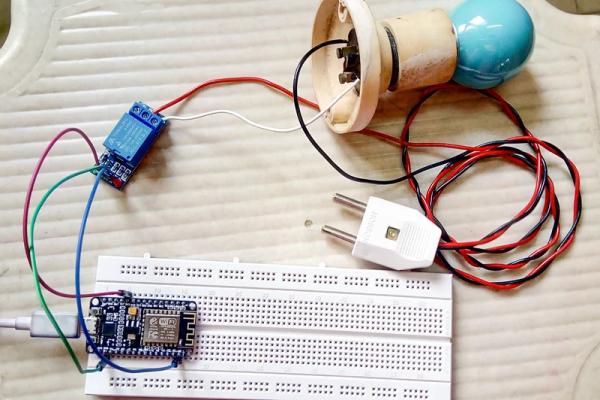
What are we messing with? IoT (Internet of things) set-up to operate/control 220-240 Volt AC Bulb/Device NodeMCU Amica + 5V Relay + MQTT + Arduino IDE + Web Browser (HTML + JavaScript/jQuery) WARNING!! – THIS PROJECT INVOLVES WORKING WITH HIGH VOLTAGES THAT CAN CAUSE SERIOUS INJURY, DEATH, AND/OR SET YOUR HOUSE ON FIRE. PLEASE PROCEED

IoT Set-up to Operate/control 220-240 Volt AC Bulb/Device; NodeMCU Amica + 5V Relay + MQTT + Arduino IDE + Web Browser (HTML + JavaScript/jQuery) Continue Reading

Internet cloud Controlled Home Automation Using Esp8266 aREST MQTT IoT

Internet/cloud Controlled Home Automation Using Esp8266 (aREST, MQTT, IoT)

Step 1: COMPONENTS REQUIRED Only 4 components required – 1. ESP8266 NODEMCU or WEMOS D1 mini or any esp8266 wifi development board2. RELAY (5V or 6V)3. ULN2003 or UNL2003A (Relay driver IC)4. Jumpers (obviously or else solder it!!) The main structure of the project is that ESP8266 module will receive the signal from the MQTT

Internet/cloud Controlled Home Automation Using Esp8266 (aREST, MQTT, IoT) Continue Reading

ESP Now Rainstick

ESP-Now Rainstick

This fun little project will allow you the trivial joy of letting a electronic network announce that you have rain! The AI controlled, tear eliciting price’d Tesla has been rumored to have sensors that awaken the windshield wipers at the onset of rain. Being in a fully glass-enclosed cabin you would think that the obviousness

ESP-Now Rainstick Continue Reading

Scroll to Top