arduino

5″ capacitive touch panel with GSL1680 up’n running with arduino

5″ capacitive touch panel with GSL1680 up’n running with arduino

Some months ago I wrote about getting a 7″ capacitive touch LCD up’n running with Arduino. Since that time I’ve investigated 5″ displays with capacitive touch. There are some, such as the NHD-5.0-800480TF-ATXL#-CTP from Newhaven which uses the FT5306 capacitive touch controller. That one is interesting because I already have touch driver for the FT5x06

5″ capacitive touch panel with GSL1680 up’n running with arduino Continue Reading

Gesture controlled robot using Arduino

Gesture controlled robot using Arduino

This gesture controlled robot uses Arduino,ADXL335 accelerometer and RF transmitter-receiver pair. We will divide the entire robot into 3 parts the transmitter,the receiver and the robot. The different gestures that have been mapped to the direction of the bot are- Hand parallel to the ground-stationary Hand tilted forward-forward Hand tilted backward-backward Hand tilted right-right Hand

Gesture controlled robot using Arduino Continue Reading

Fading with Arduino circuit

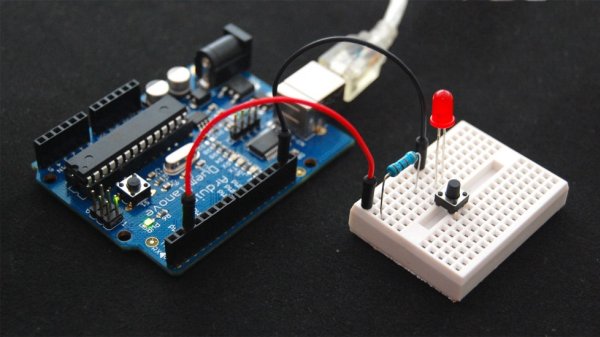
Fading an LED off and on using Arduino

Demonstrates the use of the analogWrite() function in fading an LED off and on. AnalogWrite uses pulse width modulation (PWM), turning a digital pin on and off very quickly, to create a fading effect. Circuit Connect the anode (the longer, positive leg) of your LED to digital output pin 9 on your Arduino through a 220-ohm resistor. Connect the cathode (the shorter, negative leg)

Fading an LED off and on using Arduino Continue Reading

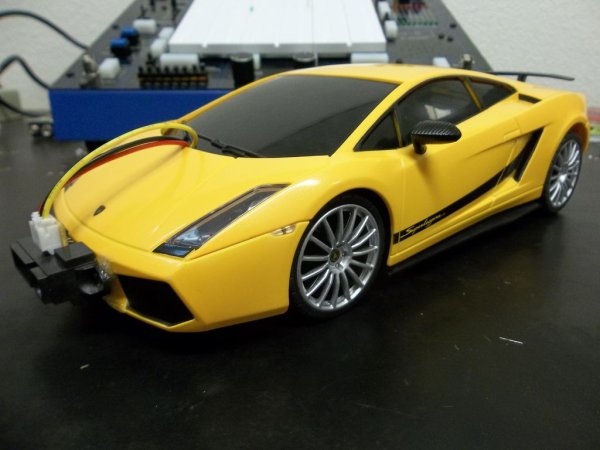
Computer controlled RC car with two Arduinos

Computer controlled RC car with two Arduinos

Required Parts: This project requires two Arduino boards which can be bought from http://www.adafruit.com/category/17 This project uses two Arduino Uno compatible boards. An L293D or other Dual H-Bridge Motor Driver chip will be needed to drive the motors of the RC car. This can be found here: http://www.adafruit.com/products/807 Finally, this project requires the RF transmitter

Computer controlled RC car with two Arduinos Continue Reading

Scroll to Top