The IoT version of a stylish neck warmer directly coming from this year’s Fashion Weeks rolled into London, Paris and New York.
Things used in this project
Story
Motivation
After reading some articles about the fashion tends, i was surprised that the neck warmer is considered by some articles as one of the seven biggest trends for the Spring 2016. Like all self-respecting wearable maker, I highly was tempted to add an IoT touch to this fashion trend.
And there we are! I ended up with a wearable neck warmer as illustrated in the video bellow:
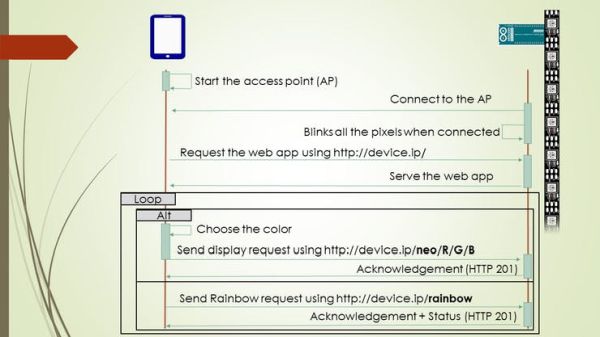 Figure1
As illustrated in Figure 1, The mobile device should enable the access point mode. Please refer to the Android and iPhone docs to enable that. Once the access point started, turn on the MKR1000. It will connect to your access point. It will blink on RED if there is an issue with the network. it will show a rainbow if get connected successfully.
In order to get the control web application from your mobile device, open your favorite web browser and type the IP address of your MKR1000. You may use one of those Android and iPhone applications to know what is the IP of the MKR1000 connected to your mobile device.
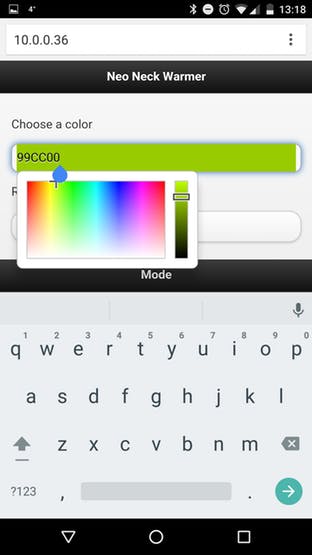
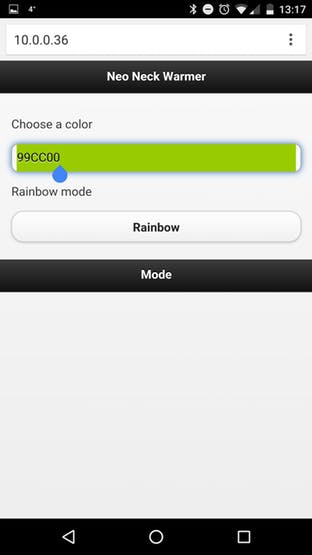
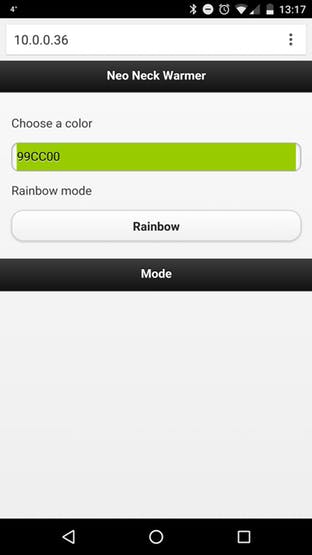
As illustrated in the screenshots Figure 2, you can choose a specific color to display on the neck warmer using the color picker. You can also click on the button to enable the rainbow mode.
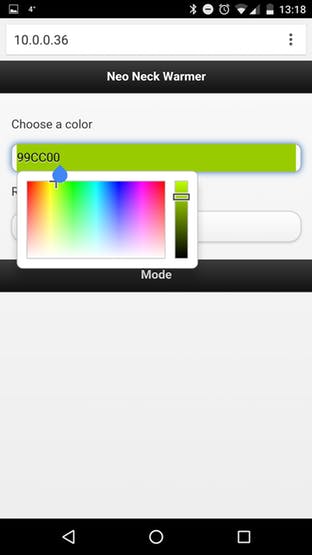 Figure 2
Build and Flash the Code
The code source uses the Adafuit neopixel library. Make sure that you are using the latest version. the earlier versions did not have support for RGBWpixels rather than RGB pixels.
The code sources is composed from two main parts. First part handles the server interactions with the client. As illustrated bellow, the server embedded inside the MKR1000 listens on the port 80 and can serve three contents.
- / : the HTML/javascript content for the web application
- /neo/R/G/B : display the (R,G,B) colors on the strip . where R, G, and B are values between 0 and 255.
- /rainbow : enable the rainbow mode and display a colorful rainbow over the strip.
   void loop() {
  if(bow){
    rainbowCycle(1);
  }
    WiFiClient client = server.available();   // listen for incoming clients
    if (client) {                             // if you get a client,
      Serial.println("new client");
       //rainbow(50);
       //colorWipe(strip.Color(0, 0, 0), 50);
        String currentLine = "";                // make a String to hold incoming data from the client
        while (client.connected()) {            // loop while the client's connected
            if (client.available()) {             // if there's bytes to read from the client,
                char c = client.read();             // read a byte, then
                if (c == '\n') {                    // if the byte is a newline character
                    // if the current line is blank, you got two newline characters in a row.
                    // that's the end of the client HTTP request, so send a response:
                    if (currentLine.length() != 0) {
                        if(currentLine.indexOf("GET") != -1){
                          if (currentLine.indexOf("/neo") != -1) {
                            sendStatusNeo(currentLine,client);
                          }if (currentLine.indexOf("/rainbow") != -1) {
                            sendStatusRainbow(client);
                          }else {
                            sendPage(client);
                          }
                          break;
                        }
                    }
                    else {      // if you got a newline, then clear currentLine:
                        currentLine = "";
                    }
                }
                else if (c != '\r') {    // if you got anything else but a carriage return character,
                    currentLine += c;      // add it to the end of the currentLine
                }
            }
            else{
              break;
            }
        }
        // close the connection:
        client.stop();
        Serial.println("client disconnected");

    }
}
When the server receive a request to update the Neopixels strip behavior, it sets the variable bow to true to enable the rainbow mode or to false ti disable it. If the rainbow mode is disabled, the server set the new desired color on the strip.
The second part of the code handles the interactions with the Neopixels strip. As illustrated bellow, this second part is composed from some methods that display a specific color or a rainbow.
// Set all pixels in the strip to a solid color, then wait (ms)
void colorAll(uint32_t c, uint8_t wait) {
  uint16_t i;

  for(i=0; i<strip.numPixels(); i++) {
    strip.setPixelColor(i, c);
  }
  strip.show();
  delay(wait);
}

// Fill the dots one after the other with a color, wait (ms) after each one
void colorWipe(uint32_t c, uint8_t wait) {
  for(uint16_t i=0; i<strip.numPixels(); i++) {
    strip.setPixelColor(i, c);
    strip.show();
    delay(wait);
  }
}

// Slightly different, this makes the rainbow equally distributed throughout, then wait (ms)
void rainbowCycle(uint8_t wait) {
  uint16_t i, j;
<br/>
  for(j=0; j<256; j++) { // 1 cycle of all colors on wheel
    for(i=0; i< strip.numPixels(); i++) {
      strip.setPixelColor(i, Wheel(((i * 256 / strip.numPixels()) + j) & 255));
    }
    strip.show();
    delay(wait);
  }
}
In order to flash the code to your MKR1000, please refer to my unofficial MKR1000 getting started guide.
Wire the Device to the Strip
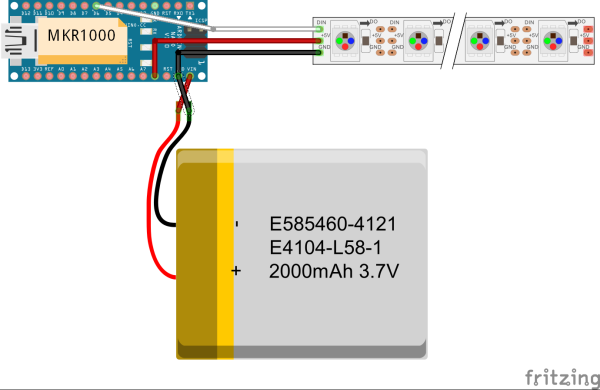
The wiring is straightforward as illustrated on the Figure 3. However, try to fix the alligator clips using some isolation material. Even better, sew on the MKR1000, the Neopixel strip to the neck warmer.
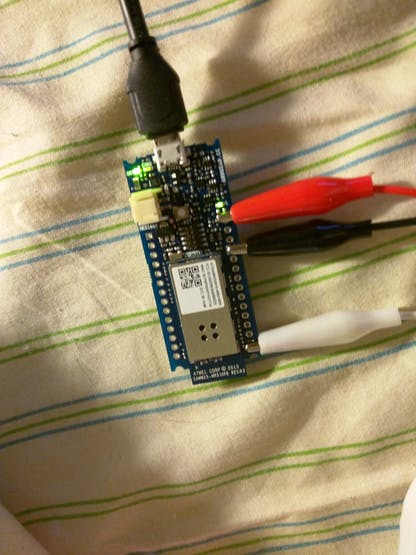
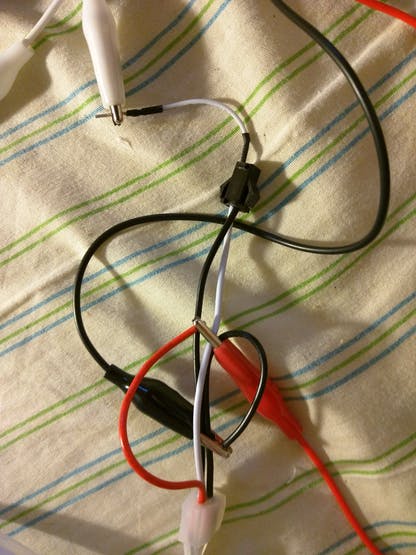
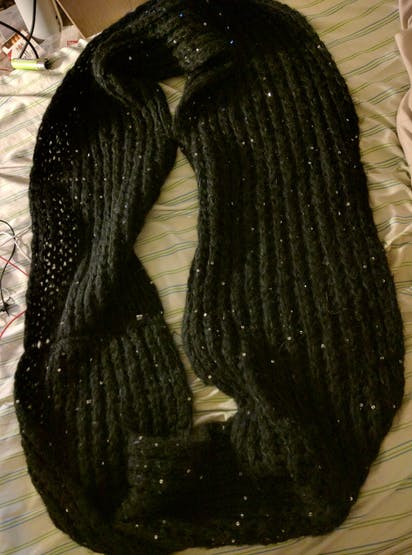
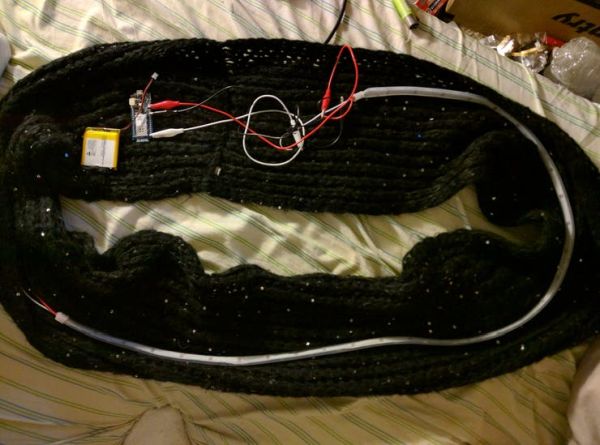
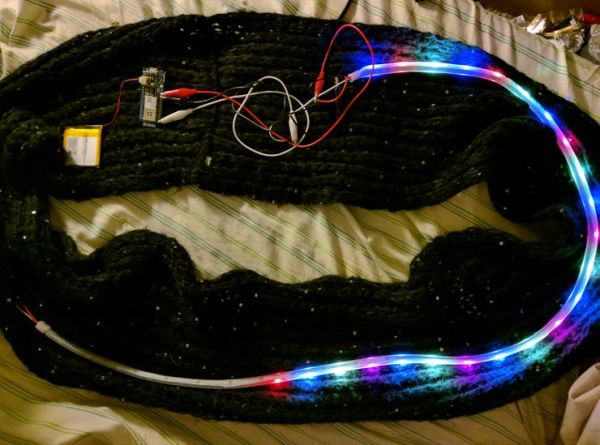
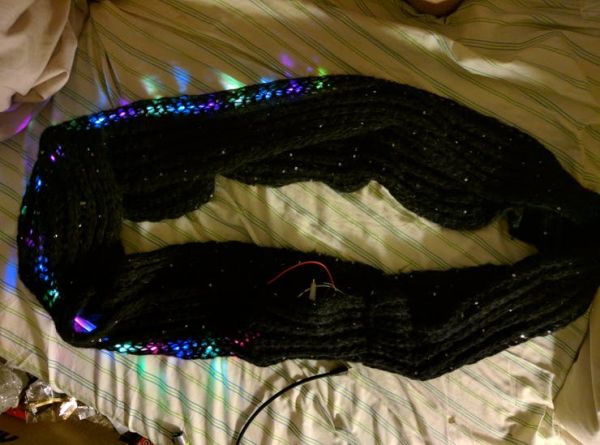
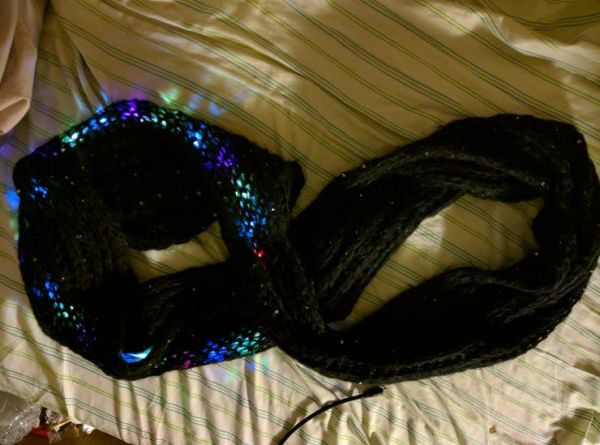
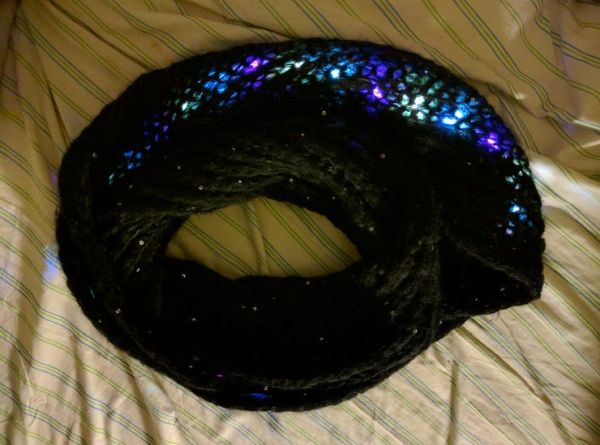
I used a circular neck warmer and i enrolled the MKR1000 and the Neopixel strip inside it. that is the simplest solution.
Conclusion
Who said that the fashion cannot be pushed by IoT maker? 😀
Maybe we can see something close to this project on the next fashion week in New York, London or Paris 😉
Schematics
Code
Source : Stylish IoT Neck Warmer Controlled from Mobile Browser


