Now a days we are spending a lot of time at home, studying and working virtualy, so why not to make our workspace greater with a custom and smart lighting system Arduino and Ws2812b LEDs based.
Here I show you how build your Smart Desk LED Light that you can control with an IR remote controller from your TV, Home theater, or any device with IR transmitter.
If you are a visual learner I know that a video worth more than 1000 words, so here is a 2 parts Tutorial video. (I am a Spanish speaker, so please consider turning on English subtitles):
Step 1: Skills Needed
As you can noticed, nothing looks very difficult on this project, but you will need some basics knowings about:
-Using the Arduino IDE.
-Programming ESP8266.
-3D printing.
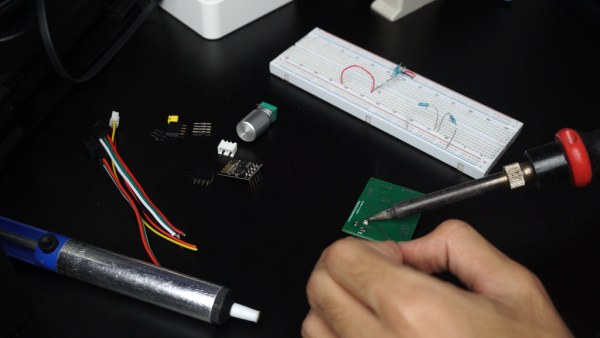
-Welding.
-Wiring.
Step 2: Components and Parts List
A good place I can recommend to find your components, it’s MakerFocus, it’s an Open Source Hardware Store!
1. PCB I really recommend to use JLCPCB SMT Services to order yours.
6. 3D Printer.
7. IR Sensor
8. Remote controller, could be your TV one.
Step 3: Circuit Diagram
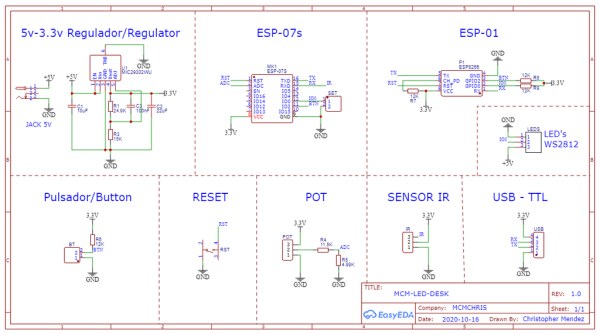
Here is the Circuit diagram, it has all the internal conections of the circuit that will allow us to create the PCB design later.
I also attached the PDF of the Schematics so you can see it better.
DOWNLOAD Schematics, Code and Libraries for FREE.
Step 4: PCB Design and Ordering
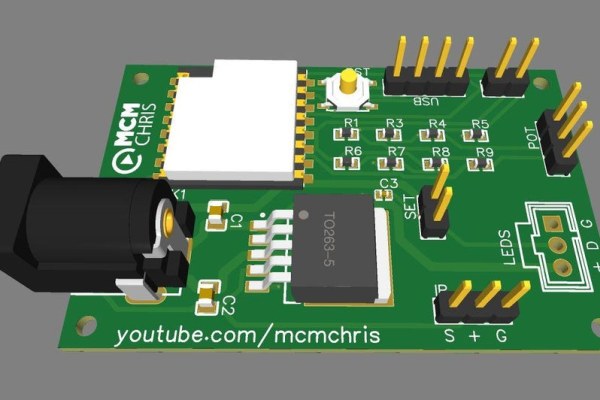
For the implementation of a good project we need a reliable assembly for the circuit that makes it up, and there is no better way to do it than with a good PCB.
Here you can download the Gerber, BOM and Pick & Place Files, the ones you need to order your PCB on your PCB manufacturing company.
I suggest JLCPCB:
?$2 for Five – 4 Layers PCBs & cheap SMT (2 Coupons)
BUY THE ALREADY DESIGNED BOARD, Gerber + Pick & Place + BOM
Step 5: 3D Parts Printing
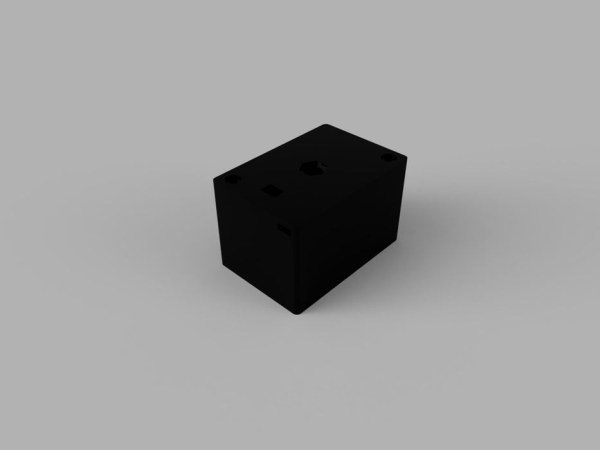
All the files to print the project enclosure.
You can print them on your 3D printer, if you haven’t got yours, here you can by the one I use.
Step 6: Programming the ESP8266
- Install the Libraries that will the code works
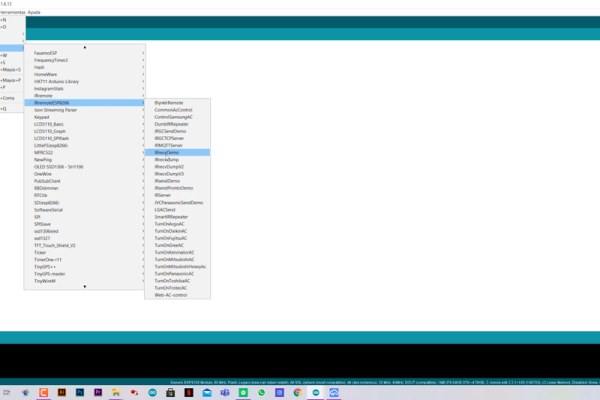
- Open your Arduino IDE.
- Go to File > Examples > IRremoteESP8266 > IRrecvDemo
- This example Code will let you copy the IR code that transmits the remote controller key you want to use.
- In the IRrecvDemo, update the kRecvPin to the one you have connected with the IR Sensor.
- Connect your ESP8266 to the programmer and connect the IR Sensor to your selected Pin.
- Upload the code.
- Open the Serial monitor and press the keys you want to know the code, and copy and save them on notes.
- Open the MCM-LED-DESK.ino code.
- Set the kRecvPin to 3, the pixels are connected on pin 0 and the pixels count in my case is 80.
- In the Leer() function, update the code of the If’s to the ones of your remote controller.
- Upload the code to the ESP8266 using the project PCB and a USB to TTL converter
Step 7: ESP8266 ADC Hack
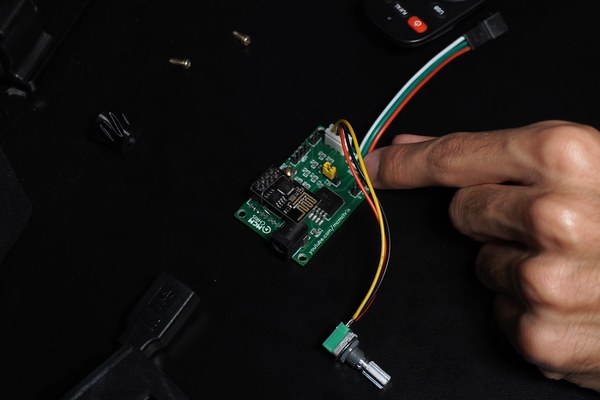
As you noticed, my design can be used with a ESP-07 or ESP-01, but in my case I used the ESP-01 and it doesn’t have the ADC (Tout) pin reachable so I had to solder a tiny wire in the Tout pin of the chip and connect it on the PCB ADC pin.
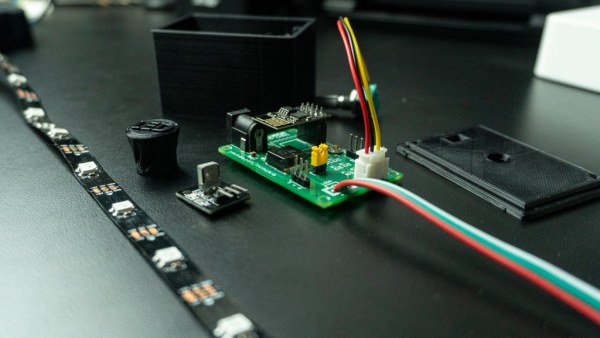
Step 8: Project Assembly
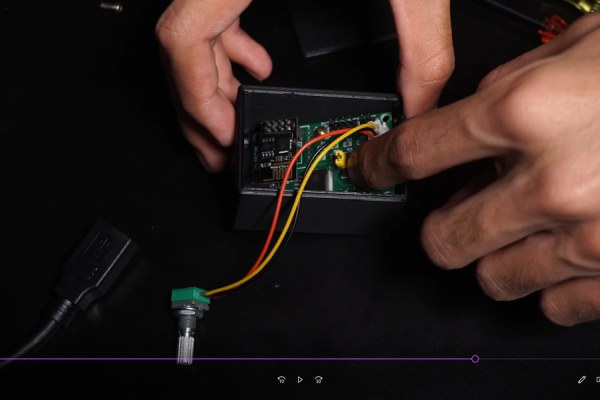
Place the PCB with everything connected already in the box, screw it, place the potentiometer nut and knob, glue the IR sensor and close everything with screws or more glue :D.
Step 9: Placing the Strips and Control Unit
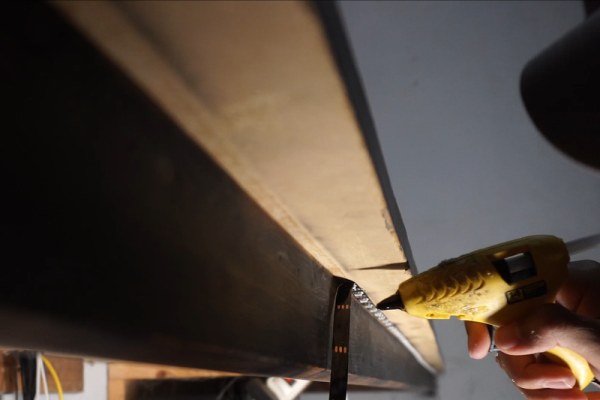
Glue the Strips on your desk or desired place, they already has glue but I secured them with some hot glue.
Cut it at your desk/place size, be sure the connector can reach the control box and glue it too.
Connect it and find a 5V 2A+ power Supply.
Step 10: Powering Up and Testing
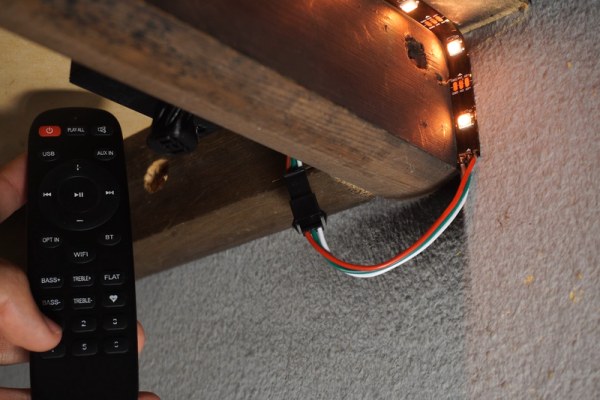
Plug the power supply to the control box and take your remote controller and test your settings and brightness control with the potentiometer.
Enjoy your project and your set up.
You are free to modify the code and add the colors and animations you want.
Source: Smart Desk LED Light | Smart Lighting W/ Arduino | Neopixels Workspace