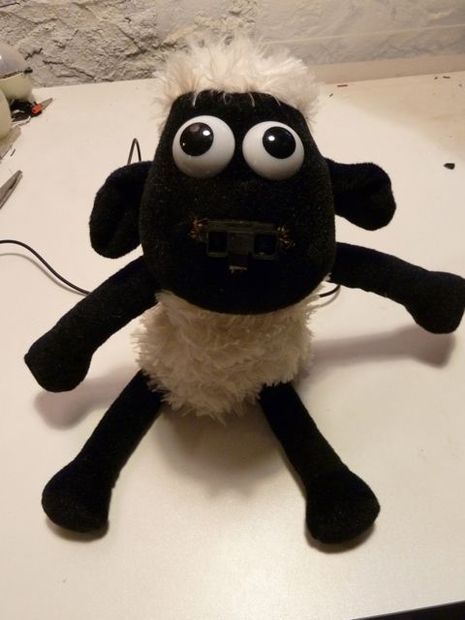
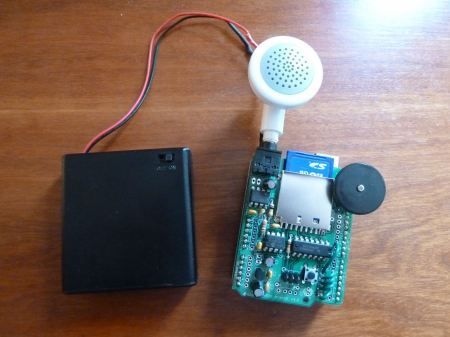
Make A “doorbell” using an Arduino Uno, a Wave shield from Adafruit, a small speaker, a plug, a Sharp distance sensor and a Shaun the Sheep. Our Shaun is used in an open doorway to alert store staff when a customer has entered.
Step 1: Parts List
2. Arduino Uno – $30
3. Power plug – $7
4. Sharp Distance Sensor – $14.95
5. Shaun the Sheep found on eBay – make sure it is a large one . Ours was the 16 inch one.
6. JST 3 pin cable – $0.99
6. Altoids tin or other small box
7. Needle & Thread
8. Electrical tape
9. Soldering Iron & Solder
10. Velcro tape or tabs from local hardware stor
Step 2: Wave Shield
First assemble the Wave shield kit from Adafruit.
It took us about two hours of soldering and wasn’t too hard. Just take your time and go slow.
You can find the Wave Shield complete directions here .
Step 3: Sounds
The next step is to find your sheep sounds and convert them to WAV files. Note you cannot use MP3 files or any other kind of sound files.
Not having any live sheep handy to record, I found my sounds at Adopt A Farm . The quickest way to convert files is to use iTunes.
Once again, Adafruit has complete directions on how to do this here.
Once you have 7 different sheep sounds label them BAA1.WAV, BAA2.WAV, etc.. Then put them onto your SD card and put the SD card back into the Wave shield.
Step 4: Test
At this point we put the Wave shield onto the Arduino and uploaded an example code from Adafruit.
If you don’t have the Arduino software or IDE you can download it at Arduino.cc. You will also need to download the WAV library.
Now plug speaker or some headphones into the headphone jack, just to test that it works. If something doesn’t work here, go back to the previous steps until you find what isn’t working.
For more detail: Shaun The Noisy Sheep


