This is a self sufficient Arduino board, which is powered by harnessing solar power and using a 9V rechargeable battery. It is perfect for anyone who is interested in doing Arduino projects that do not require a computer or any power supply. You can take this to the most remote places for any project.
Step 1: Setting up the Arduino board
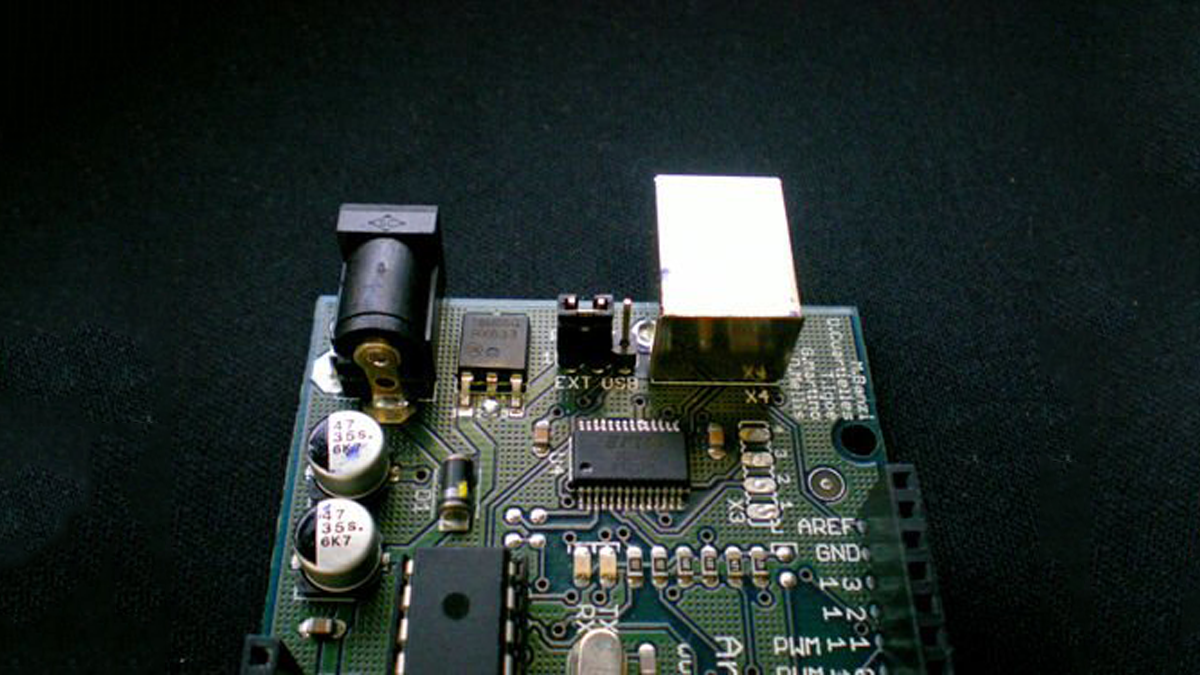
This is probably the simplest step (please use the schematic as reference for wiring before doing anything else).
Change the jumper of the Arduino board to “EXT”
Step 2: Understanding the components
This step would require you to have a basic understanding of the components and their polarities. This is probably the toughest bit of the setup. For easier understanding, I have used red wires for positive and black wires for negative.
Step 3: Getting the power connector ready
Solder the positive and negative wires to the power connector as shown in the picture. The power connectors come in different diameters, so do choose the correct size to fit the Arduino board.
9V Rechargeable battery
Solar cells (About 11V)
1N4001 diode
100uf 10V capacitor
Arduino board
9V battery connector
Power connector (to connect to the Arduino board)
For more detail: Self Sufficient Arduino Board