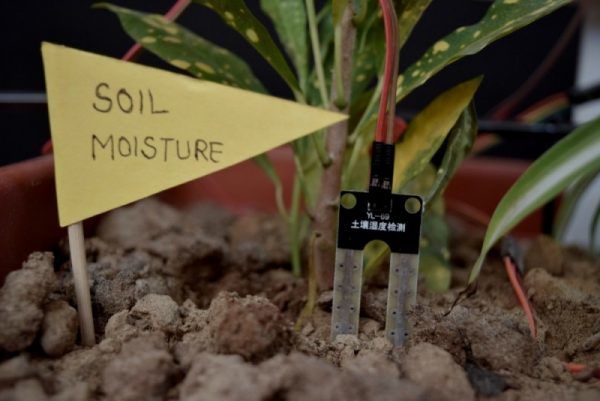
The problem we picked was – Growing plants in limited space by amateurs. Many people would like to grow plants (basic vegetables, herbs for the kitchen, etc) but do not have enough space in their house to do so. They also may not have the expertise to grow plants, so would need an easy DIY solution. Solving this is important, especially in urban areas, because it will help households become more self sufficient.
Solution:
Our group decided to build a Self Irrigating Planter. The planter is stack able and small in size Therefore, it can be stored in small areas in the kitchen. Because these plant will be grown by amateurs, we decided to build a self irrigating mechanism to water the plant. The user just needs to fill the water tank once. After this, they can forget about the plant and go about their life.
This is a log of how our group built a Self irrigating Planter. The basic mechanism behind the planter is as follows:
The moisture senor periodically measures the moisture in the soil. If the value is lower than the set threshold, the arduino trigger the pump to run. The pump lifts the water from a tank into the soil.
Required Materials:
- Arduino Uno
- Small Water Pump
- Moisture Sensor
- Relay
- Wires
- Bread Board
- 9V Battery
Step 1: Connect the Moisture Sensor to the Arduino
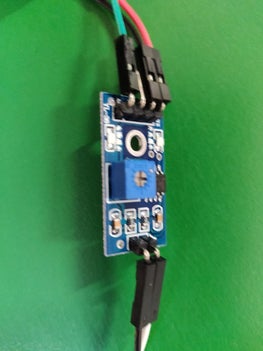
To attach the cables according to the photos, first, connect both the pins from the Moisture sensor to the the two pins in the Amplifier. Next, connect the analog pin to on the amplifier to A1 ‘analog in’ on the arduino. Connect the remaining two pins to separate rows on a bread board.
Step 2: Connect the Pump and the Battery to the Relay
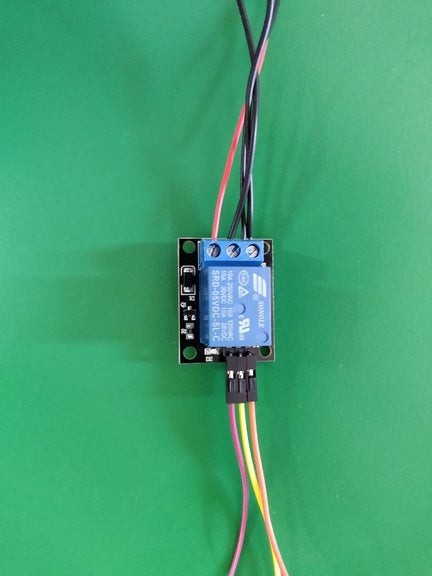
Connect the Pump to the relay is the same way as shown in the image.
Negative pump to center.
Positive pump to left.
Negative Battery to the right of the relay.
Positive battery to left.
(Crag cursor on the image to see labels)
Step 3: Connect the Relay to the Bread Board and Arduino
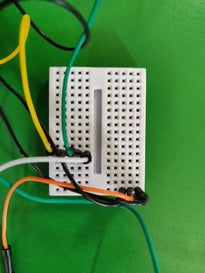
Connect as shown in the picture.
Center relay pin goes to the center on the bread board.
Right relay pin goes to the right of the bread board.
Left relay gin goes to the digital pin 13 in the arduino.
Now connect the right of the bread board to the ground pin on the arduino.
Connect the center of the board to the power pin in the arduino.
Step 4: Input the Following Code on the Ardunio IDE
const int sensor_pin = A0; /* Soil moisture sensor O/P pin */
  float moisture_percentage;
  int motorPin = 13;
  const int min_moisture = 50;

void setup(){
  pinMode(motorPin, OUTPUT);
  Serial.begin(9600); /* Define baud rate for serial communication */
}
void loop() {
  int sensor_analog;
  sensor_analog = analogRead(sensor_pin);
  moisture_percentage = ( 100 - ( (sensor_analog/1023.00) * 100 ) );
  Serial.print("Moisture Percentage = ");
  Serial.print(moisture_percentage);
  Serial.print("%\n\n");
  if(moisture_percentage > min_moisture) {
        PumpWater();
    }
  else{
StopPump();
}
delay(1000);
}
void PumpWater(){
digitalWrite(motorPin, HIGH);
delay(1000);
}
void StopPump(){
digitalWrite(motorPin, LOW);
delay(1000);
}Step 5: Final : Assemble
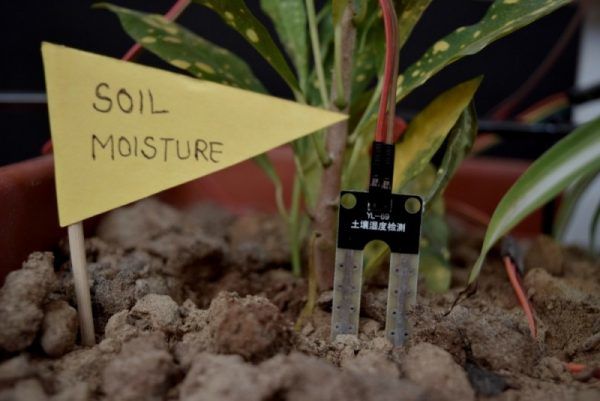
Finally, assemble the circuit onto the planter. Put the moisture sensor into the soil. Attach pipe to pump and keep the other end near the soil.
That’s it. The moisture sensor should be ready now.
Source: Self Irrigating Planter (with Moisture Sensor)
