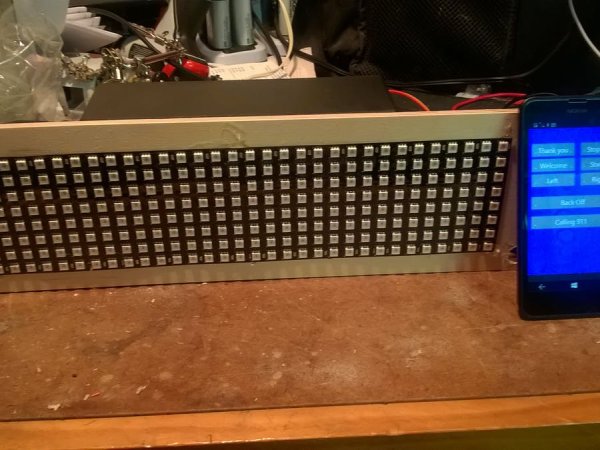
Ever want to say thanks to the nice person who just let you in line? I have thought a lot about that, and here is my solution.
Things used in this project
Story
For as long as I have been driving, I have wanted to be able to communicate with in a more meaningful way with the random drivers around me. It seemed to me that a flash of the lights, a wave of a hand, a gesture involving way more than an wave of the hand, a honk, or a slam on the brakes all ended up being a very crude mechanisms of communication.
The inspiration for this was a James Bond film where, in the opening scene, he had some text that was displayed in the back window of his Austin Martin. I thought, I could really tell (not just express with wavy hands) the driver in the other vehicle exactly what I was thinking.
Here is a bench demo:
bench demo
And a quasi-live action demo:
almost live action demo
Here is the concept sketch:
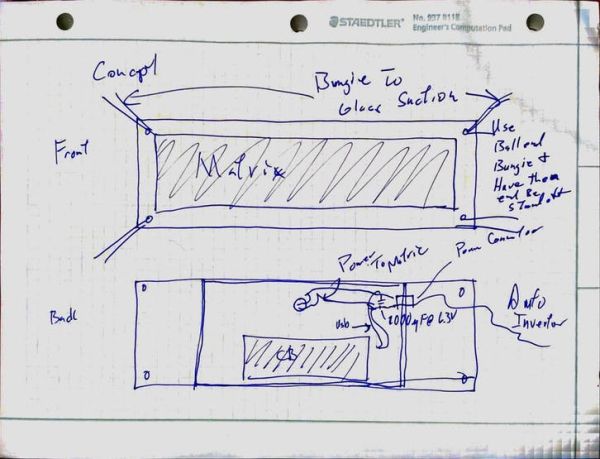 the concept
This project had an additional challenge because the MKR1000 is a pre-release board and there is no formal documentation. There is a very good starting point on Hackster:
https://www.hackster.io/charifmahmoudi/arduino-mkr1000-getting-started-08bb4a
So on the first step of the project:
Get the MKR1000 talking
I was lucky to get in the forum sponsored by http://arduino.cc, which had a private forum for us per-release board owners. After a solid Saturday, I managed to be able to program the board and get all of the components to work.
My current setup involves the Arduino IDE version 1.6.9 hourly build. If you are like me, then using “hourly” builds in a project makes you “uncomfortable” at the very least.
Once I had the IDE installed, I downloaded the drivers for the board with the IDE’s Board manager. I also loaded the following libraries using the IDE library manager: Adafruit DotStar, Adafruit DotStarMatrix, Adafruit GFX, ArduinoJson, and Windows Virtual Shields for Arduino.
When this board is officially released, the process will be much more simple. So, I am not going to detail it here. There is a reference to a project to help you do this at the end of the article.
Rule number 1 of build electronics: Never let the magic smoke out of the circuit!
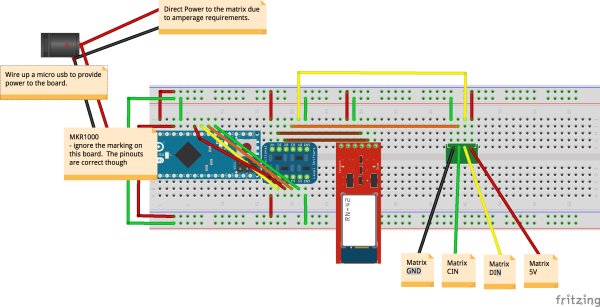
The MKR100 is a 3v3 based board. Not having all of the documentation I would like, I didn’t know if they were 5 volt tolerant. Not only that some of the components really want to have 5 volts available to establish proper logic 1 and 0.
This brought out the need for the 4 channel bidirectional level shift by Adafruit. Both the bluetooth card and the especially the DotStar matrix really like a full 5 volts. So, be careful when hooking these things up.
Make sure the components work
Before I worried about making everything work together, I want to make sure that all the components worked.
I started with the <insert link>Adafruit 8×32 DotStar matrix. I found that the connections I had were a bit flakey. To make this not an issue, I used a some header pins I had laying around and just soldered them up.
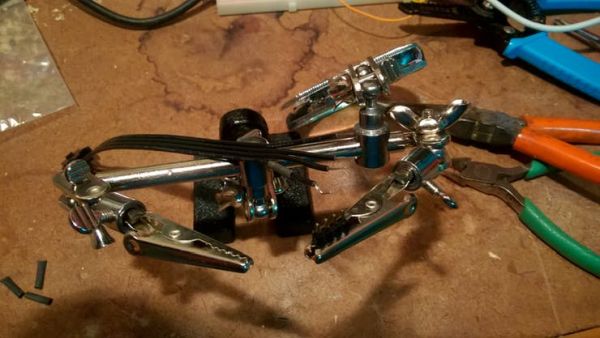 about to solder up the header pins
With the header pins firmly attached. I routed the Data and Clock In to the SPI pins marked SDA and SCL on the MKR1000.
With the header pins firmly attached. I routed the Data and Clock In to the SPI pins marked SDA and SCL on the MKR1000.
I loaded the example sketch “File > Examples > Adafruit DotStarMatric > matrixtest” into the IDE. Adjusted the DATAPIN to 11 and CLOCKPIN to 12 in the code. Built and deployed the solution. After a bit of with option for the matrix I ended up with a working display.
Next up was getting the Virtual Shield working over the Bluetooth adapter. It was really straight forward. I followed the instructions mentioned on the github repository https://github.com/ms-iot/virtual-shields-arduino. The only change I had to make was the TX and RX pins. Those are pins 14 and 13 as marked on my board.
I would note though that in previous incarnations I had to disconnect the TX/RX pins to upload new sketches. I am happy to report that this is no longer the case.
Walk through the code
Now that everything is working I will take a moment and walk through the code specific to this project.
In order to access all of the functions you need to include the following:
#include <SPI.h>
#include <Adafruit_GFX.h>
#include <Adafruit_DotStarMatrix.h>
#include <Adafruit_DotStar.h>
#include <ArduinoJson.h>
#include <VirtualShield.h>
#include <Text.h>
#include <Graphics.h>
#include <Recognition.h>
#include <Colors.h>
The first 5 includes should be pretty explanatory .
The VirtualShield.h contains the base functionality for communication over the bluetooth adapter. This is required no matter which of the sensors you wish to access.
The Text.h file gets your better text, i.e. String handling.
The Graphics.h, Recognition.h, and Colors.h contain the functionality that you need to access the virtual screen, and enable the voice recognition. Although, not finished for this challenge, I will code up the voice features in the future.
Next up in the list of important lines of code, initializing the DotStar matrix and initializing the Shield object:
Adafruit_DotStarMatrix matrix = Adafruit_DotStarMatrix(
  32, 8, DATAPIN, CLOCKPIN,
  DS_MATRIX_TOP     + DS_MATRIX_LEFT +
  DS_MATRIX_COLUMNS + DS_MATRIX_ZIGZAG,
  DOTSTAR_GBR);

const uint16_t colors[] = {
  matrix.Color(255, 0, 0), matrix.Color(0, 255, 0), matrix.Color(0, 0, 255),
  matrix.Color(255, 0, 255), matrix.Color(255, 0, 106), matrix.Color( 255, 255, 255) };

VirtualShield shield;
Graphics screen = Graphics(shield);
Recognition speech = Recognition(shield);
The first line tells the DotStar library the size and layout of the matrix. Refer to the matrixtest example or the Adafruit_DotStarMatrix.h file for the various options.
The colors are for the DotStar library.
The last 3 lines fire up the shield and initialize the objects in order to work with the sensors in the phone.
Next like all Arduino sketches we need to handle the setup() method
void setup() {
  matrix.begin();
  matrix.setTextWrap(false);
  matrix.setBrightness(40);
  matrix.setTextColor(colors[0]);

  DisplayText("Initializing...", 4, 10);

    // set up virtual shield events:
    shield.setOnRefresh(refresh);
    speech.setOnEvent(onSpeech);
    screen.setOnEvent(screenEvent);

    // begin the shield communication (also calls refresh()).
    shield.begin(); //assumes 115200 Bluetooth baudrate


  DisplayText("Initializing...finished", 3, 10);
}
The “matrix” lines are fairly self-explanatory and with those lines being executed this gives me the ability to now put out some informational messages to the matrix.
The “shield” lines now setup callback methods. These methods will be called as needed when events happen.
Now for the most complicated method of the whole sketch
void loop() {
  // checkSensors() checks for return events and handles them (calling callbacks). This is VirtualShield's single loop() method.
  shield.checkSensors();
}
Yep, you got it. We continually check if an of the sensors have fired and event that needs dealing with.
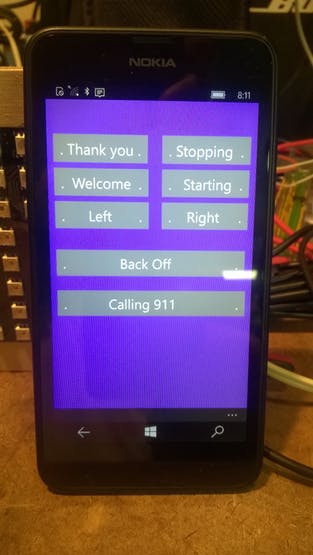
Ok now, lets really handle some events. The first up is the refresh() method. It will be called when a number of different events happen. The one event we care about at the moment is when the bluetooth is connected. We need event so that we can redraw the screen so it looks like it should.
void refresh(ShieldEvent* shieldEvent)
{
  // put your refresh code here
  // this runs whenever Bluetooth connects, whenever the shield.begin() executes, or the 'refresh' button is pressed in the app:
  screen.clear(ARGB(123,86,204));
  screen.drawAt(0,0, "");

  thanksId      = screen.addButton(10, 50,   ". Thank you .");
  welcomeId     = screen.addButton(10, 100,  ".  Welcome  .");
  turnLeftId    = screen.addButton(10, 150,  ".      Left       .");
  stoppingId    = screen.addButton(175, 50,  ". Stopping  .");
  startingId    = screen.addButton(175, 100, ".   Starting  .");
  turnRightId   = screen.addButton(175, 150, ".    Right     .");
  backoffId     = screen.addButton(10, 225,  ".              Back Off                 .");
  calling911Id  = screen.addButton(10, 290,  ".           Calling 911                .");
}
This method clears the screen with a light purple background and proceeds to put the various buttons on the screen. Notice the spacing around the words. This is a current limitation of the virtual shield functionality as I really wanted to center things up to make them look nice.
So what happens when I touch one of those buttons? An event gets fired and it is handled in the following bit of code.
void screenEvent(ShieldEvent* shieldEvent)
{
  if(screen.isPressed(thanksId))
  {
    DisplayText("Thank You", 5, 100);
  }

  if(screen.isPressed(welcomeId))
  {
    DisplayText("You're welcome", 2, 100);
  }
  if(screen.isPressed(backoffId))
  {
    DisplayText("Please back off", 4, 100);
  }
  if(screen.isPressed(stoppingId))
  {
    DisplayText("...stopping...", 0, 100);
  }
  if(screen.isPressed(startingId))
  {
    DisplayText("...starting...", 1, 100);
  }
  if(screen.isPressed(turnLeftId))
  {
    DisplayText("Turning LEFT", 3, 100);
  }
  if(screen.isPressed(turnRightId))
  {
    DisplayText("Turning RIGHT", 3, 100);
  }
  if(screen.isPressed(calling911Id))
  {
    DisplayText("Calling 911", 0, 100);
  }
}
An event comes in, code checks which button is pressed and we call the DisplayText method with the stuff to show.
And finally how does the text get out to the matrix? The DisplayText method will handle that for you.
void DisplayText(String message, int colorIndex, int currDelay)
{
  int x = matrix.width();
  int maxX = -1 * (message.length() * 5 + message.length());
  matrix.setTextColor(colors[colorIndex]);

  while( x > maxX) {
    matrix.fillScreen(0);
    matrix.setCursor(x, 0);
    matrix.print(message);

    --x;

    matrix.show();
    delay(currDelay);
  }
}
This method figures out how wide this string really is. We need to know, so that we can make sure the string is fully scrolled into and out of view. The letters are 5 wide + 1 for the space between the letters.
Build the enclosure
The build was fairly straight forward. I found a decent sized box that was larger than the matrix footprint. Got a piece of 1/4″ baltic birch that was larger than I needed and cut it to size.
Pro Tip: Dont try and measure this. Just put the box on the tablesaw and push the fence snug.
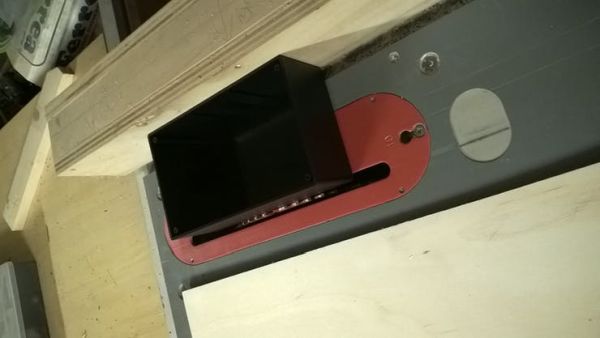
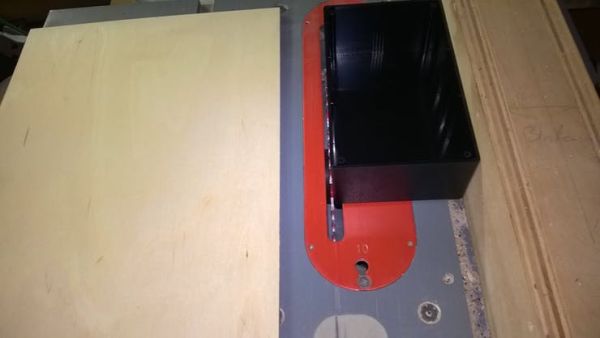
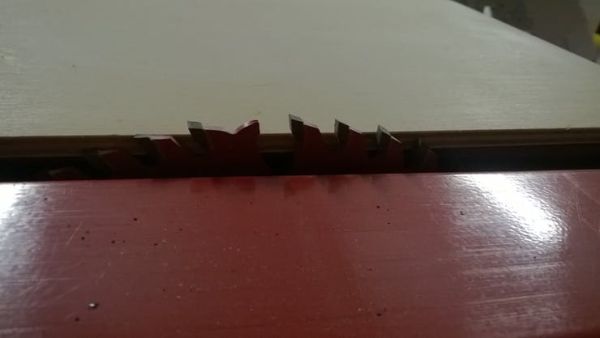
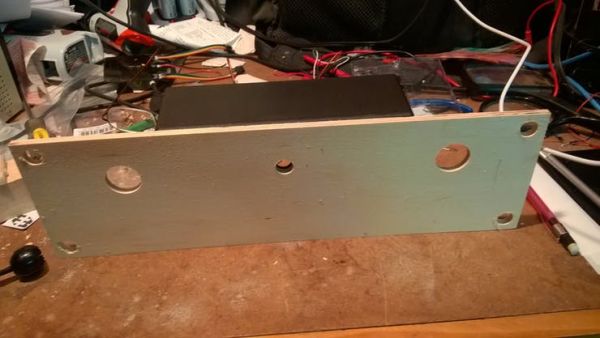
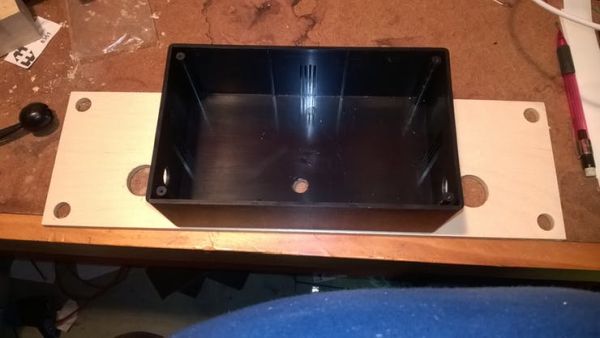
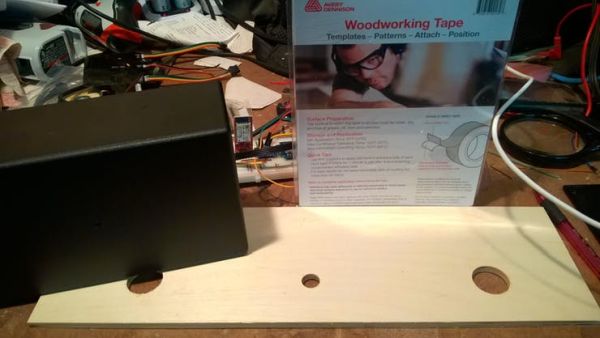
Using the same technique as the table saw. Start by laying the matrix on the plywood. After it is positioned, then mark the horizontal and vertical centers of the connections (including the auxiliary power connection). All that you need todo now, is connect the lines to find the center of the holes you are about to bore.
Yes I said ‘bore’, not ‘drill. The last time I was “drilling” holes in plastic, I had some really unsatisfactory results. This time around I used Forestner bits. I have a picture of them below. Notice ow the edge is for cutting and the center has a scraper to scoop out the unwanted wood. Makes a much nicer “hole”. Now, get to ‘boring’ and you probably want to go ahead and bore the suspension holes.
Get a piece of 120 Grit sandpaper and lightly sand the entire piece. Make sure the ‘ease’ the edges of the board includes all the holes that were just made. Make sure to wipe the board down, so that there is no saw dust of other “stuff” on the board.
Now it is time work on the plastic box.
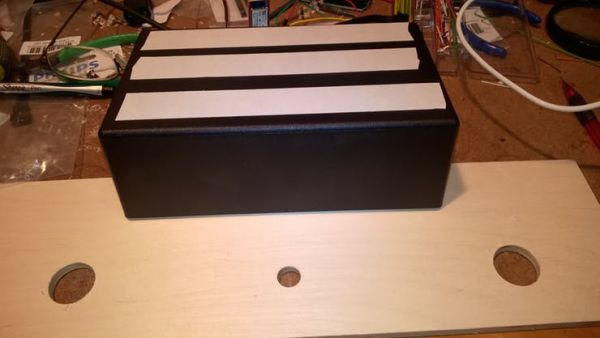
Bore two holes at either end of the box. These are for the power connector and the connection to the matrix. Don’t drill the matrix auxiliary power hole just yet.
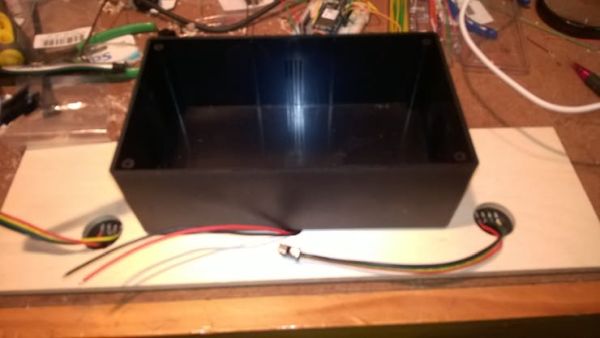
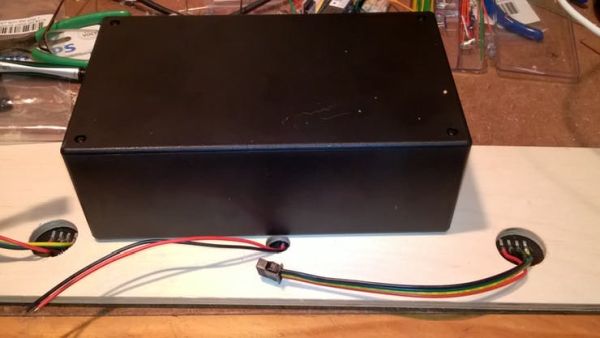
Now, apply a couple strips of the double-sided tape to the back of the box, and attach the box to the plywood. Since this is “reposition-able” tape, I really wanted this to stick for good. I set some heavy books on top and left it for 24 hours. Why 24 hours? The tape instructions say not to. That was a good enough reason for me.
Time for that last hole. You should now have an exact position for the auxiliary power connection hole. Bore that out, enjoy your ‘precise’ looking work.
Put the smarts in the box
Seems the breadboard was a just the right size for the box, but I wanted to be able to plug/unplug the usb connector from the MKR1000. So, I had to make the breadboard shorter.
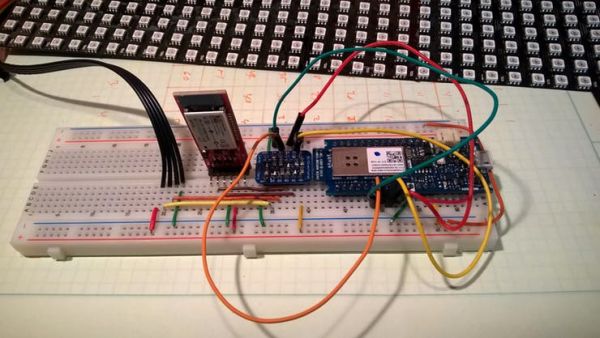
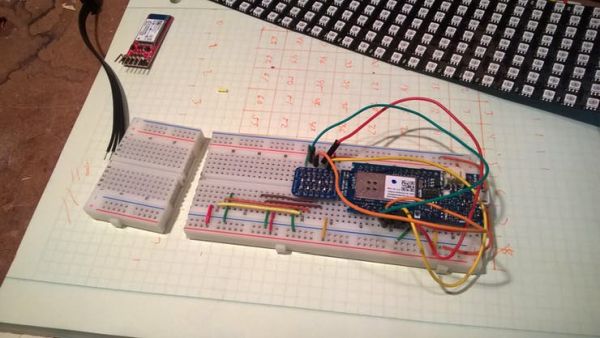
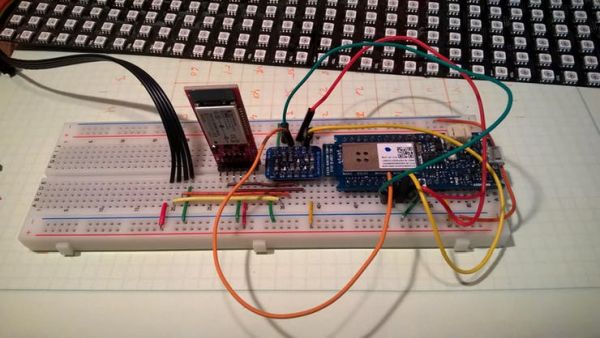
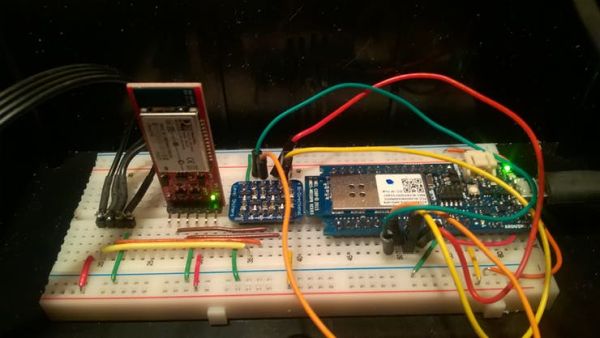
Ok after that trauma, un-peel the back of the breadboard and stick it down. Make sure to avoid the auxiliary power connection hole.
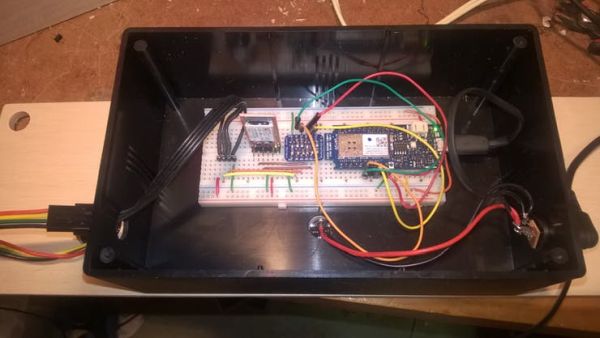
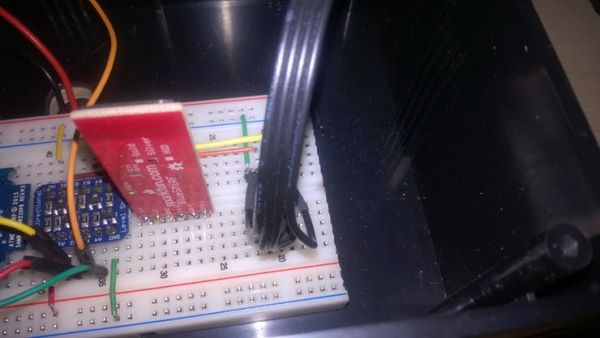

Attach the matrix to the front of the plywood threading the connections through the holes. Secure the matrix with some hot glue.
Lets talk power
Even though I have the brightness set to 40%, the max current if I light all 256 pixels is right about 7.5 Amps. Way more than the MKR1000 could possible provide. Luckily for me, none of the display is static and I am not lighting any where near the full matrix. The auxiliary power connection comes to the rescue. I am supplying up to 4A. I figure since it is not sustained and not static, the power supply should be good.
I also had a spare wall-wart that I used the end off to provide power to the MKR1000 when being powered on in the vehicle.
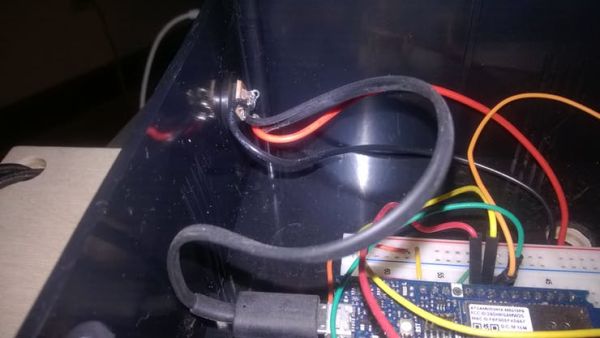
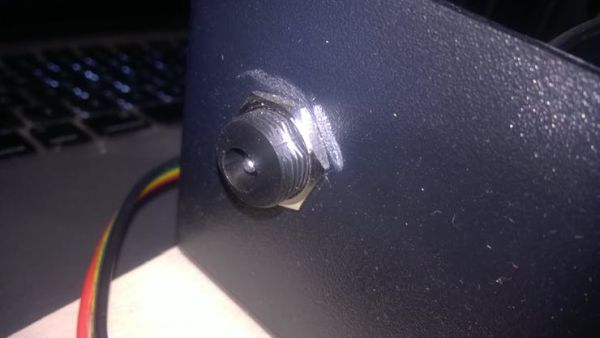
I was thinking about building a power converter into the project to take 12V car power and deliver the 5V to the project. After a lot of thinking, it was better in all respects to get a 5V 4A AC adapter for $5.00 and use an AC converter I already have. Simple is usually better when it comes to this stuff.
Hanging the sign
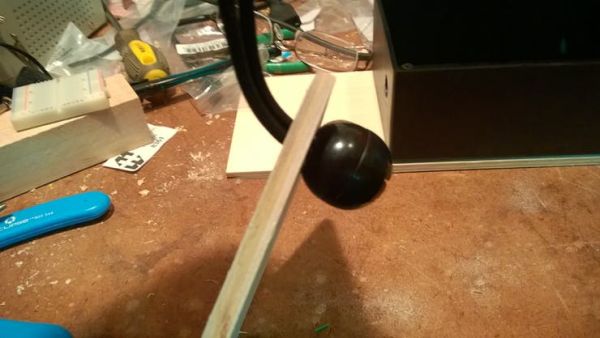
I had planned to use “Ball stretch cords” and some suction cups to secure this to the back windshield. Let’s just say, I have more work to do in the area.

Schematics
Code
Source : Say Thanks to all Courteous Drivers

