I was inspired by Frits Lyneborg’s Yellow Drum Machine. Watching the videos, it has such personality! I have also been thinking recently about sound and robotics. I did some research looking for a version of the robot that used the Arduino as a brain, but couldn’t find one that seemed so responsive and alive as Frits’ version.
I have attached the Arduino code for the robot. You will need to create a folder in your Arduino library and put both files in the folder. I separated the data for the “songs” because the code just got too long.
Step 1: Creating a stable base

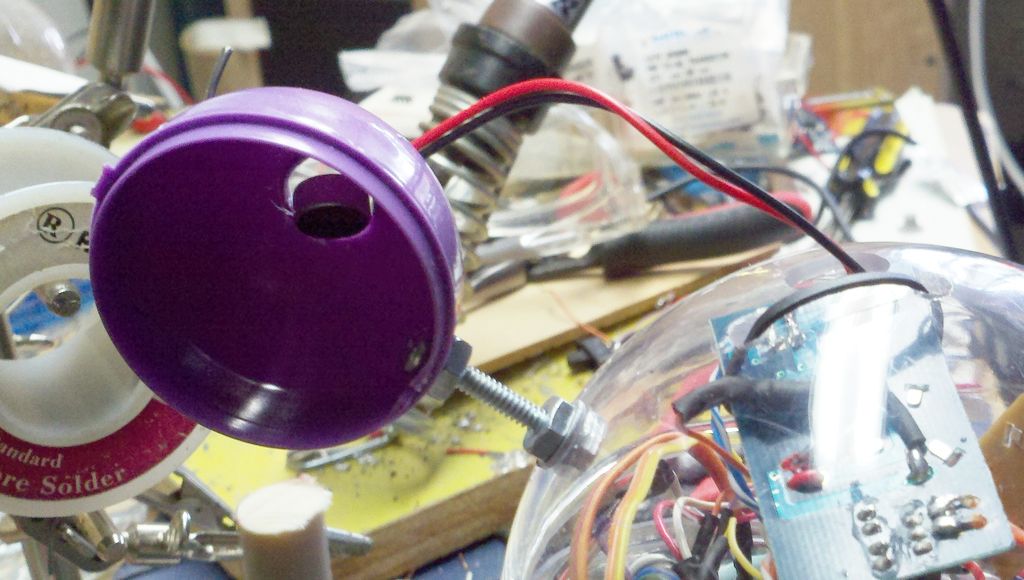
I love spheres, so I took an acrylic Christmas tree ornament from Hobby Lobby and cut a hole in the bottom to pass wires through. I used 1 1/2 inch #6 bolts and nuts as standoffs to hold the sphere above the six-legged base.But once I created the first hi-hat stick, I realized that I had no stable place to attach it to.
I had some 1/8 inch thick plastic sheet laying round, so I marked out a stretched hexagon to use as the base. I cut it out with a dremel and a plastic cutting blade. I attached it to the base with #6 machine screws. The base has some places that will take a machine screw.
Step 2: Hi-hat stick
I decided to make the hi-hat stick first, because it it the thinnest.I am using solenoids because the geared pager motors that Frits used cost $14 each from Solorbotics: http://www.solarbotics.com/product/gm10/ . Well, $12 plus shipping. I bought these solenoids from American Science and Surplus a very long time ago for about $1.50. There are some solenoids available for a reasonable amount. Allelectronics has one I’ve tested: http://www.solarbotics.com/product/gm10/ . It is strong enough at 7 volts using an RC car’s NiCad rechargeable battery to easily pull a drum stick. These solenoids only cost $1.50. I only did a little experimenting with this one, but I cut down the spring and bent back the flat metal and it looked like you could use it for a stick actuator pretty easily.
I cut pieces of square brass tubing for the fork. The fork provides a pivot point for the hi-hat stick. I use needle files to roughen up the areas where the brass connects. Then I put a little Everclear (pretty pure alcohol) on the joint to clean it. Then I light up the butane pen torch and apply heat. Once the joint is hot, I touch the solder to it and get a pretty strong connection.
Step 3: Finish and test the hi-hat stick

At this point I have the hi-hat stick solenoid working. It is triggered by the PING((( sensor as a test. The rear platform sticks out to allow room for the bass stick and solenoid. The PING((( sensor is attached to a little 9 gram servo mounted on the robot’s front. It scans the PING((( sensor back and forth. Later code compares readings when it is looking for an obstacle or looking for something to play on. Obstacle avoidance looks for the most open area, then turns the robot to face that direction. Looking for a surface to drum on does the opposite, trying to find the nearest object.
Step 4: Bass stick
The bass stick posed some problems. I tried to mount the solenoid horizontally, but it didn’t work well. I ended up with a vertical mount. The fork on the end of the square brass tubing fits onto the solenoid end securely. The solenoid makes a strong and quick sound when the robot is on a hard surface.
For more detail: The Revenge of the Yellow Drum Machine (Arduino)
