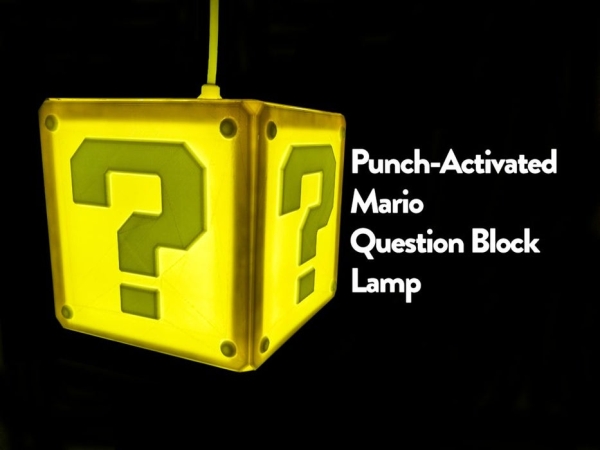
The Super Mario games were my childhood. I’ve always wanted to have some of the props in the games, and now that I have the tools to do it, I decided to start making them. The first up of that on my list is the Question Block. I managed to make the question block so that when you punch it, it either turns on or off. When it is triggered on or off it plays one of four sound effects from Super Mario Bros. It is designed to screw into a lightbulb socket and hang from the ceiling. If you wanted to hang it differently that can be done easily, all that has to be done is that it needs a 12V power supply routed to wherever you mount it.
Step 1: Materials and Tools
Materials:
- Yellow PLA filament
- White PLA filament
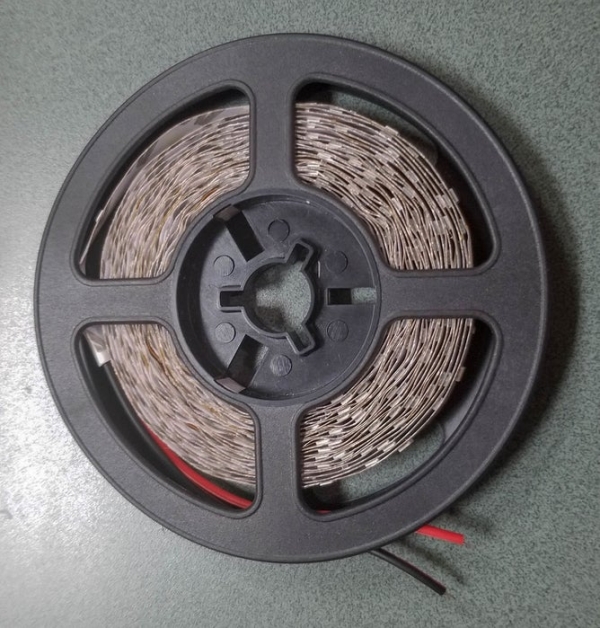
- 12V White LED Strip (5m roll)
- Arduino Pro Mini (ATMEGA328P 5V 16Mhz variant)
- SW420 Vibration Sensor
- 2N2222 tranistors
- TIP120 Darlington Transistor
- DC-DC Step-down converter (for the 12V to the 5V the arduino requires)
- 0.5W 8-Ohm speaker
- 12V 1A Power Supply
- 2 Core Sheathed Wire
- Misc. Wire
- M3 screws and nuts
Tools:
- 3D printer (preferably dual color, but single color will work it’s just harder)
- Wire Cutters
- Wire Strippers
- Super Glue
- Philips Screwdriver
- Utility Knife
- Soldering Iron
- 60/40 Lead Solder Rosin Cored
- FTDI Programmer and Mini-B USB Cable
- Hot Glue Gun
Step 2: Printing the Enclosure (If You Have a Dual Color Printer)
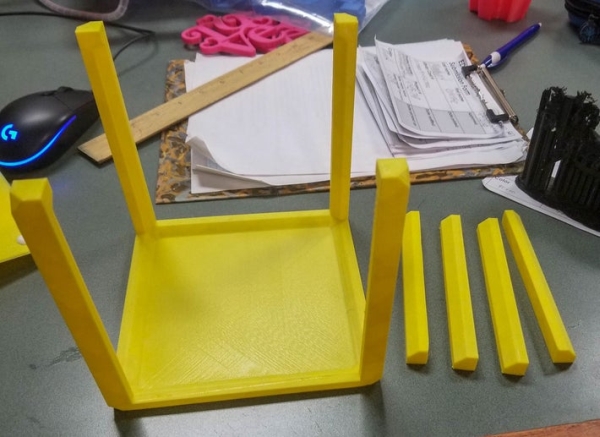
If you have a dual color printer this step is pretty straightforward. Print four of the side pieces, which uses yellow for the base piece and white for the other inner pieces (the pieces for this are called yellow and white). Then print the bottom base, four braces, and the top using yellow only. Don’t glue the side panels on yet because this will make installing the LED strip more difficult.
Step 3: Printing the Enclosure (If You Have a Single Color Printer)

If you are running a single color printer, while this is possible, it is much more difficult to print the side panels. All of the other pieces print exactly the same as they are single color. When printing the single color pieces print the bottom base, top, and four of the support pieces.
For the two color pieces print out four of the bases for the sides at normal settings in yellow PLA. Print out four sets of the inner pieces in white. Print out four sets of these pieces and super glue them into the holes cut out in the side panels.
Source: Punch Activated Mario Question Block Lamp