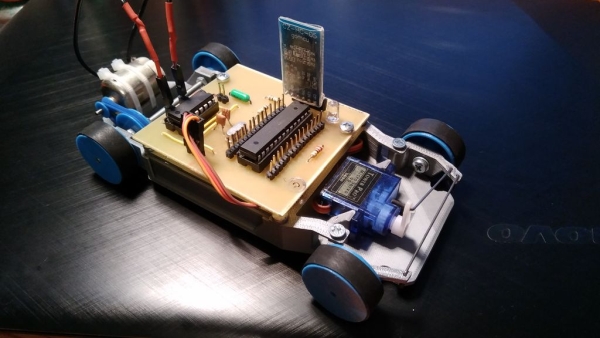
This car was made as a creative activity for students from Erazmus project. The Small Car celebrated big succes. So I’ve decided to share this small, unassuming and yet very educative project with community. It’s ideal to entertain students, for instance during public open day at schools. This project will help students master their 3D printing skills, PCB making skills, constructing skills and programming skills. And the best bit is price which can be pressed under 15 dollars for one car. This project is ideal for learning and after it can be used for entertainment as well. Very popular are races of these cars at my school.
Step 1: Required Parts and Tools
To build one awesome small car, you will need:
1x motor sized 130:
https://www.banggood.com/R130-Motor-Type-130-Hobby…
1x Bluetooth receiver
https://www.banggood.com/HC-05-Wireless-Bluetooth-…
1x l293d motor driver
https://www.banggood.com/1pc-L293D-L293-L293B-DIP-…
1x Atmega 328p
https://www.banggood.com/DIP28-ATmega328P-PU-MCU-I…
1x 16MHz crystal
https://www.banggood.com/10Pcs-HC-49S-16MHz-16-MHz…
1x Servomotor size micro
https://www.banggood.com/TowerPro-SG90-Mini-Micro-…
1x LiPo battery should be around 600mAh
https://www.banggood.com/3_7V-1S-600mah-50C-Batter…
4x M3 nuts
8x M3x8 screws
2x M3x16 countersunk screws
1x LED 5mm
1x 220 Ohm resistor
1x socket for 28 pin IC
1x socket for 16 pin IC
2x 10 kOhm resistor
1x 20kOhm resistor
Pinhead headers
1x 6pin female pin header
2x 1pin female pin header
2x rubber bands
8 cm long M3 threaded rod
heatshrink tube
sturdy wire
Tools needed
3D printer
Soldering iron
Screwdriver
Drill
Step 2: The Chasssis

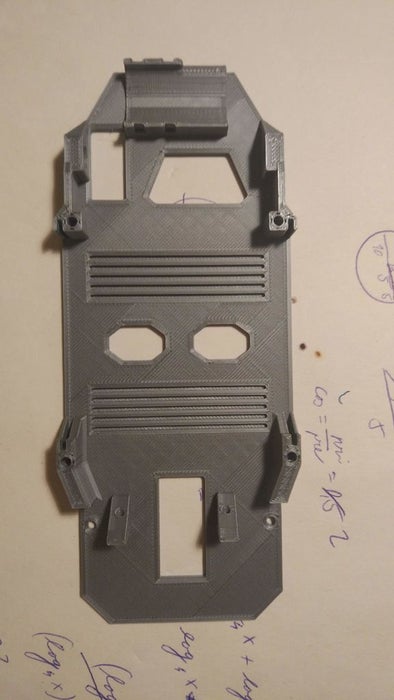
This step is rather simple. Just print the chassis. Yours will be little different in front, but that’s OK. It’s improved version.
Step 3: Attaching Servo

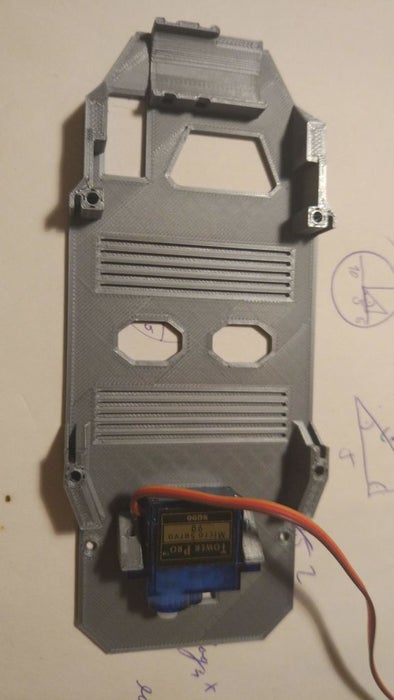
Some screws might be packed in with servo. Use them to attach servo to chassis.
Read more: Project Small Car
