Summary of Print Conductive Circuits With an Inkjet Printer
This tutorial shows how to modify a consumer inkjet printer to print electrically conductive circuits using silver nanoparticle ink, offering a fast, safe prototyping alternative to breadboards and traditional PCBs and serving as an introduction to printed electronics and inkjet-based fabrication methods.
Parts used in the Print Conductive Circuits With an Inkjet Printer:
- Inkjet Printer (Brother MFC-J450DW)
- Silver Nanoparticle Ink
- Refillable Ink Cartridges
- Refill Syringes
- Printer Paper
- Quick Drying Transparencies
- Electrical Tape (optional)
- Copper Tape (optional)
- Circuit Components (optional)
- LED (optional)
- 330 Ω Resistor (optional)
- ATtiny85 (optional)
- Dremel (optional)
- Power Drill (optional)
- Hacksaw (optional)
This tutorial will teach you how to modify your average inkjet printer to be able to print electrically conductive circuits. This technology is fairly new but can provide a faster and safer prototyping option for DIY printed circuit boards. This project also acts as an introduction to the larger field of printed electronics.
Step 1: Parts
Needed
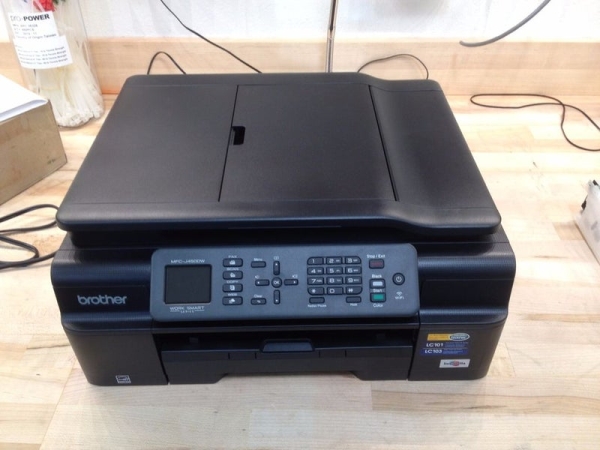
- Inkjet Printer ( Brother MFC-J450DW)
- Silver Nanoparticle Ink
- Refillable Ink Cartridges
- Refill Syringes
- Printer Paper
- Quick Drying Transparencies
Optional
- Electrical Tape
- Copper Tape
- Circuit Components
- LED
- 330 Ω Resistor
- ATtiny85
- Dremel
- Power Drill
- Hacksaw
Step 2: What Are Printed Electronics?
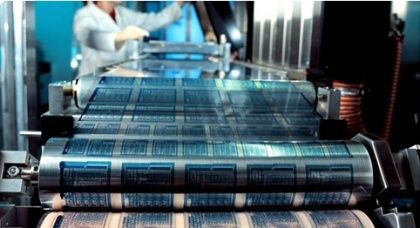
Printed electronics can refer to a wide range of techniques that are used to print electrical devices onto a substrate. A substrate is just the technical term for any substance that the printing process takes place on such as paper, glass, cover slips, etc. The techniques for printing electronics are still largely being developed. Some of the main techniques include screen printing[1], rotogravure[2], and inkjet.
Why use printers at all for electronics? Currently there are two main ways of prototyping a circuit, breadboards and printed circuit boards (PCB). They both have their own pros and cons. A breadboard allows for a cheap way to easily connect wires and different components. However the standard layout of a breadboard means that you must conform your parts to fit what you are given.[3] A PCB can be designed to suit the exact needs of the project you are working on. The manufacturing costs of the PCB are its downfall for hobbyists however. It can take weeks to have your order made and shipped to you or the use of potent chemicals if you wish to etch it yourself.[4] The ability to print electronics on demand combines the best qualities of a breadboard and PCB. They are cheap to print, easy to add parts to, and can be revised very quickly. Printing electronics is becoming to the electronics industry what 3D printing has become to the mechanical industry.
Step 3: How Do Inkjet Printers Work?
This project will focus on the inkjet printing method for it is the cheapest and easiest method for hobbyists to get started with. Inkjet printers work mainly by one of two ways. The first being a “Thermal Bubble” where a current is first sent through tiny resistors in the print head. These resistors give off heat and vaporize some of the nearby ink. This vaporization of the ink creates a gas bubble which, as it expands, pushes ink out of the nozzle in the form of tiny droplets. When the bubble eventually pops, a vacuum is created in its absence which refills the nozzle with ink.[5]
The second method is known as a “Piezoelectric” printer. Piezoelectricity is a material property where if a mechanical stress is applied, an electric potential is created. The opposite is also true, if a piezoelectric material is exposed to a change in electric potential energy, then its volume will change.[6] Piezoelectric printers utilize this property by having piezoelectric crystals in the print head’s ink reservoir. When a voltage is applied to these crystals they deform and expel tiny ink droplets out of the nozzle. [5]
Read more: Print Conductive Circuits With an Inkjet Printer
- What is the main goal of this tutorial?
To teach how to modify an inkjet printer to print electrically conductive circuits using silver nanoparticle ink. - What printer model is mentioned as used in the project?
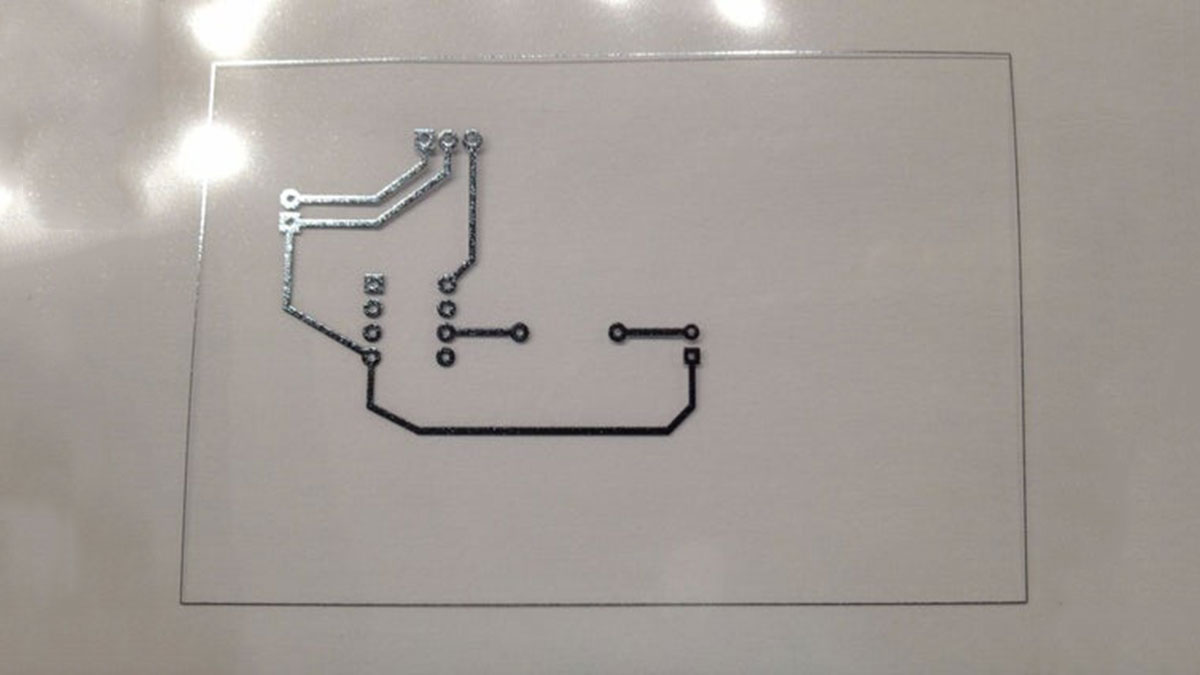
Brother MFC-J450DW is mentioned as the inkjet printer used. - What conductive material is used for printing circuits?
Silver nanoparticle ink is used for printing conductive circuits. - What consumables are needed to load the conductive ink into the printer?
Refillable ink cartridges and refill syringes are needed to load the conductive ink. - What substrates are suggested for printing?
Printer paper and quick drying transparencies are suggested as substrates. - Why use inkjet printing for electronics prototyping?
Because it is cheap, fast, easy to revise, and combines advantages of breadboards and PCBs for hobbyist prototyping. - What other fabrication techniques are mentioned in printed electronics?
Screen printing and rotogravure are mentioned alongside inkjet techniques. - What are the two main inkjet print head technologies described?
Thermal Bubble and Piezoelectric print head technologies are described. - How does a Thermal Bubble print head expel ink?
It heats tiny resistors to vaporize ink and create bubbles that push droplets out of the nozzle, then the nozzle refills when the bubble collapses. - How does a Piezoelectric print head work?
Piezoelectric crystals deform when voltage is applied, expelling tiny ink droplets from the nozzle.