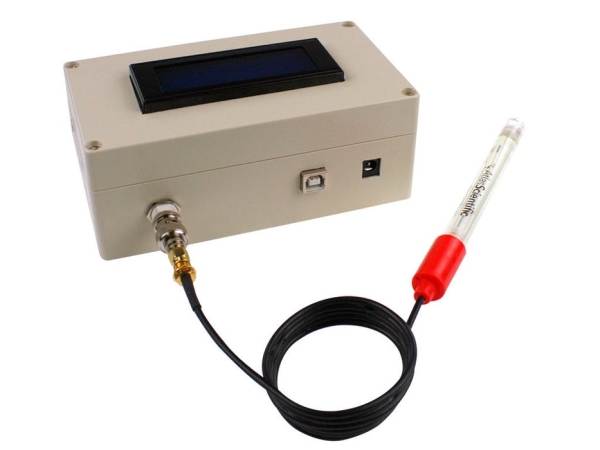
pH meters are scientific instruments used for measuring the activity and concentration of hydrogen-ions in water-based solutions, with the aim of indicating its acidity or alkalinity expressed as pH values. They find application in water & wastewater treatment, pharmaceuticals, chemicals & petrochemicals, food & beverages, mining, and agricultural processes to mention a few. For today’s tutorial, we will attempt to build an accurate, DIY version of this very useful tool.

pH meters comprises of majorly a probe and a processing unit which interprets the data from the probe and displays in a human readable format. pHmeter essentially measures the difference in electrical potential between a pH electrode and a reference electrode. As a result of this, pH meters are sometimes referred to as a “potentiometric pH meters”.
While there are several DIY pHmeter examples on the internet, today’s project will be based on the examples provided by Atlas Scientific. We will use the Atlas Scientific pH probe and their Gravity analog pH meter breakout board. The Gravity analog pH meter breakout board is a fairly accurate low-cost pH metering solution specifically designed for Students / education, Proof of concept developments and pH metering applications requiring moderate accuracy levels. It comes with a BNC port through which it can be connected to the Atlas Scientific pH probe.
Asides the pH breakout and the probe, we will use an Arduino Uno and a 20×4 LCD display. The Arduino will serve as the brain for the project obtaining the pH level from the probe while the LCD will serve the purpose of providing visual feedback to the users as the value obtained by the Arduino will be displayed on the LCD.
To make the project neat, Atlas Scientific also created a nice enclosure and we will follow the steps outlined by them to create our own.
Read more: PHMETER – ARDUINO PH METER
