Summary of OLED Tutorial | Convert SPI to I2C
This tutorial explains how to interface OLED displays with Arduino, specifically focusing on converting SPI-based screens to I2C. It compares the two interfaces, highlighting I2C's advantage of requiring fewer pins. The guide details the hardware modification needed to switch modes by shorting a resistor path and connecting specific pins to power or ground. Finally, it outlines the necessary Arduino connections, including pull-up resistors, and provides programming instructions using the u8glib library to display text and shapes.
Parts used in the OLED Display Interfacing Project:
- OLED Display (SPI or I2C models)
- Arduino Board (Nano, Uno, or Mega)
- SCL Pin
- SDA Pin
- Resistor R8
- 10K Pull-up Resistor
- u8glib Library
In this tutorial, we are going to learn about OLED displays. Which can be very easily interfaced with Arduino and can display important parameters for your project, and see how to convert these screens from SPI to I2C,
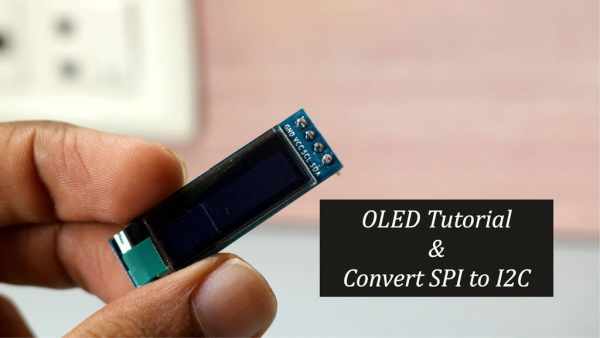
So let’s get started!
Step 1: Watch the Video !
If you don’t want to read all the stuff You can watch my video Click Here
Step 2: SPI V/s I2C
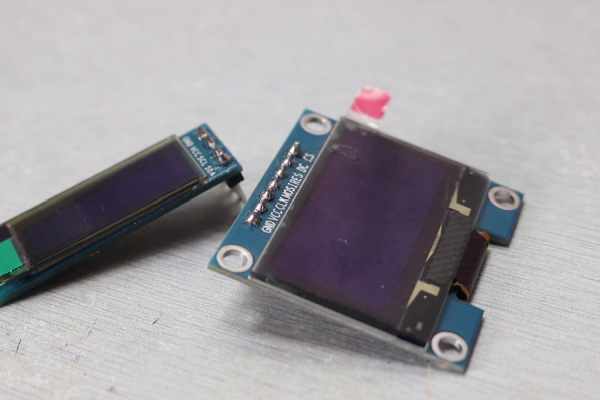
These OLED displays come in various sizes and two different interface number one I2C which use the I2C bus of the Arduino and requires four pins to operate two for the power and the other two are SCL which is nothing but serial clock and SDA which is serial data.
Talking about SPI it is faster than I2C. But we generally prefer the I2C interface over the SPI because it requires fewer numbers of pins as compared to SPI but if you have SPI OLED you can easily convert it to I2C.
1.3 inch OLED SPI – https://www.gearbest.com/lcd-led-display-module/pp…
0.96 inch OLED I2C – https://www.gearbest.com/lcd-led-display-module/pp…
0.91 inch OLED I2C – https://www.gearbest.com/other-accessories/pp_0098…
Step 3: Convert SPI to I2C
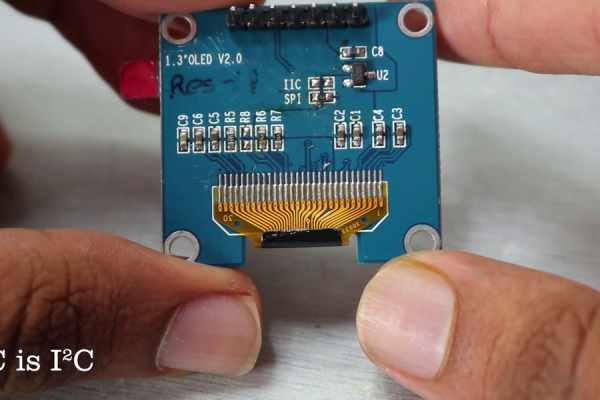
If you flip around your display you will observe your display has indications to convert SPI to I2C (ICC means I2C). you will need to switch resistor from SPI to I2C and short the resistor path R8.
Now Vcc and the GND lines are the same but CLK will be your SCL, MOSI will be your SDA and you need to connect reset pin to Vcc and the other two pins to the GND
And now you can use the SPI OLED as I2C
Note-
not all models support conversion please check before you purchase
Step 4: Connections to Arduino
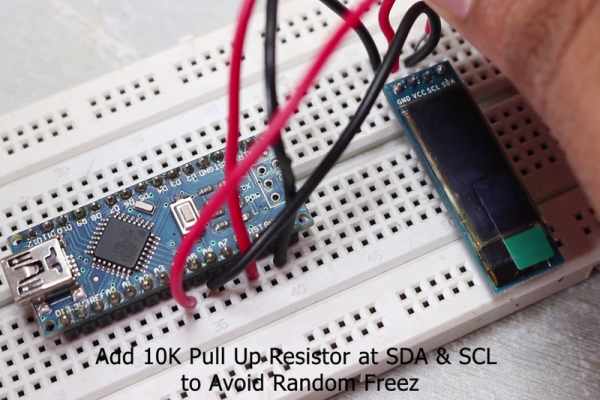
Now to interface this display to Arduino first we will need to connect the power and then connect SCL pin to SCL and the SDA pin to SDA pin of the Arduino. If you don’t know which pins you need to connect head over to the google and search I2C pins of the Arduino and here, you can see for the Arduino nano A5 is SCL and A4 is SDA. Similarly, you can do that for Arduino Uno and Arduino mega
Note:-
Add 10K pull-up resistor to SDA & SCL to avoid random Freez
Step 5: Programming
Now to display the information on OLEDs we need to program the Arduino for that, we will be using u8glib library.
Open Arduino IDE, in Sketch Tab select, Include Library then Manage Library, Now search u8glib library, scroll down and install it.
Let’s start with the Hello World program,
Here first you need to know your display model number mine is SD1306. So in program you need to uncomment your display model number in order for it to work.
In all the function first two parameters are x and y coordinates by changing them you can change the position of the text
And the third parameter for this function is text which you can change
There are several other functions which can be used to display circle or ellipse
You should check out the reference manual for the library if you want to learn more
https://github.com/olikraus/u8glib/wiki/userrefere…
Step 6: Thank You
If you like my work
Feel free to check out my YouTube channel for more awesome stuff:
https://www.youtube.com/c/Nematics_lab
You can also follow me on Facebook, Twitter etc for upcoming projects
https://www.facebook.com/NematicsLab/
https://www.instagram.com/nematic_yt/
https://twitter.com/Nematic_YT
Check out JLCPCB
$2 PCB Prototype (10pcs,10*10cm): https://jlcpcb.com
Source: OLED Tutorial | Convert SPI to I2C
- Why is I2C preferred over SPI for OLED displays?
I2C is generally preferred because it requires fewer pins compared to SPI. - How do you convert an SPI OLED to I2C?
You need to short the resistor path R8 and connect the reset pin to Vcc while connecting other pins to GND. - What are the SCL and SDA pin numbers for Arduino Nano?
For Arduino Nano, A5 is SCL and A4 is SDA. - What is the purpose of adding a 10K pull-up resistor?
A 10K pull-up resistor should be added to SDA and SCL to avoid random freezing. - Which library is used to program the OLED display?
The u8glib library is used to display information on the OLEDs. - How do you specify the display model in the code?
You must uncomment your specific display model number, such as SD1306, in the program. - Can all SPI OLED models be converted to I2C?
No, not all models support conversion, so you must check before purchasing. - What parameters define text position in the u8glib functions?
The first two parameters are x and y coordinates which determine the text position.