
Summary of No-Solder Arduino Breadboard Shield
This project creates a no-solder Arduino breadboard shield by adhering pin headers directly to a mini breadboard. The process involves lightly sanding both components to ensure the super glue bonds effectively, followed by attaching the headers. This method offers a quick, solder-free alternative for prototyping with Arduino boards using standard female pin headers and basic adhesives.
Parts used in No-Solder Arduino Breadboard Shield:
- Super glue
- Mini breadboard size 4.5x3.5 cm
- Arduino pin headers
- Arduino
- Small clamps
- Sand paper
The goal of this instructable is to make a no solder arduino breadboard shield like this one:
Step 1: You will need
Parts list:
Super glue*
Mini breadboard size 4.5×3.5 cm
Arduino pin headers**
* Hot glue wont cut it
** Normal female pin headers can also work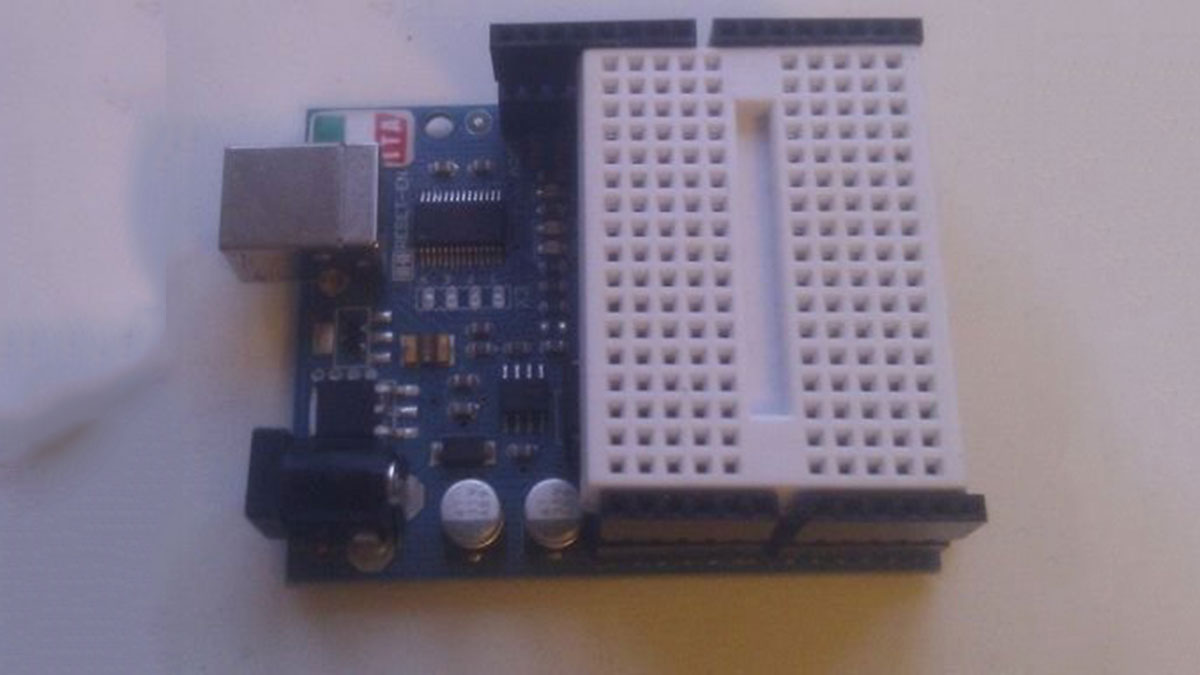
Optional, but recommended:
Arduino
Small clamps
Sand paper
Step 2: Sanding
Sand the breadboard and the pin header sides lightly.
This will do two things:
1. it will help the glue to stick better.
2. The breadboard is slightly too big so a little sanding doesn’t hurt.
Major Components in Project
Arduino
For more detail: No-Solder Arduino Breadboard Shield
- What is the primary goal of this instructable?
The goal is to make a no solder Arduino breadboard shield. - Can hot glue be used instead of super glue?
No, hot glue wont cut it for this project. - What size mini breadboard is required?
A mini breadboard size 4.5x3.5 cm is needed. - Why should you sand the breadboard and pin header sides?
Sanding helps the glue stick better and addresses that the breadboard is slightly too big. - Are normal female pin headers acceptable?
Yes, normal female pin headers can also work. - Which optional tools are recommended for this build?
Optional but recommended items include an Arduino, small clamps, and sand paper. - Does the breadboard fit perfectly without modification?
No, the breadboard is slightly too big so a little sanding doesn't hurt.
