Hi everybody!
Welcome to my first instructable! I apologize in advance for my poor level in English.
In this step-by-step guide I am going to teach you how to build a simple and very cheap NFC Ring Lock Box !
Step 1: What you’ll need
Ok first, the idea was to create a box locked from the inside. Many different designs were described and easy to make with Instructables but I decided to create mine.
It had to be the cheapest possible and be able to fit in the top of the box. Also to not take too much storage space.
Cheap Box. I used an unfinished wooden box because you can paint and decorate it however you want. There are many wooden boxes here. But it was too expensive for me so I went here.
Inside system lock. Mine.
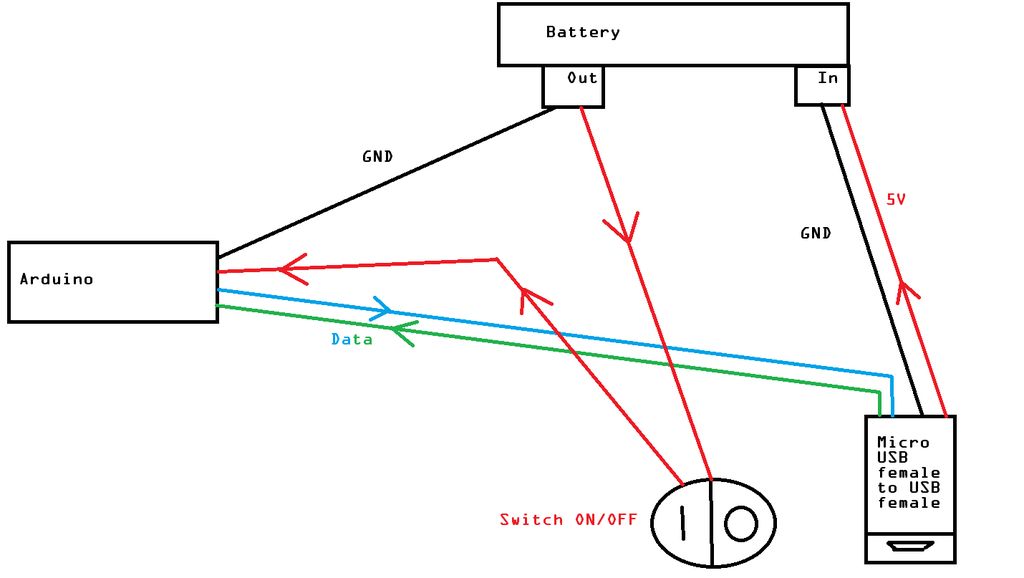
Switch. Rocker
Battery and its MicroUSB/USB cable. Mine. It has to be a 5V battery that can be charged and deliver power simultaneously.
Arduino Nano and its MiniUSB/USB cable. Very cheap.
Servo SG90. Very cheap.
PN532 Elechouse NFC. Best One
NFC RING to unlock the box. Official
Micro USB Female to USB Female Adapter. Like this one.
And for sure you’ll also need some Basics Tools: 3 Hands, Screwdriver, Driller, Soldering kit …
Step 2: Connect the NFC reader/writter and the Servo SG90 motor to the Arduino Nano
If you received the same SERVO as me, the 3 pins are stuck together. You must detach them from themselves before continuing.
Connect the red wire to the 5V of the Arduino Nano.
Connect the black to the ground GND.
Connect the white wire to the Digital 3.
For the PN532 you can read this but I will tell you everything you need to know to make it work 😉
First you need to put your PN532 into the I2C mode.
Solder the 4 pin connector.
VCC connect to 3.3V, ground to ground, and Analog 5/SCL and Analog 4/SDA.
Just look at the picture.
Step 3: Software
First you need to download the software to use the Arduino Nano.
And then the libraries files to put in your Library folder in your Arduino folder.
You can find help here and here.
And finaly download my sketch called “Nairod785″ for this project.
The only thing you need to change is this line:
if (ringUid==”47d6b2b62880″ || ringUid==”47c9b2b62880”){
change it with the Uid of your NFC tags, NFC Ring…
You can get the Uid of your NFC Ring by running on the Arduino the example sketch in the PN532 folder called ISO14443A_uid.
Note: Each tag, so each side of the ring has a different uid, that’s why you must scan both of them and then enter the 2 UID.
Upload the sketch to the Arduino Nano and test it.
Step 4: Prepare the Box
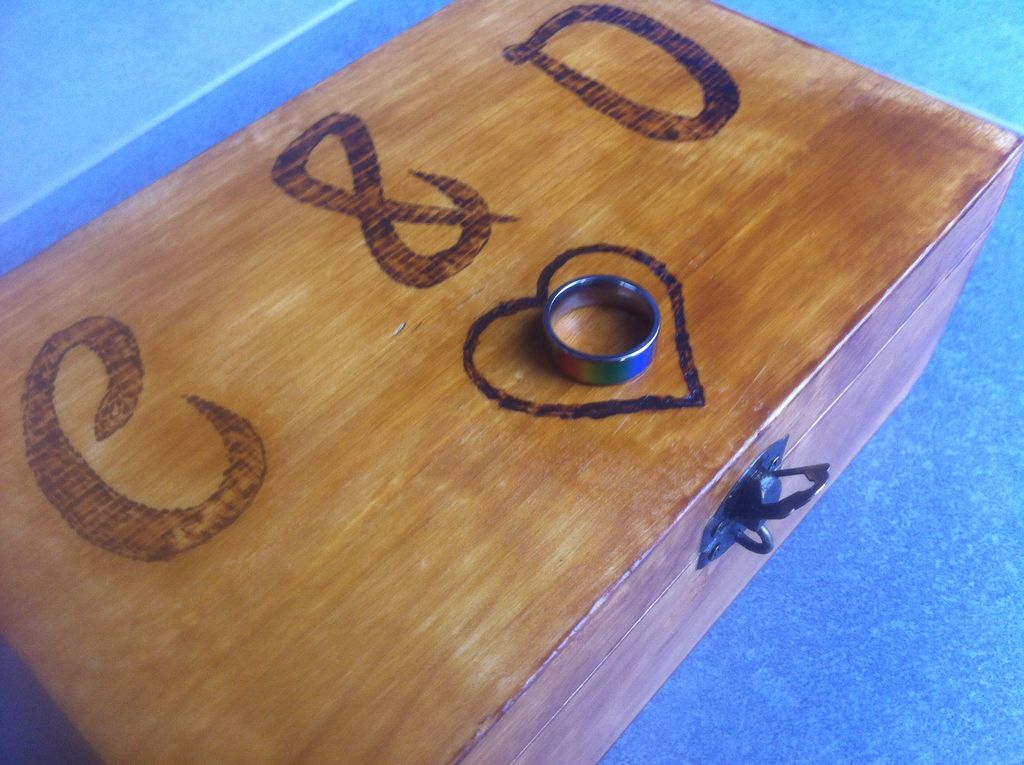
I did some wood burning as you can see.
I used my pen to draw the different shapes and my soldering kit to burn the wood a little.
Drilled 2 holes for the “external interface” : power ON/OFF and micro USB female to charge the battery and to have access to the arduino in case we need to change the sketch or debug the box.
Paint it and it is almost finished!
Fix the internal lock system.
For more detail: NFC Ring Lock Box using Arduino