
Hi everyone,
Neda is an interactive picture frame that helps grandparents who are having a hard time learning how to work with technology. It’s an easy way for them to connect with their children and grandchildren who might live abroad.
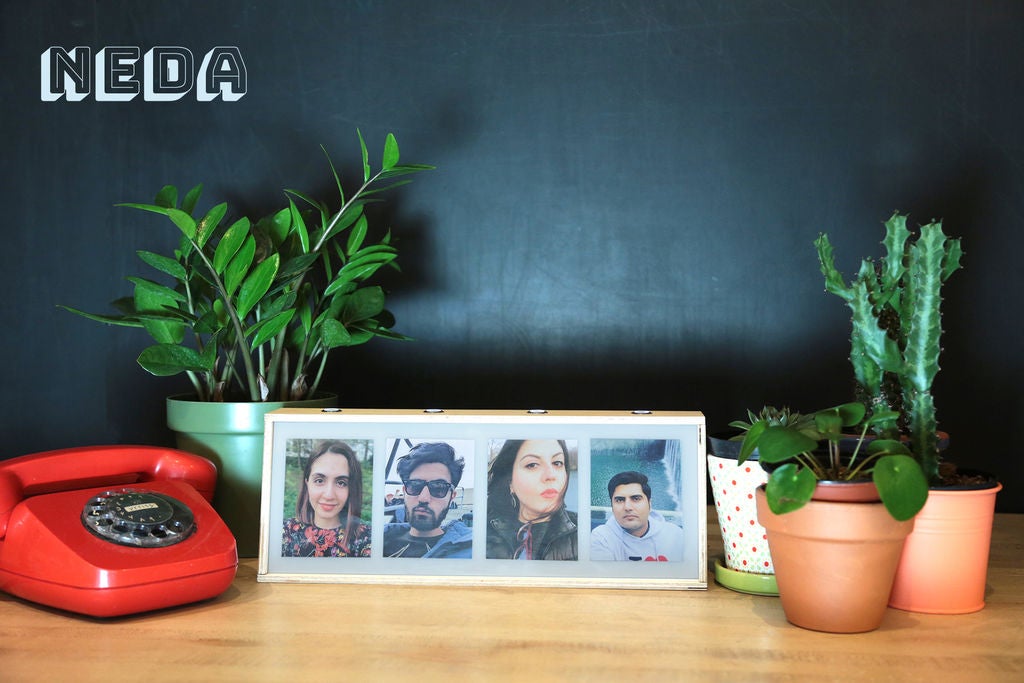
The way it works is very simple. Each picture has a button above it. Whenever they want to talk to one of them, they press the button, and that person receives an email that says your grandma/grandpa is missing you. Call him/her. Also, after you receive the message, you can send a signal that lights up the frame so they can notice you calling if they have trouble hearing the phone ringing.
What you need:
1- Adafruit Feather Huzzah wireless boars
2- Momentary push buttons
3- Two acrylic sheets. One clear and one frost/milky
4- Woodsheets
5- Woodglue
6- Wires
7- Cardboard
8- Breadboard
9- Neopixel string light
Tools you might need:
1- Soldering iron
2- Wire Stripper
3- Band saw
4-Drill saw
5-Laser cutter
Step 1:
make the frame and leave some depth to fit the breadboard inside. In order to make it easier to glue together, you can use small tabs that works as supports.

Step 2:

Drill holes on the top part of your frame to put the buttons. You can always find the exact dimensions on Adafruit website.
Step 3:

Laser cut both acrylic sheets in the size of front side of your frame and put your pictures between them. Glue the sheets in the front.
Step 4:

Cut the string Neopixel and attach it to the walls of your frame. Solder wires to the legs of the buttons and connect them to the breadboard based on this circuit. I put my cousins’ names in front of each pin to make sure I write the code correctly.
Step 5:

Go to IO feed and make individual feed for each person.
Step 6:

follow the picture for your Applets.
Step 7:
You can use this code as an example. For now it is only connected to two buttons but I challenge you to connect it to as many button as you want.
Step 8:

give this to your grandma as a Christmas gift!
Source: Neda
