Arduino is an open-source development platform for engineers and hobbyists to develop electronics projects in an easy way. It consists of both a physical programmable development board (based on AVR series of microcontrollers) and a piece of software or IDE which runs on your computer and used to write and upload the code to the microcontroller board.
Arduino uses a boot loader. Boot loader is a piece of software that allows the new software to be burned on it. So in this DIY, I am going to discuss “How to Burn a Boot Loader in a Fresh ATmega328 Chip and Build a Homemade Arduino on PCB”. In Arduino UNO we use ATmega328 IC so that I select this one to demonstrate this project.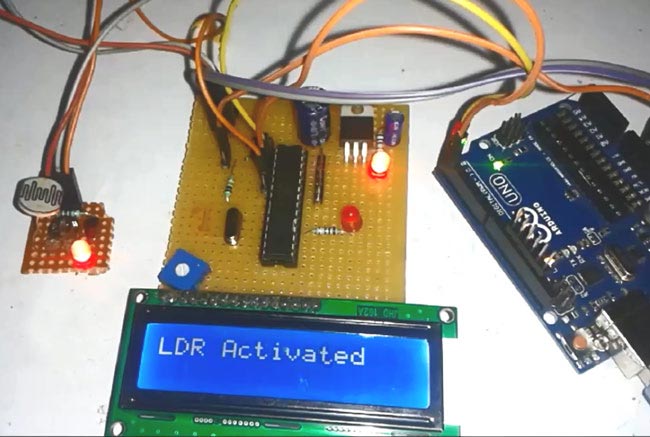
Components Required:
- Arduino UNO Board with IC and cable
- Atmega328 IC
- Breadboard
- Connecting wires
- 16 MHz crystal oscillator
- 10 K resistor
Steps for Building your own Arduino Board:
To burn a boot loader in new fresh Atmega328 IC, we need a Arduino board (we can use any Arduino board to burn boot loader). And then we need to follow below steps. We have also demonstrated the whole process in the Video at the end of the tutorial.
Step 1. In first step, arrange all the required things given in components list above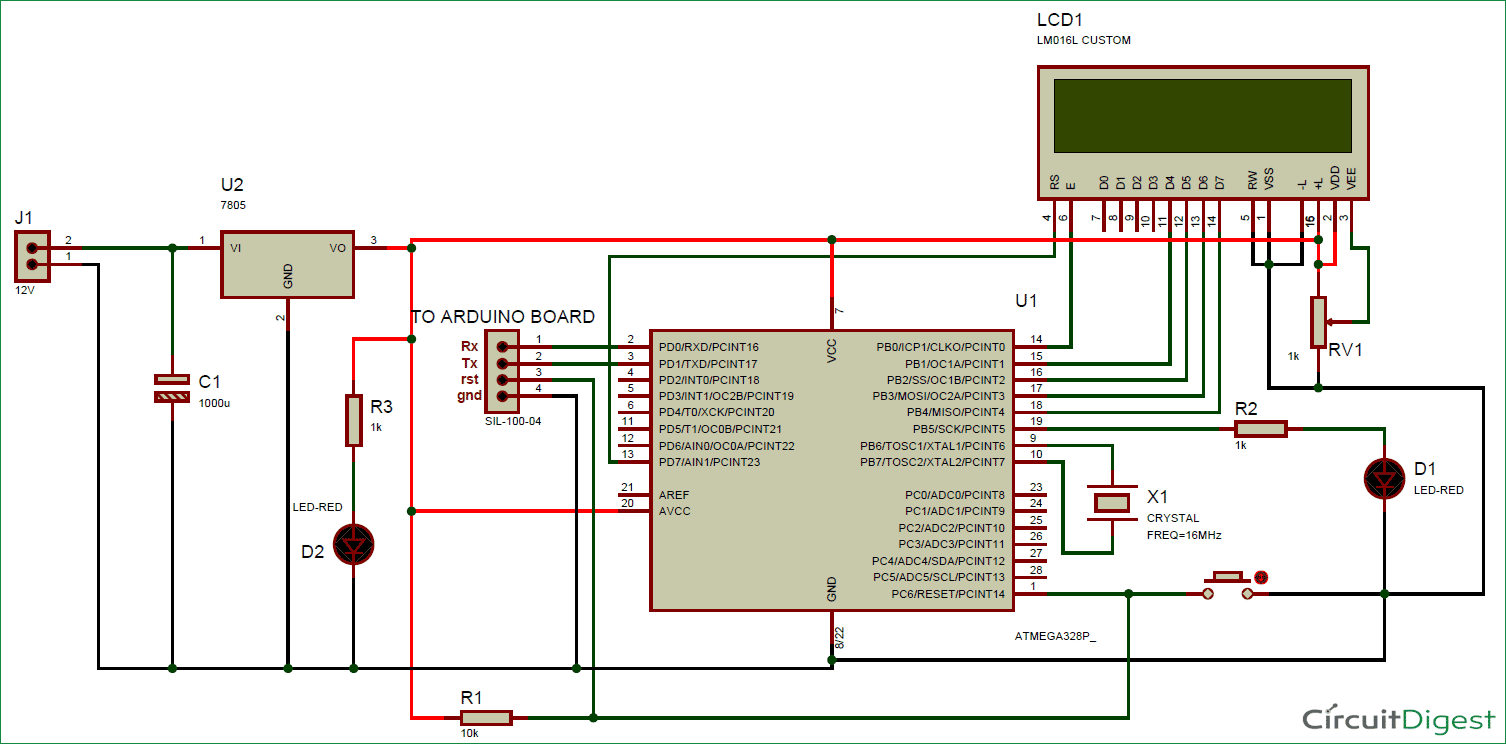
Insert the ‘New IC’ in this board and you are done.
You can also build it properly on PCB with a proper PCB layout and etching. Learn here to Make PCB at Home and convert Schematic into PCB layout using EasyEDA.
For LCD Interfacing, just connect your home made Arduino Board with Original Arduino Board using Rx, Tx, RST and GND pins of Original Arduino Board, as shown in below Fritzing Circuit or above Circuit Diagram. And upload the Below Given Code (Code section).
For More : Make Your Own Homemade Arduino Board with ATmega328 Chip