It turns out that a colour detection module can be built for next to nothing, and the results are astoundingly good for the investment.
The biggest hurtle in this project is getting the balance right on our sensor as we are using LEDs to represent the colour being detected, which becomes our limit. Dark colours are more difficult to represent. The sensor still does a good job at detecting and giving a reliable reading, but again, balancing becomes the real issue. Reflectivity will also play with the readings. That being said, this sensor would work great for all manner of colour detecting projects. Best of all it is super cheap to make.
I really hope that a few of you out there both copy and improve on my lamp, or find some other great uses for this cheap, easy to make, Arduino friendly Colour sensor.
Step 1: Get Stuff
- a CdS photocell (cadmium sulfide), also called an LDR or light dependent resistor. Anyways, it is one of those little light detectors on most garden lamps, night-lights, etc.
- A 10K resistor
- A red LED
- a green LED
- a blue LED
- alternatively you could use an RGB(red green blue) LED
- A 220 ohm resitor
- a bit of shrink wrap or a cut section of a pen or anything else that would be a decent shroud for the LDR
- a shroud for the entire sensor (film case cut, pvc pipe, bits of plastic, again anything to shield the whole ensemble from ambient light a bit)
- a bit of prototyping board.
- Hookup wire (I also use male header pins and jumpers, but this is not required)
Tools that you will need
- soldering iron
- glue gun
- x-acto knife
- tape
- white glue
- paint brush
- imagination
I decided to leave mine tethered to my computer for power, but you may want to add an on/off switch, and batteries.
Step 2: Random Thoughts
Some of you might be wondering how a CdS photocell can detect colours. Well it is surprisingly simple and provides pretty accurate results.
We see colour as a frequency of light reflected from an object. So different colours reflect different wavelengths which our eyes then interpret as colours. (Maybe brain…I am no scientist)
A common CdS photocell has a very similar response to colour as the human eye.
Because colours absorb certain wavelengths and reflect certain wavelengths, we can use different wavelengths(colours) of light and take readings(from a sensor that has nearly human responses) and thereby make a pretty good guess at what colour the sensor is being exposed to.
It also turns out that a computer represents colours as a red, green, and blue value in order to display it to our screen. We will be using red, green and blue LEDs for both detection and representation of colour.
Follow all that? No? Don’t worry, stay with me and build it, everything will become clearer.
- An enclosure
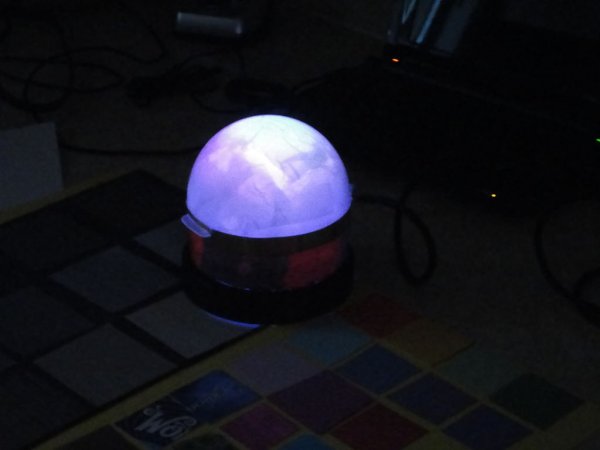
- a diffuser (I managed to get mine all in one with a tomato container from the Dollar store)
- an Arduino that will fit in your enclosure (I used a mini)
- another RGB LED or a red, green and blue LED
- three 220 ohm resistors
- some decor (use your imagination here, I went for the magic lamp look, you do what pleases you or go with what you have on hand as I did)
For more detail: Magical Colour Copying Chameleon Lamp using Arduino