Last year my Wife and I started a new tradition of building a Gingerbread house for Christmas.
We had a few nicely decorated houses last year, and I wanted to do a little more this year.
Adding LEDs makes everything better, so that is exactly what I did!
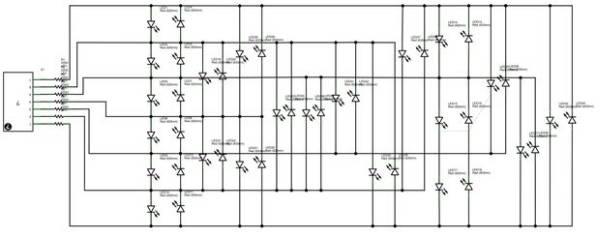
This instructable will show you how to wire up a ginger bread house with many LEDs (41 in this case) while only using a few pins of a micro controller to control them all.
By using charlieplexing, we can have individually addressable LEDs without the need for shift registers or a micro with a lot of IO pins.
Step 1: LED Wiring
If you are like me and are making your own LED wires, this step is for you!
If you can take the advice from the next step, lucky you, you can skip the tedium!
Still with me?
You will need a fair amount of wire here, and it is very helpful if you can get pairs of wires that are connected.
I was given a big roll of ribbon cable, which made this task a lot easier.
After cutting a length of cable, I simply split it into groups of two wire.
So with wire and LEDs handy, lets get started.
Clip the leads of the LEDs so they are short, but still long enough to solder to.
Hold onto the clipped legs, they can be useful later on.
Put the clipped LED in a pair of helping hands to hold it still.
Strip the wires and put it in the other clip of the helping hand.
It helps to tin both the wire and LED legs before soldering them together.
Line up the wire with the LED and solder the wires to the legs.
It might be a good idea here to stick to a colour scheme if you can (red for anode, black for cathode), but I had a lot of different colours, so I didn’t bother.
It is easy to determine which is which later, but you might make your life easier if you can do it.
For the other end of the wire, I originally left it bare (but tinned).
After using it like that, I realised I needed a better option.
As I connected all of the wires through a breadboard, I found it easiest to solder breakaway headers to the other end of the wire.
Just like the LEDs, tin both, use helping hands and solder them together.
Step 2: Threading LEDs
We need to put LEDs inside the ginger bread house, but also have them connected to a micro controller to allow light sequences.
This can be achieved by soldering the LEDs onto long wires, and then threading them through the house.
We started the house late this year, so I had to make the LEDs on wire myself, but if you have time to spare, you can buy them pre made:
http://www.aliexpress.com/product-fm/504804787-20-x-Red-LED-Lamp-Light-Set-25cm-Pre-Wired-5mm-12V-DC-wholesalers.html
If you are making them yourself I would suggest you use some heat-shrink tubing over the LED leads, I simply ran out of time to buy some.
Either way, you need to thread the LEDs wire first through the gingerbread.
We found it helpful to make a guide hole using a toothpick.
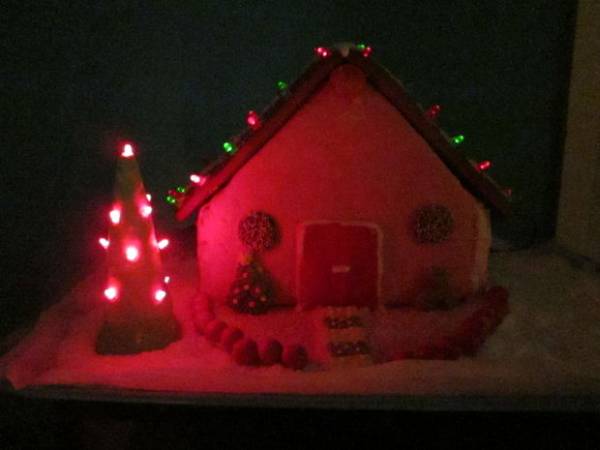
Step 3: LEDs in the roof and tree
Now that you have soldered all of your LEDs up, you need to install them in the house.
I put all of the 5mm LEDs in the roof, and then some 3mm LEDs in the tree.
For the house I had to cut a small exit hole in the back.
The tree is just an ice cream cone covered in fondant.
With wires of different colours all bundled together, I needed to work out the polarity of the wires and which wire mapped to which LED.
To do this I set up a small power supply (plug pack & 5v regulator), and tested wired pairs to determine which LED and in which direction to connect the wires.
I did discover here that some LEDs didn’t work, likely due to poor solder joints.
At this point though it would have been too hard to fix them, so I simply accepted some “dead pixels”!
For more detail: LED Gingerbread house