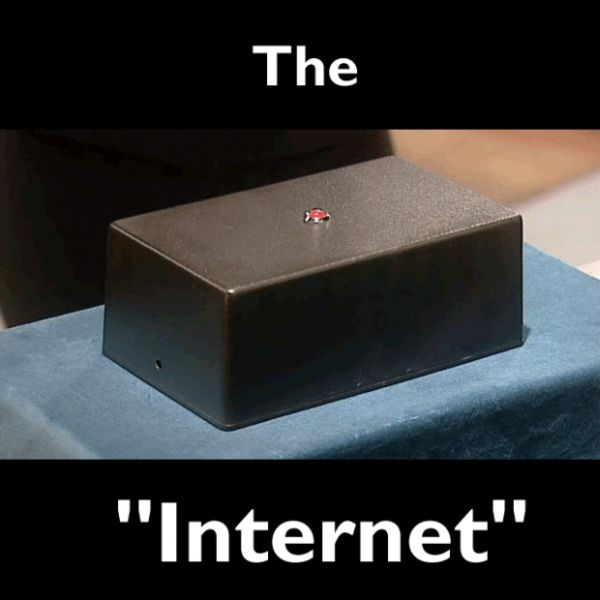
You’ve bought your first Arduino or you’re planning to get this great little device? Obi Wan would say: “That’s good. You have taken your first step into a larger world.” Same thing for me! Congratulations! You’ll see, as soon as you master the basics, you’ll have so much fun with this little device.

There are so many tutorials and books outside, so why another? Maybe you think learning should be funny or at least entertaining.
I’ve seen lots of tutorials that are technically brilliant, but they all aren’t very entertaining. Others reduce it to the minimum, needed parts, hardware setup and some code. They also do the same but I feel a bit bored. And if you’re like me, you don’t want to read the next lesson if you’re bored.
So let’s try my method and let me know what you think of it.
Step 1: Let’s go shopping
We’ll need a few things to start:
– An Arduino. It doesn’t matter if you buy an “original” one like the Duemilanove or Uno or a clone like the Diavolino. They’re almost identical. If you’ve got already some soldering skills, you can build your own clone too! The Arduino is “Open Hardware”, so there are many legal clones out there. Most of them act like the original, some of them are made for special needs. So before you buy one just make sure to select a “regular” model and make sure, that you get one with a standard USB port.
– An USB cable (A to B), if you don’t have this kind of connector on your Arduino you need a special cable like a FTDI adaptor
– A red LED. If you want to save money always buy LED bundles. These contain several LEDs in different colors and sizes and they’re really cheaper than bought one by one. Check out eBay. Don’t buy SMD LEDs, these can’t be used for prototyping (ok, you can use them, but it wouln’t be funny at all….). Another option would be to desolder a LED from a broken device. I often use parts from old devices. They’re for free and it reduces the waste and you’ll level up your soldering skills without spending money.
– The programming environment, you can download it here for free: http://www.arduino.cc/en/Main/Software (Linux, Mac, Windows)
– a copy of “The IT Crowd – Series 3 – Episode 4”, no you don’t really need this, but you’ll really enjoy it, if you’re geek like me
– solid core wire, if you don’t want to buy it, just take a look if you’ve got an old computer with an internal speaker. If you don’t need it any longer just clip it off
– soldering iron and some solder
– project box, you can use anything you like.
Step 2: The Internet
Grab your copy of the IT Crowd episode or just watch this
IT Crowd – The Internet von combine
Step 3: The code, no not that of Da Vinci, just OUR first code
Open your Arduino Programming Environment and enter the following lines:
/*
“The Internet”
by Moss & Roy, Reynholm Industries
The following lines will turn on the LED on for one second, then off for one second, repeatedly.
Just upload it to your Arduino and find someone who doesn’t know how “the internet” looks like.
Have a lot of fun!
*/
void setup() {
pinMode(13, OUTPUT);
// initialize the digital pin 13 as an output.
}
void loop() { // here we start the endless loop
digitalWrite(13, HIGH); // turns the LED on
delay(1000); // Arduino is waiting for a second
digitalWrite(13, LOW); // turns the LED off
delay(1000); // and again the Arduino is waiting for a second
}
Now klick on the “Play” button, your sketch will now be compiled. If everything is fine, you will see the message “Done compiling” and “Binary sketch size: 1018 bytes (of a 30720 byte maximum)”. If there should be any error messages, check the code again,may you missed a bracket or misspelled something.
For more detail: Learning Arduino basics the easy way – Part 01 “Blink” or “The Internet”

