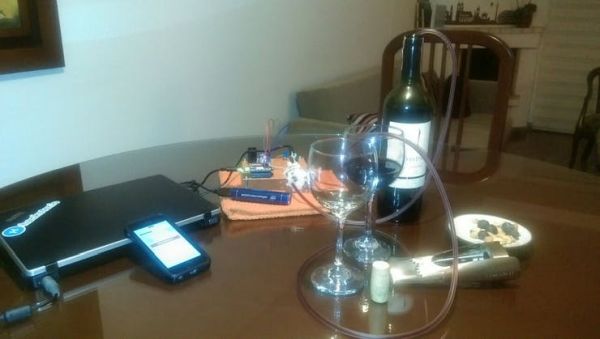
This circuit serves a wine using a mini water pump all controlled from your phone. Enjoy it during your holidays!

Things used in this project
Hardware components |
||||||
 |
|
× | 1 | |||
|
× | 1 | ||||
 |
|
× | 1 | |||
Software apps and online services |
||||||
 |
|
|||||
 |
|
|||||
Hand tools and fabrication machines |
||||||
|
||||||
Story

The idea is to learn!
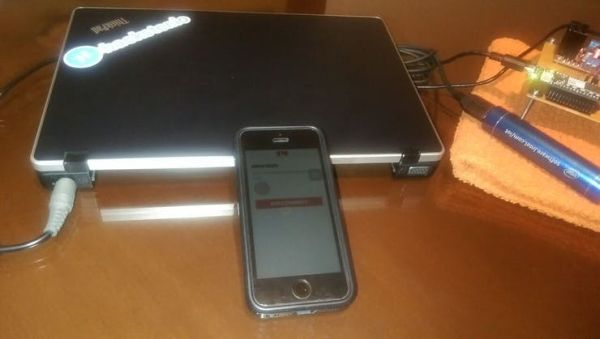
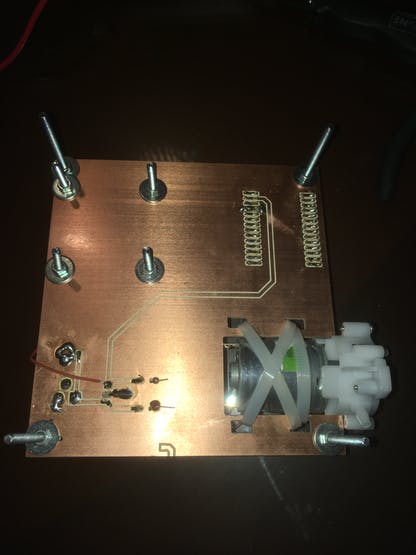
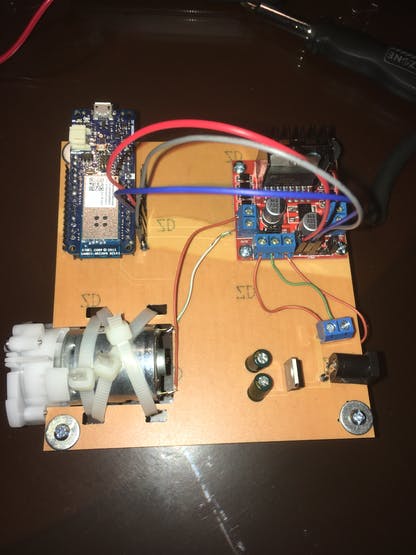
Here with an Arduino MKR1000, Evothings Studio to make the app and a mini water pump (DC motor), it is possible to serve a wine from your smartphone. Also, the idea behind this is to make it by yourself, even the PCB learning around CNC machines (it is another chapter). But I invite you to try it in any maker space near you.
The DC motors need a bridge in order to handle the current, here we use the L298 – very easy to integrate and also powerful.
NOTE: Not all the routes are done in the PCB; some wire jumpers are used in order to be flexible and use the PCB to do other prototypes.
Custom parts and enclosures
Code
Source : IoT Wine-Tender-Arduino MKR1000!