
Summary of How to Setup Cheapduino Board (smallest Arduino)
This article introduces the Cheapduino, an ultra-small and economical alternative to standard Arduino boards. It guides readers through setting up the board using an FTDI programmer and a ribbon cable to upload code via the Arduino IDE. The guide emphasizes careful handling of delicate connectors and specific configuration settings, such as selecting the "Arduino NG" board type and "Atmega 8" processor, to ensure successful operation with minimal hardware resources.
Parts used in the Cheapduino Setup:
- Cheapduino Board
- FTDI programmer
- Female to female jumper wire
- Ribbon cable
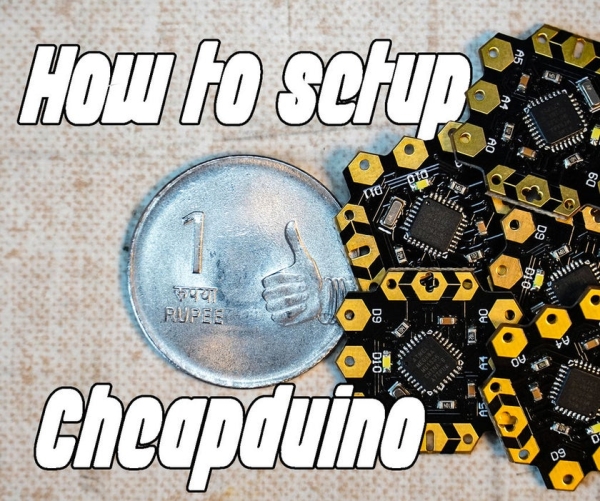
When it comes to electronics projects, Arduino is definitely one of the most favorite choices of every enthusiast, and if you are Arduino fan like me, you too build all your projects on Arduino, so what if you have limited boards available to use? And really for small projects, using Arduino boards isn’t a good choice or either economic, so in this post, we will uncover this smallest arduino board called as “cheapduino” and we will set it up and running!
Supplies:
Step 1: Watch the Video!
Step 2: Connect the Ribbon Cable
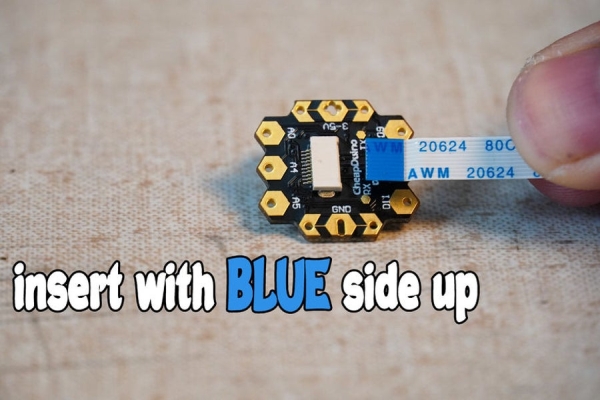
steps:
- insert the Ribbon cable’s one end to Cheapduino Board, with BLUE side.
- lift up the connector on FCP header.
- insert the other end of cable to FCP header Slot with BLUE side up and lock the cable.
while connecting the Ribbon cable be very careful it’s quite delicate and could break easily.
Step 3: Connect the FTDI to FCP Header
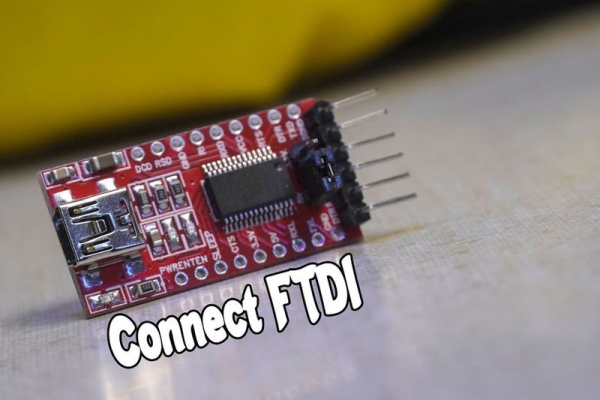
using the jumper wire to connect FTDI to FPC header, follow this connection sequence
- GND to GND
- CTS to CTS
- Vcc to vcc
- TX to RX
- RX to TX
- DTR to DTR
make sure you double check the connections to avoid damaging your Cheapduino board!
Step 4: Open Blink Code
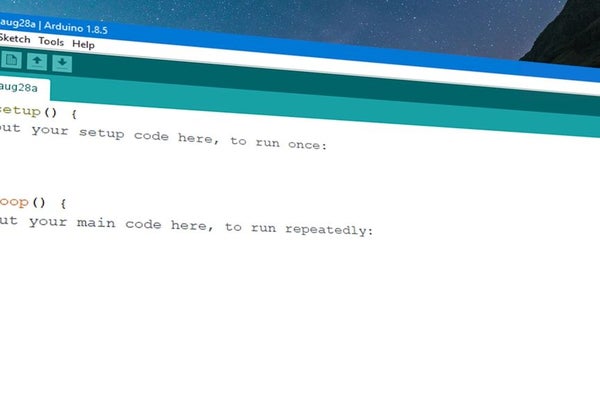
for this example, we will use simple blink code, which is an built in example from our Arduino’s IDE, so to open this example,
- go to file menu.
- under examples, go to basics .
- under basics, select the blink code and open it.
Step 5: Board Settings
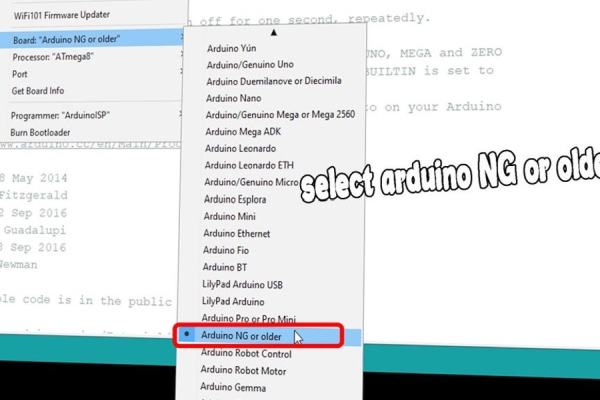
the cheapduino is based on Arduino NG ( or older) arduino type, so the board settings for this board would be much different than others. follow these settings to ensure correct setup for this board!
- go to Tools menu.
- select the Board option under Tools.
- for the Board type, select the Arduino NG or Older board
- under the same Tools menu, select Processor option.
- under Processor, select Atmega 8.
- upload the code.
Read more: How to Setup Cheapduino Board (smallest Arduino)
-
What is the Cheapduino?
It is described as the smallest Arduino board, designed for small projects where standard boards are not economic. -
How do I connect the ribbon cable to the Cheapduino?
Insert one end into the Cheapduino Board with the BLUE side up, lift the connector on the FCP header, insert the other end with the BLUE side up, and lock the cable. -
Can I use standard Arduino boards for small projects?
No, the article states that for small projects, using Arduino boards is not a good choice or economic. -
What is the connection sequence between the FTDI and FCP header?
Connect GND to GND, CTS to CTS, Vcc to vcc, TX to RX, RX to TX, and DTR to DTR. -
Which example code should I open first?
You should open the blink code found under File menu, Examples, Basics. -
How do I set the board settings in the Arduino IDE?
Select Tools, then Board, choose Arduino NG or Older board, then select Processor and choose Atmega 8. -
Why must I be careful when connecting the ribbon cable?
The cable is quite delicate and could break easily if handled roughly. -
Does the Cheapduino require different settings than other Arduino boards?
Yes, because it is based on the Arduino NG or older type, the board settings differ significantly from others.
