Summary of How to Program the Vexplorer Using Arduino
This instructable explains how to control a Revell VExplorer toy rover using an Arduino by building H-bridge motor drivers, wiring two wheel motors through the H-bridges, and connecting control lines to Arduino digital pins. It notes using breadboard if not soldering, powering H-bridges from the receiver aux ports, and that additional H-bridges are required for more motors or the arm and claw. A link to a fuller programming guide and a related balloon project are provided.
Parts used in the Vexplorer Arduino Control Project:
- Revell VExplorer (toy rover)
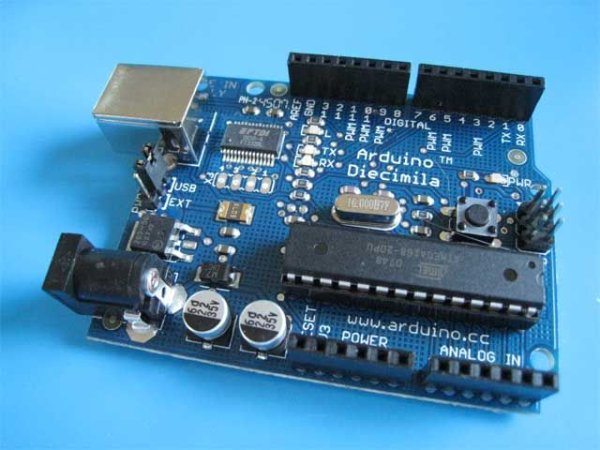
- Arduino (unspecified model)
- H-bridge motor driver(s)
- Breadboard (optional)
- Wires for motor leads and switch leads
- Receiver with aux power ports
- Power supply for Arduino and H-bridges (as required)
This instructable will be about using arduino to control the revell vexplorer. Later you can add as many sensors you want. If you don’t have most of the parts already this will cost you about $200 dollars. Most of the electronic bits you can find at radioshack and vexplorer at amazon, also arduino at the maker store.
Check out my new project on sending a balloon into space!!
http://www.instructables.com/id/My-Space-Balloon-Project-Stratohab-Success-High/
vexplorer
Step 1: The H-Bridge
This link listed below will show you all of the step in constucting the H-Bridge. A breadboard will be sufficient if you have trouble soldering. Leave the motor leads and also switch leads open which we will be using later.
Depending on how many of the vexplorer motors you will be using multiple h-bridges will be required.
Step 2: Combining the Vexplorer
The vexplorer has 4 motors, but for this instructable will only be using 2. The motors that go to the wheel assemblies. Take the right motor’s positive and ground and attach the positive to one positive and ground from the h-bridge. Same with the ground. (See the first picture for details.) Then attach the wires that would normally go to the switch, to digital pin 13 and ground on arduino. Simply when we let the voltage go the motor will turn right and off for the motor to turn left. You can experiment by switching the polarity and getting different results. To power each h-bridge you can use the aux ports of the reciver. For powering the left motor you can use another h-bridge and follow the steps again. This is same with the arm and claw motors of the vexplorer.
For more detail: How to Program the Vexplorer Using Arduino
- Can I use a breadboard instead of soldering the H-bridge?
Yes, a breadboard will be sufficient if you have trouble soldering, according to the article. - How many VExplorer motors does the instructable control?
The instructable controls two motors (the wheel assemblies) but notes the vexplorer has four motors total. - Do I need more than one H-bridge for multiple motors?
Yes, depending on how many VExplorer motors you use, multiple H-bridges will be required. - Where do I attach the motor switch wires on the Arduino?
The article says to attach the wires that would normally go to the switch to Arduino digital pin 13 and ground. - How are the VExplorer motors wired to the H-bridge?
Attach each motor's positive and ground to the corresponding positive and ground on the H-bridge, matching polarity as described in the article. - How can I power each H-bridge?
You can use the aux ports of the receiver to power each H-bridge, as stated in the instructable. - Can I control the arm and claw with the same method?
Yes; the instructable notes you can use another H-bridge and follow the same steps for the arm and claw motors. - Will reversing polarity change motor direction?
Yes, the article suggests experimenting by switching polarity to get different results and reverse direction.