When we last checked in with prolific prototypist [Eric Strebel], he was perfecting the design of an eco-friendly wireless charger and turning his initial paper prototype into a chipboard version 2.0 that takes manufacturing concerns into consideration. At the end of this second video in a series, [Eric] was printing out the early versions of the form by which he would eventually make a brass screen mold for working with cardboard pulp. You know, the stuff that some egg cartons are made from.

In the video below, it’s time to build the pulp mold by creating three smaller molds and then joining them into one horizontal mold. The result is a single piece that then gets folded up into a charging stand, much like the egg carton. [Eric] is using brass screen here, but says that copper would be a good choice, too.
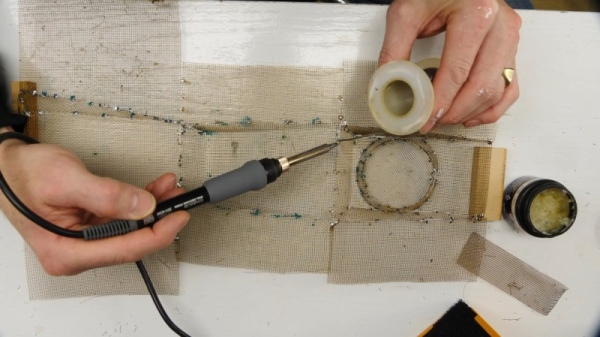
After cutting the brass with scissors and pounding them flat, he uses the 3D-printed molds from the previous video to press them into the correct shapes. Each of the three pieces needs a frame, which [Eric] makes from more brass screen, then stitches it to the mold piece with loose screen threads before securing the unions with solder.
Since the weight of all the water would likely bend the brass out of shape, [Eric] finished off the mold by soldering on a frame of flat brass strip. Check out this awesome process below, and stay tuned for the next video when [Eric] pulps some cardboard and pumps out some eco-friendly chargers.
Does this look too complicated? You could always skip the whole mesh mold thing and shape your cardboard confetti directly into 3D printed parts.
Source: HOW TO MAKE A CLASSY, BRASSY CARDBOARD PULP MOLD
