I built this as a project for a college electronics course and had originally planned to include a clap sensor to activate the scan, but didn’t have enough time or money. I’ll provide an update should I decide to add it in the future.
The concept, design, and code is mine, except for the temp sensor communication code submitted by Sensorjunkie.
Cost: $70 (including Arduino Uno)
Difficulty: Basic Arduino experience is essential. Some of the electronics are not easy to troubleshoot should you run into problems.
Step 1: Materials
Electronics:
— Infrared Thermometer MLX90614
http://www.sparkfun.com/products/9570
— Large Servo Motor
http://www.sparkfun.com/products/9064
— Arduino Uno Microcontroller
http://arduino.cc/
— Computer Fan 12V DC
— 12V DC Transformer
Hardware:
— Through-hole circuit board
— Baseplate (6x8in material of your choosing)
— Nuts and Bolts
— Various Adhesives
— Wire
— Solder
Tools:
— Soldering Iron
— Hot Glue Gun
— Drill Press
Step 2: Wiring
Temperature Sensor:
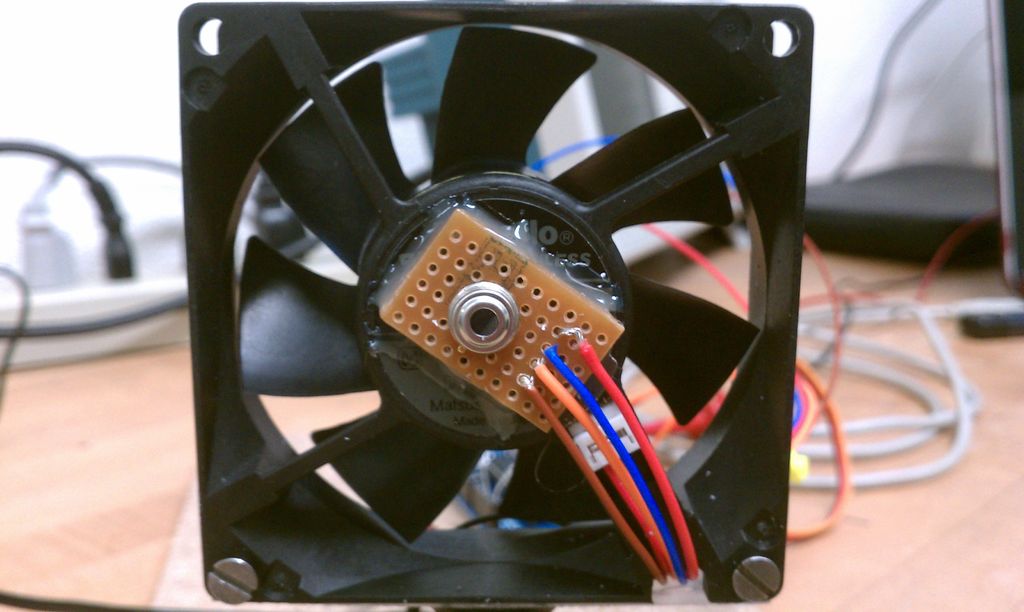
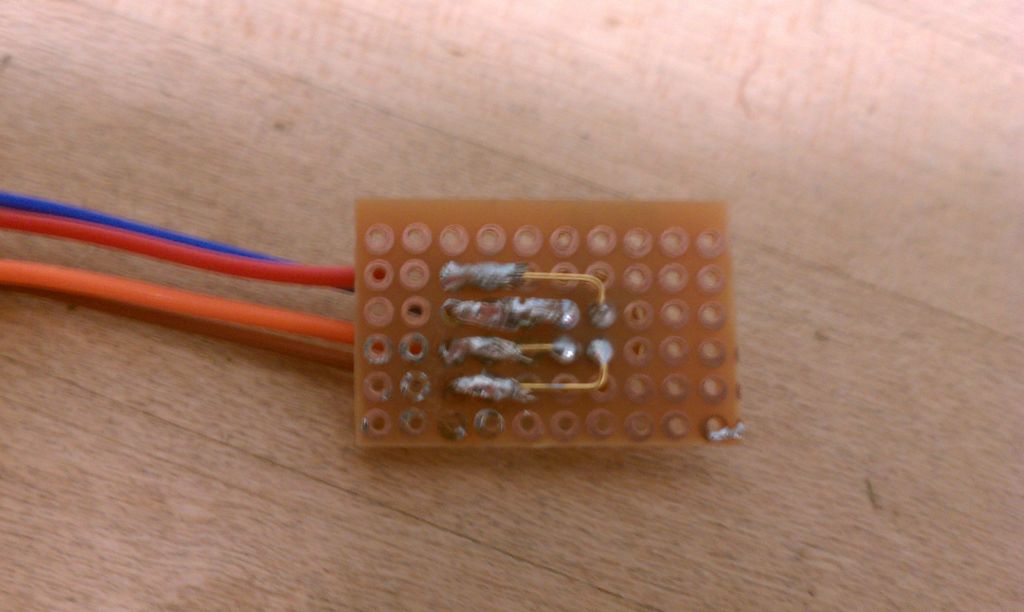
Cut off a small piece of through-hole circuit board just large enough to fit the temperature sensor leads and four wires. Solder the leads and the wires onto the board, leaving about 7in of wire to allow the fan to rotate. The more flexible the wire, the better your life will be.The servo will yank things apart if you’re not careful (as you can clearly see in my video).
The wiring is critical so follow the diagram on the data sheet. The SDA (data) and SCL (clock) go to the A4 and A5 analog inputs, respectively, on the Arduino. This particular device runs on 3V, so Vdd can go straight to the 3.3V output pin while GND goes to the obvious.
Servo:
I’m a little disappointed to say that the servo draws too much current for the Arduino. My model provides 5V to the servo with an external voltage supply. If I come up with simple and cheap circuit solution, I’ll post it here.
Orange goes to Pin 9, Red to 5V, and Brown to GND.
Fan:
I found a 12V DC transformer lying around, so I soldered it straight to the leads of the fan, including a switch on one of the wires for convenience.
Step 3: Assembly
1) Attach the fan to the fan to the servo however you can. The servo comes with several different snap-on heads, so you have a variety of options. I had access to a machine shop, so I milled a small piece of acrylic to interface with the hardware holes on the fan and tapped two holes in the piece to attach to the small servo disk with some screws. Less involved methods: hot glue, zip ties, wire, string, etc.
2) Attach the temperature sensor to the fan using hot glue. The direction of the sensor is critical for proper operationl so make sure to set it straight out from the fan before the glue hardens.
3) Attach the servo to the baseplate. I would ideally find some nuts and bolts that fit the pre-made holes on the servo and drill out the baseplate. However, right now I’ve got electrical tape on there. Some less orthodox methods: chewing gum, shoe laces, etc.
4) Mount the Arduino to the baseplate. You can use offset screws, or just let it hang out on your baseplate. If you’re anything like me, you’ll probably want to use it for another project soon enough.
Step 4: Communicating with the Temperature Sensor
Summary: The infrared temperature sensor is an I2C component. Normally this just means calling on a few commands from the Arduino “Wire” library to get data, but unfortunately, this temperature sensor requires some particular timing adjustments which are not possible using the Wire library. The code I use involves a custom “i2cmaster” library, which you must import according to the following steps. Do some additional research if you’re having trouble finding the libraries folder on your particular OS.
Source: http://www.arduino.cc/cgi-bin/yabb2/YaBB.pl?num=1214872633
1) Importing the Custom “i2cmaster” Library:
A) Go to:
homepage.hispeed.ch/peterfleury/avr-software.html
and download the i2cmaster.zip
Make a folder in /{arduino root}/hardware/libraries and extract the
i2cmaster.h and twimaster.c files. Now rename the .c file of twimaster to .cpp (MAKE SURE TO RENAME AND PUT THESE FILES IN THE RIGHT LOCATION I.E. IN THE LIBRARIES FOLDER OF THE ARDUINO CODE)
Make sure you restart if you load a new library into it so it can be found when it is called.
B) Now you need to modify twimaster.c
Open it in a simple text editor and change the following if you are using an Arduino Uno
Edit the twimaster.c to reflect the 16MHz clock, and change the bus frequency to 50Khz by changing the code at the beginning to:
#ifndef F_CPU
#define F_CPU 16000000UL
#endif
/* I2C clock in Hz */
#define SCL_CLOCK 50000L
For more detail: Heat-Seeking Desk Fan (using Arduino)