
Summary of ESP8266 LED Matrix Clock
Simple ESP8266-based LED matrix clock using an RTC DS3231 and NTP time sync over WiFi. Six MAX7219 8x8 LED matrices are driven by an ESP12 board; the display and RTC are housed partially behind window tint film applied to a pasta jar. Wiring, assembly, and software flashing (with WiFi credentials) are described, including a note about disabling the RTC module battery charger trace to avoid charging a CR2032.
Parts used in the ESP8266 LED Matrix Clock:
- 6 x 8x8 MAX7219 LED Matrix
- 1 x RTC DS3231
- 1 x ESP12 Board
- 1 x pasta jar
- 1 x 5.5mm X 2.1mm DC Power Supply Metal Jack Panel Mount
- 1 x USB to 5.5mm X 2.1mm barrel jack 5v dc power cable
- 1 x Window tint film
- 11 x female to female dupont wires
ESP8266 LED Matrix Clock
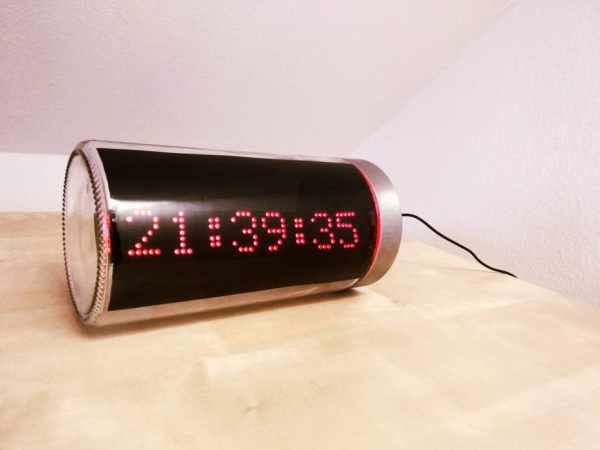
Simple LED matrix Clock based on the popular ESP8266 with Real Time Clock module and time synchronization over WiFi from an NTP server.
NEW ! ESP32 version also available
Step 1: Parts and Tools
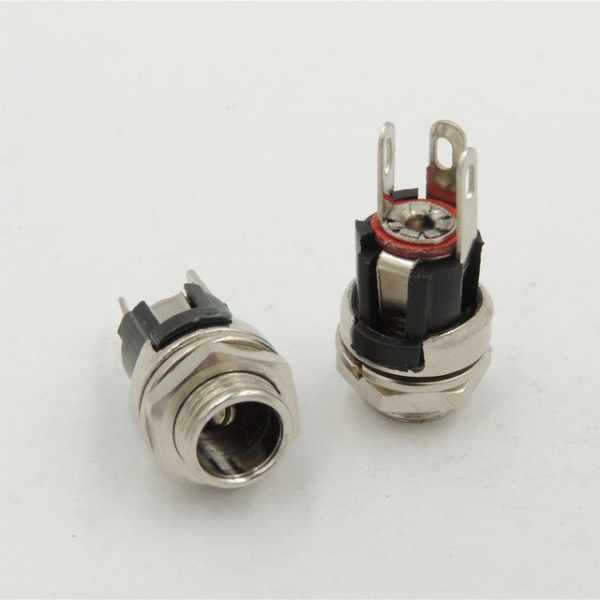
First let’s see what we need.
Parts:
- 6 x 8×8 MAX7219 LED Matrix Banggood
- 1 x RTC DS3231
- 1 x ESP12 Board Bangood
- 1 x pasta jar
- 1 x 5.5mm X 2.1mm DC Power Supply Metal Jack Panel Mount
- 1 x USB to 5.5mm X 2.1mm barrel jack 5v dc power cable
- 1 x Window tint film
- 11 x female to female dupont wires Bangood
Tools:
- soldering iron
- spray bottle
- hobby knife
- double sided tape
All the parts can easily be sourced from ebay/aliexpress and/or local stores.
Step 2: Preparing the LED Matrix
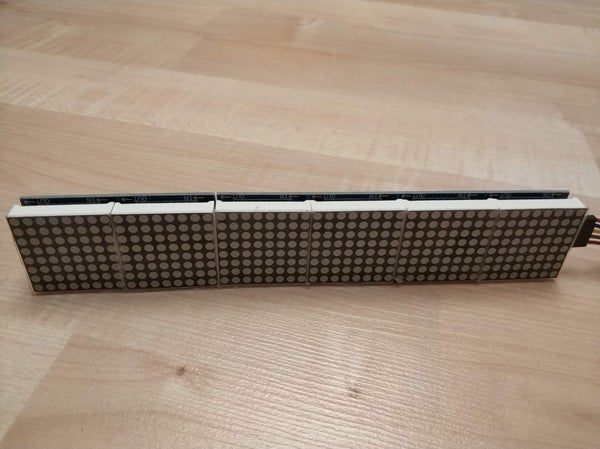
I found it easier to buy 2 x 4pcs modules, cut one of them in half and solder it to the other one while maintaining the orientation printed on the PCB.
Step 3: Connect the LED Matrix Display and the RTC to the ESP8266
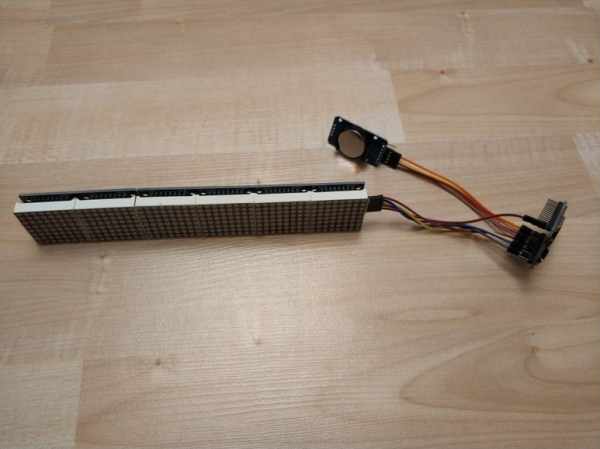
Solder the pin headers on the modules then use the dupont cables to connect them as follows.
MAX7219 to ESP8266
- VCC – 3.3V
- GND – GND
- CS – D8
- DIN – D7
- CLK – D5
DS3231 to ESP8266
- GND – GND
- VCC – 3.3V
- SDA – D1
- SCL – D2
One note on the RTC module, apparently it also has the ability to charge the battery, however that’s not a good idea when using a CR2032. One possible solution would be to cut the trace marked on the image in order to disable the charging part of the circuit. Further information on this can be found here.
Step 4: Flash the ESP8266 Module

Nest step would be to upload the code to the ESP8266.
While the original code can be found here (many thanks to the author !) you can find attached the English version of it.
The upload process is pretty straight forward, just don’t forget to update the code with your WiFi credentials.
char ssid[] = "xxxxx";         				// your network SSID (name)
char pass[] = "xxxxx";     				// your network password
Step 5: Apply the Solar Film on the Pasta Jar
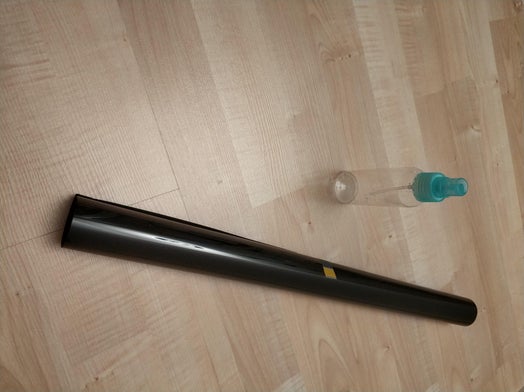
I’ve decided to only cover one part of the jar with film to keep the rest of components visible.
After some trial and error I’ve noticed that the ‘secret’ is to have both the jar and the film as wet as possible with soapy water to be able to make adjustments as you apply it. Use the spray bottle to keep everything nice and wet and the hobby knife to cut the excess film.
Once it completely dries the film should be pretty well stretched on the jar.
Source: ESP8266 LED Matrix Clock
- What microcontroller is used in the project?
The project uses an ESP12 board (ESP8266). - How many LED matrix modules are required?
Six 8x8 MAX7219 LED matrix modules are used. - How is time kept and synchronized?
Time is kept by an RTC DS3231 and synchronized over WiFi from an NTP server. - What connections are needed between MAX7219 and ESP8266?
Connect VCC to 3.3V, GND to GND, CS to D8, DIN to D7, and CLK to D5. - What connections are needed between DS3231 and ESP8266?
Connect GND to GND, VCC to 3.3V, SDA to D1, and SCL to D2. - Do I need to modify the RTC module regarding battery charging?
The article advises disabling the RTC module charging circuit for a CR2032 by cutting a marked trace on the module. - What must I update in the code before flashing?
Update the code with your WiFi SSID and password in the ssid and pass variables. - How should the window tint film be applied to the jar?
Apply the film wet with soapy water, keep both jar and film wet to adjust, then trim excess with a hobby knife and let it dry.
