Summary of Epic Graduation Cap
This article details an Arduino-powered smart graduation cap project designed to help graduates stand out. The cap features an 8x32 LED matrix displaying scrolling messages like "Hi mom, I'm graduating!" and "Yay! I graduated," triggered by a servo-controlled tassel movement upon pressing a red button. A yellow button activates "picture mode" to display "USF!" for photos. The project utilizes an Arduino Uno, MAX7219 module, servo motor, and a cell phone battery for power, all housed in 3D-printed cases and attached to a standard cap with Velcro and tape.
Parts used in the Smart Graduation Cap:
- Arduino Uno
- Cable
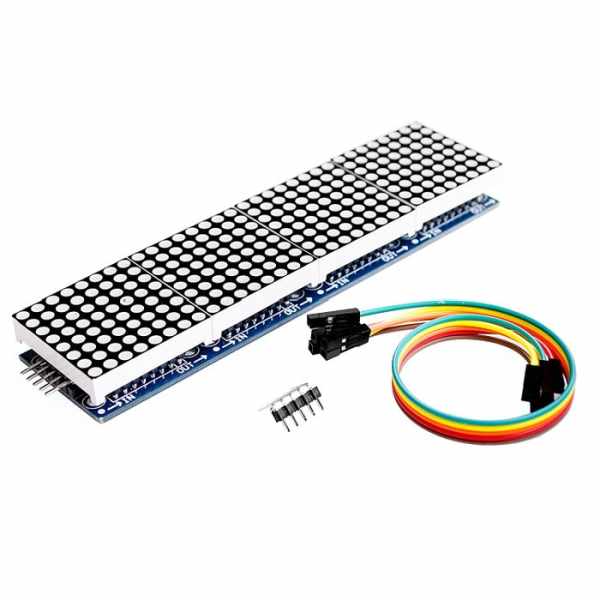
- MAX7219 Dot Matrix Module Microcontroller
- Servo motor
- Skinny cell phone battery portable charger
- Small breadboard
- Two buttons
- Two 470 ohm resistors
- Starbucks straw
- Duct tape or electrical tape
- Graduation Cap
- Tassel
- Stick-on Velcro
- Connecting wires (9 male-to-male, 2 female-to-female, 3 female-to-male)
I was attending the graduation of my friend last May and my friend leaned over to me and said “Hey Rachel, you should do an Arduino project so that you’re really easy to spot when you graduate.” So I did just that.
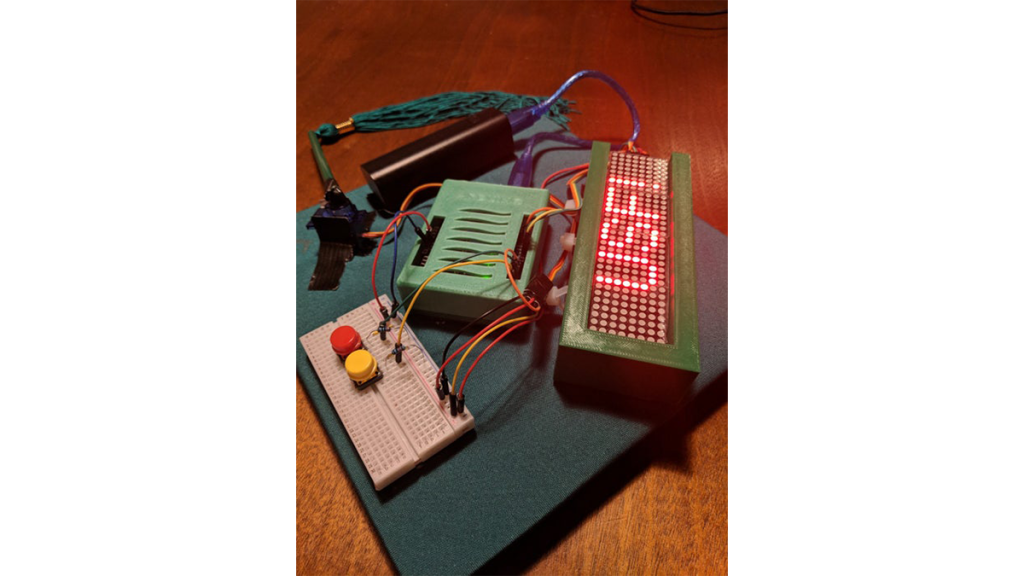
The cap has an 8 by 32 grid of LED’s that scrolls the message “Hi mom, I’m graduating!” The tassel of the cap is controlled by a servo motor to make your tassel go from right to left when the time comes to graduate (when you press the red button). Also, when the tassel moves over it changes the scrolling message to be “Yay! I graduated”. The yellow button enters the cap into “picture mode” where the scrolling of the LED grid stops and it simply displays “USF!” for picture taking (which there is always a lot of at a graduation).
You can find my program file and my 3D printing file at this Github repository.
Step 1: Buy Your Hardware Components
For this project I used the following hardware:
- An Arduino Uno with cable
- One MAX7219 Dot Matrix Module Microcontroller
- One Servo motor
- One skinny cell phone battery portable charger with at least one flat side (I bought mine from Staples)
- One small breadboard
- Two buttons
- Two 470 ohm resistors
- One Starbucks straw
- Duct tape or electrical tape
- Graduation Cap
- Tassel
- Stick-on Velcro
- Connecting wires
- 9 male-to-male
- 2 female-to-female
- 3 female-to-male
Step 2: Print the Cases for the Arduino and LED Light Bar
This Arduino Uno case was used from thingiverse. The stl file for the custom case for the MAX7219 matrix is included below. I printed both of them with a 5th generation Makerbot.
I wanted to create a housing for these components to protect the electrical components and make attaching the components to the cap easy with simple sticky velcro.
Step 3: Download Your Code to the Arduino Uno
This project uses the MD_Parola library to use the LED light bar. The built-in Arduino servo motor library is also used. Other than that the code is ready to upload onto your Arduino Uno.
Step 4: Assemble Your Graduation Cap

- Rip the button off the top of your grad cap (yes, just rip it off)
- Put the Arduino Uno in the case and close it
- Zip tie the MAX7219 LED bar into the case
- Cut your Starbucks straw to a little shorter than the size of the tassel
- Thread the tassel through the straw and around the peg of the servo motor, then use duct tape to make sure it stays in place
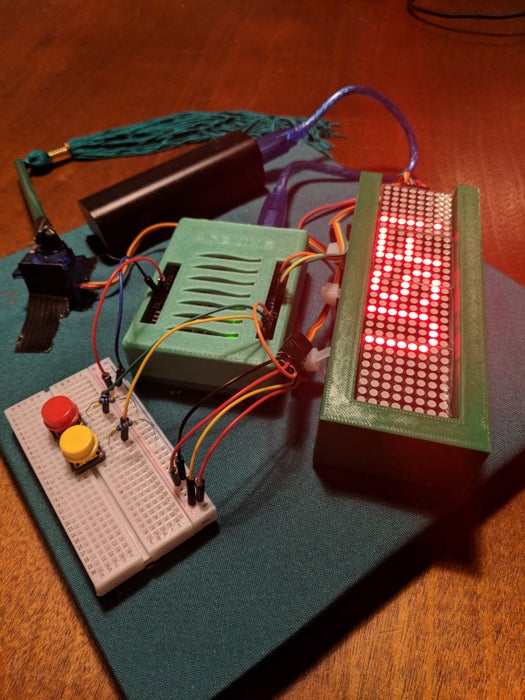
- Arrange everything on the cap as shown in the second image
- Using the stick on velcro, cut sizes to fit for all of the physical components and attach to your cap
- Use more duct tape to make sure the servo motor doesn’t go anywhere (I will probably try to screw the servo motor into the Arduino in the future).
- Wire according to the Fritzing diagram
- Make sure your cell phone battery supply is charged and then turn it on to turn on the Arduino
Step 5: Graduate!
With the cell phone battery supply, this Arduino should stay on for a long time without any problems. Congratulations graduate!
Source: Epic Graduation Cap
- How does the tassel move on the cap?
The tassel moves from right to left when you press the red button, which triggers a servo motor. - What message displays after the tassel moves?
The scrolling message changes to Yay! I graduated when the tassel moves over. - How do you activate picture mode?
You enter picture mode by pressing the yellow button, which stops the scroll and displays USF! - What library is required for the LED light bar?
The project uses the MD_Parola library to control the LED light bar. - How is the tassel secured to the servo motor?
The tassel is threaded through a cut Starbucks straw around the servo peg and secured with duct tape. - What powers the Arduino Uno in this project?
A skinny cell phone battery portable charger with at least one flat side powers the system. - Where can the program and 3D printing files be found?
The files are available in the author's Github repository. - How are components attached to the graduation cap?
Components are attached using stick-on Velcro and additional duct tape for stability.