I know that I am not the first to make a word clock, using an Arduino. Still it was always something on my ‘to do’ list to make a Dutch one.
For a different project I’ve bought a ‘colorduino / rainbowduino / funduino’ a long time ago to test something. This gave me the inspiration to make an 8 x 8 word clock.
I noticed now that I am also not te first to make a 8 x 8 word clock and not the first to make a Dutch word clock. I couldn’t find an other Dutch 8 x 8 word clock, so still a first? 😉
It is an easy build and if you use my designs and a laser to cut the case it is just putting together like a kit.
***I’ve made an other version using a neopixel matrix instead of the colorduino.
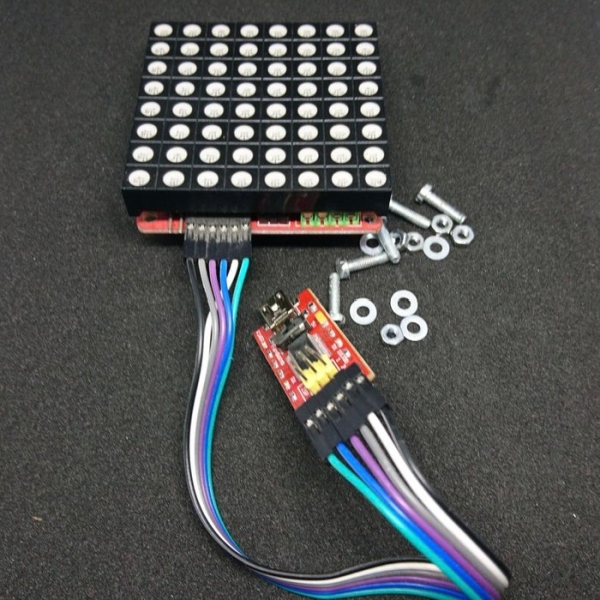
Step 1: You Will Need
Materials:
- Colorduino (15,- aliexpress)
- 5 M3 nuts and bolts (M3 x 12)
- Acrylic 3mm for the case
- Troglass Reverse (www.graveermaterialen.nl)
- Tape
Tools:
- Lasercutter (or makerspace)
- Pliers
- Computer with Arduino IDE (www.arduino.cc)
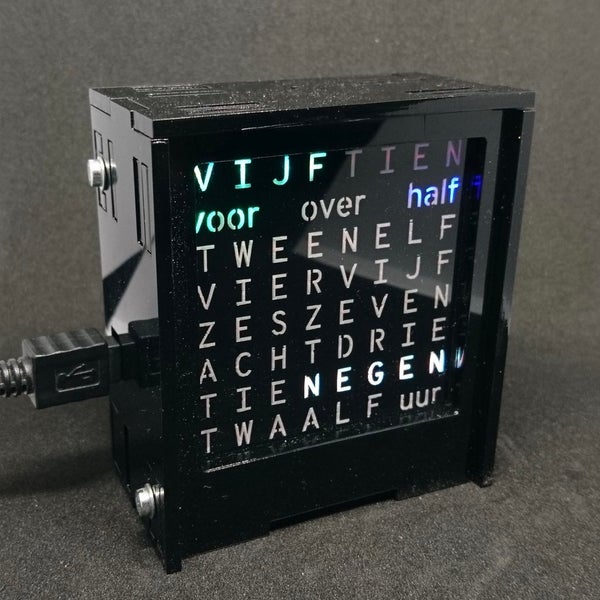
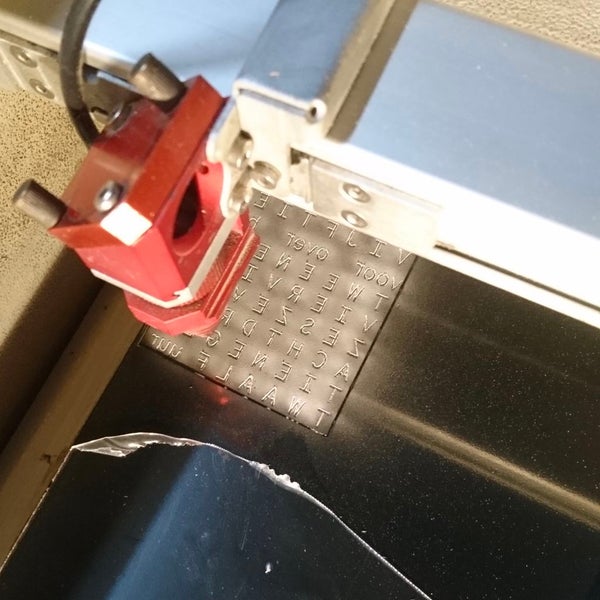
Step 2: Design the Front
It took some puzzling to get it all in and it would have been nicer to use only one letter per led, but I still like what I came up with. All the words are in one piece and both minutes and hours are spelled with separate letters.
The clock will have an accuracy of five minutes, what is normal for word clocks.
I used Gravit Designer to design the clock.
I added both the Gravit files and the PDF so you can tinker with it if you like.
You will need to cut this file from Troglass Reverse (or any other brand). You can make your own Troglass Reverse by spraying black paint on a piece of clear 3 mm acrylic.
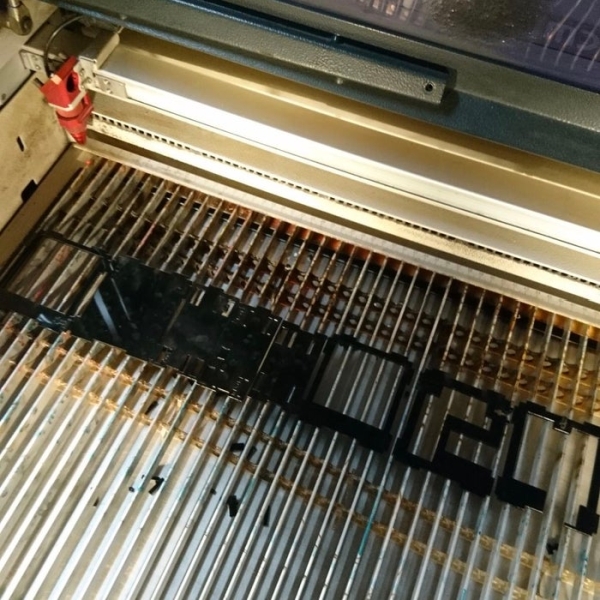
Step 3: Design the Case
I have designed a case that holds everything perfectly in place and is hold together with just 5 bolts.
- Cut this from 3 mm material. I have used black acrylic.
(There where still a few small errors in the design when I’ve cut it, but they are fixed in the added designs.)
Step 4: Add the Screen
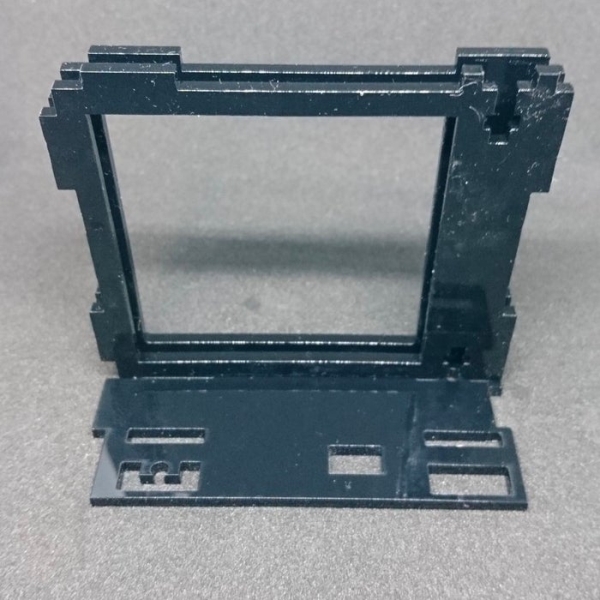
- Put the two front plates in one side panel.
- Put the front screen from the back in the front panels.
- Use one bolt to attach the side to the second front panel.
- Stick the nut for the other side with some tape in place. (this will make your live so much easier when you are closing up)
- Put de 8 x 8 matrix on top of the colorduino.
- Put the colorduino behind the front screen.
- Put in the third panel in place to hold the colorduino.
Step 5: Add the USB
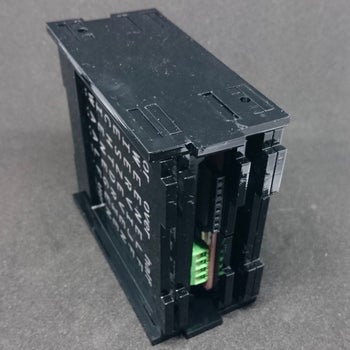
- Hold the USB pcb in het opening in the fourth panel.
- Tape the USB pcb in place.
- Tape the nuts for the side panels in place.
- Tape the nut for the top panel in place. (use a small nut for this)
- Fold the cable so that it will fit.
- Put the back panels in the side, with the USB port at the opening in the side.
- Put the other side on.
- Bolt the sides to the panels.
- Put the top panel on.
- Bolt the top on. (I couldn’t because my design was still a bit off)
Step 6: The Software
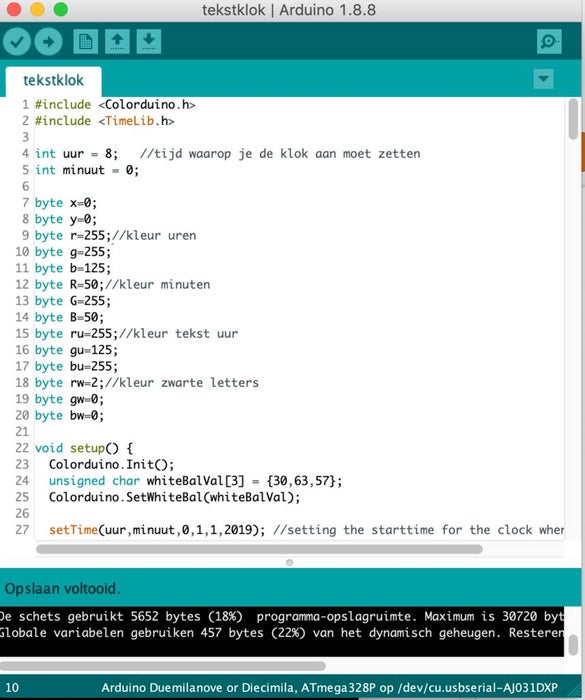
Before you start your Arduino IDE, you should put the TimeLib.h and the Colorduino.h libraries in the libraries folder in your Arduino folder. It was a bit hard to find the TimeLib library because I was used to work with the Time.h library, but that one doesn’t seem to work anymore from Arduino 1.6 and newer.
You can use the Sketch as I wrote it or you can change it how you like.
The clock doesn’t have any buttons, so you have to set the time in the sketch. When you use the clock stand alone, you set the time by plugging it in at exactly 8 o’clock.
At the top of the sketch you can change the colors. You can also set the time at which the clock starts here.
The colors of the ‘voor’, ‘over’, ‘half’ en ‘uur’ text, you can change in the bottom of the sketch.
Source: Dutch 8×8 Word Clock