Summary of DIY Smart Dustbin With Arduino
This article outlines the construction of a Smart Dustbin using an Arduino Uno and ultrasonic sensor to automate lid opening. The project involves cutting plastic for a rotating lid, mounting sensors and motors, wiring the circuit with a 9V battery, and programming the microcontroller.
Parts used in the Smart Dustbin:
- Arduino Uno
- Ultrasonic Sensor
- Servo Motor
- Dustbin
- Plastic sheet
- Scotch tape or plastic tape
- Double tape
- 9 Volt Battery
- Glue
- String
- Metal Washer
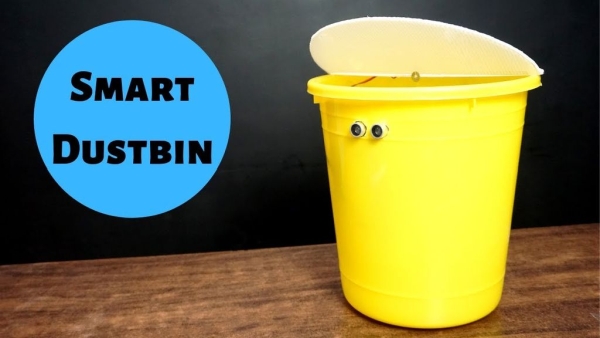
Here we will make a Smart Dustbin by using arduino and ultrasonic sensor.
I hope you guys enjoy learning this project.
Supplies:
Arduino Uno
Ultrasonic Sensor
Servo Motor
Dustbin
Step 1: Preparing the Opening

Take a plastic sheet and cut fraw a circle with the help of dustbin and but it off from plastic sheet and then cut the circle in half and join them again with the help of scotch tape or plastic tape.
Step 2: Place the Ultra Sonic Sensor

Place the ultra sonic sensor in the dustbin as shown in the picture and move on to the next step.
Step 3: Programming

Connect the arduino and upload the given program on your arduino uno and place the arduino in the dustbin with the help of double tape and move on to the next step.
Step 4: Wiring
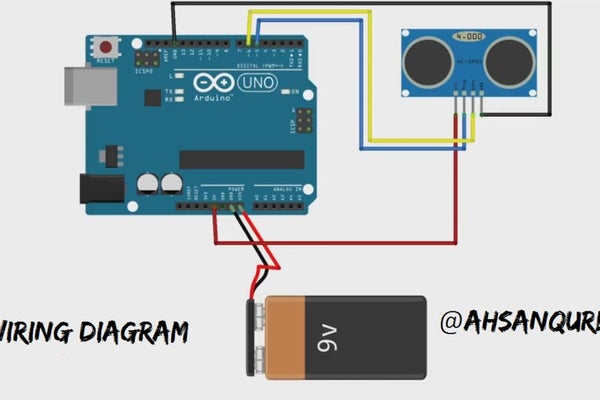
Now Place the 9 Volt Battery and Wire the circuit as shown in the picture above and then move on to the next step.
Step 5: Place the Plastic Circle
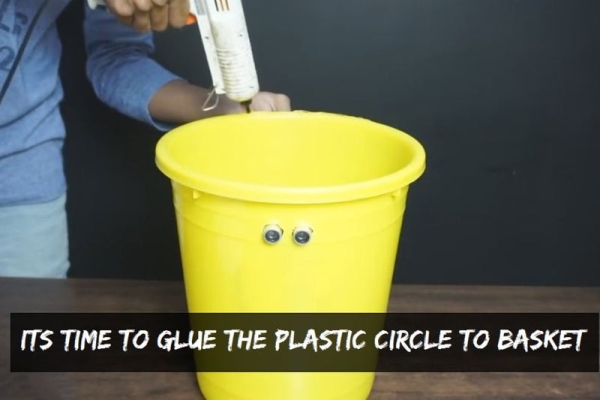
Now Place the Plastic circle that we had cut in the second step and and glue the half circle on the dustbin and take the servo motor and place it on the circle with fix it with the help of some glue as shown in the pictures.
Take a string and a metal Washer and tie a not with the string as shown in the picture and make an hole and pass it through the plastic circle and again tie a not with servo motor.
Read more: DIY Smart Dustbin With Arduino
-
What components are needed to build this smart dustbin?
The required supplies include an Arduino Uno, Ultrasonic Sensor, Servo Motor, Dustbin, plastic sheet, tape, glue, 9 Volt Battery, string, and a metal washer. -
How do you prepare the opening for the dustbin lid?
Take a plastic sheet, cut a circle using the dustbin as a guide, cut the circle in half, and join them again with scotch tape or plastic tape. -
Where should the ultrasonic sensor be placed?
Place the ultrasonic sensor inside the dustbin as shown in the project pictures before proceeding to the next step. -
How is the Arduino secured inside the device?
Upload the program to the Arduino Uno and place the board inside the dustbin using double tape. -
What power source is used for the circuit?
A 9 Volt Battery is placed in the setup to wire the circuit as demonstrated in the images. -
How is the servo motor attached to the lid?
Glue the half-circle plastic piece to the dustbin, then fix the servo motor on top of it using glue. -
What mechanism connects the servo motor to the lid?
Tie a knot with a string and metal washer, pass the string through the plastic circle, and tie another knot to the servo motor.