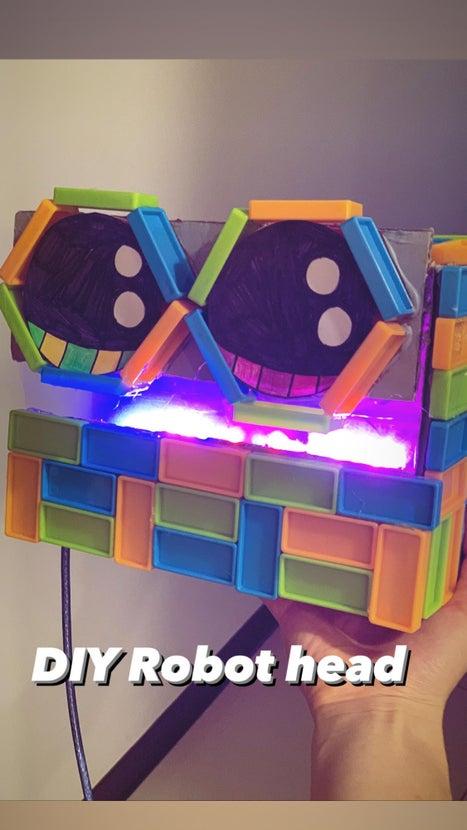
In this instructable, you will be taught how to make a decorative robot head light by using RGB LED lights to create a visual effect in the robot’s mouth, the lights can shine brightly colored rainbow lights back and forth, almost as if the robot is tryiing to communicate! This design can be used at parties, it has the ability to make your party a bit more fun and interesting if the theme you are looking for is a futuristic-themed party. This design can also be used as a night light in a kid’s bedroom, if a child refuses their parents’ dismissal in their bedroom because they are afraid of the dark, the robot head can be placed inside the child’s bedroom, making them feel much more secured as they have a little robot buddy to accompany them by shining their beautiful rainbow lights in the darkness. The robot itself is a adorable design so the children will not be scared of it, it uses rather friendly olors and designs such as brightly colored dominoe blocks in the shades of orange, blue, and green along with two sets of charming eyes. These two situations can be solved with this amazing robot head masterpiece. To conclude, the cute eyes of the robot may also attract many of your party guests, not to mention, it’s a hit with the kids too!
Supplies
6x 74HC595 8-Bit Shift Registers
16x RGB LED light bulbs
1x Arduino Leonardo board
3x (7x20cm) cardboard
1x (4.5×20.5cm) cardboard
1x (12.4×20.4cm) cardboard
1x (7x13cm) cardboard
1x large bread board
a couple of cable wires
1x (12.5x20cm) plastic piece
2x (6.7×6.7cm) red lid
1x blank sheet of paper
1x sharpie marker
1x purple, red, yellow, and green color pencils
1x scissors
1x Ruler
1x hot glue gun
2x hot glue sticks
1x tube of grey paint
1x blue cable wire
56x dominoes in the colors of orange, green and blue
Step 1: The Images of the Materials

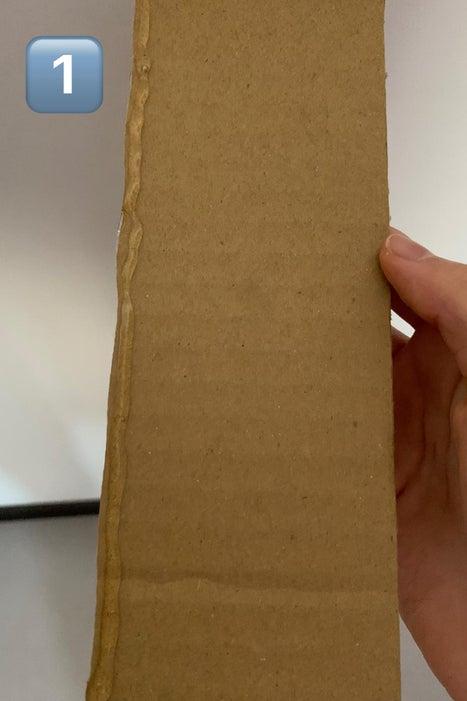
#1 photo:
3x (7x20cm) cardboard
1x (4.5×20.5cm) cardboard
1x (12.4×20.4cm) cardboard
#2 photo:
2x (6.7×6.7cm) red lid
#3 photo:
1x (7x13cm) cardboard
#4 photo:
The three different colors of the dominoes (orange, blue & green)
#5 photo:
74HC595 8-Bit Shift Registers
#6 photo:
Arduino Leonardo board
#7 photo:
RGB LED light bulb
#8 photo:
Breadboard
#9 photo:
Cable wires
#10 photo:
Ruler
#11 photo:
Grey paint
#12 photo
plastic piece
#13 photo:
scissors
#14 photo:
blank sheet of paper
#15 photo
paint brush
#16 photo:
hot glue gun and glue sticks
#17 photo
color pencils and sharpie
#18 photo
Blue cable wire
Step 2: Step 1: Making the Robot Box
First, gather the materials you will need which will be 2 pieces of the 7x20cm cardboard piece and the 12.4×20.4cm cardboard piece. Meanwhile plug in your hot glue gun and heat it up, to make sure the gun is hot and ready to use, use a piece of scrap paper or cardboard to try to use the gun to squeeze out glue. If the glue takes a long time to squeee out, wait for another 5 minutes before use. If the glue can get easily squeezed out, it’s rady for use. Using a hot glue gun, apply a thin application of glue along one side of the longest side of the 7x20cm cardboard piece.
Step 3: Step 2: Making the Robot Box
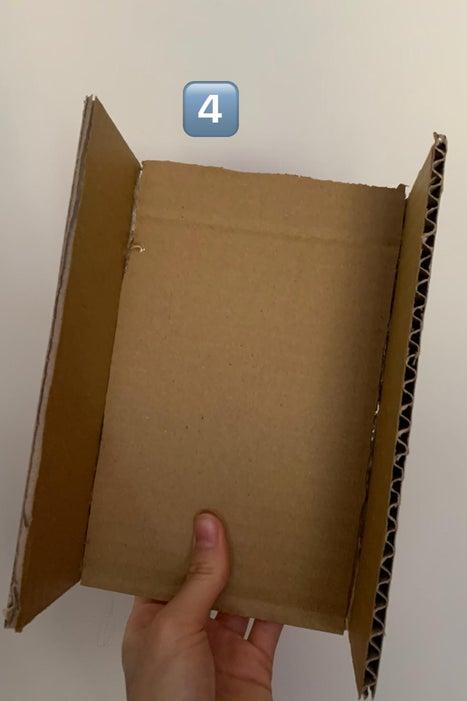
Next, take the 12.4×20.4cm cardboard piece and glue its longest side to the part of the 7x20cm cardboard piece where you applied your thin application of glue previously. Then, apply your glue on the second piece of the 7x20cm cardboard (again, on its longest side) and glue it to the other side of the 12.4×20.4cm cardboard piece. In the end, you should be getting two of the 7x20cm cardboard pieces glued to the two sides of the 12.4×20.4cm cardboard piece which will serve as the main structure! Check the step-by-step images on the top of the description. Be careful with your glue gun!
Step 4: Step 3: Making the Robot Box
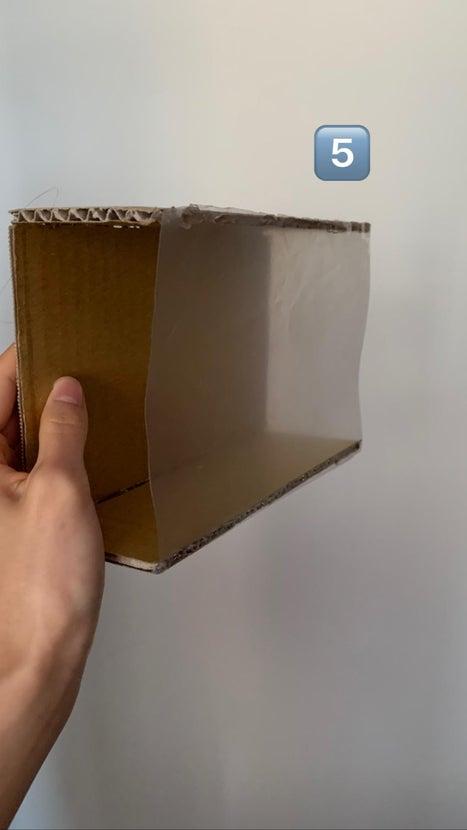
Apply glue on the two long ends of the 7x20cm cardboard piece, with caution, place the plastic piece over the two areas where you have just applied glue and press the plastic piece down upon the glued areas. Make sure to press it tightly to make sure everything is intact.
Step 5: Step 4: Making the Robot Box
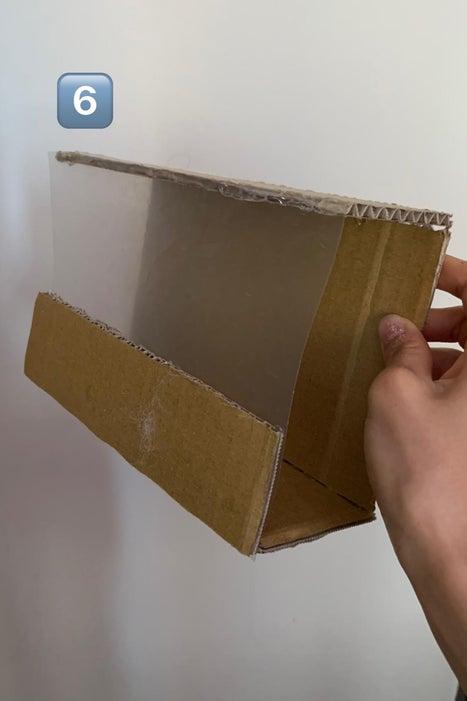
Take your 7x13cm cardboard piece and apply glue to the surface where you will be gluing it to the plastic piece on the bottom of the robot box. Once the glue is applied to the cardboard piece, compress it together with the plastic and make sure there are no gaps in between them. When the cardboard piece is firmly glued against the plastic piece, glue the 4.5×20.5cm cardboard piece on the top of the cardboard. Make sure to leave a distance of about 2cm above the 12.4×20.4cm cardboard piece, again, press the cardboard tightly onto its glued surface and make sure it’s glued properly before letting it dry completely.
Step 6: Step 5: Making the Robot Box

Glue the two red cap lids on the 4.5×20.5cm cardboard piece, make sure the red cap lids are glued symmetrically…..after all, we all want symmetrical eyes right?
Step 7: Step 6: Making the Robot Box
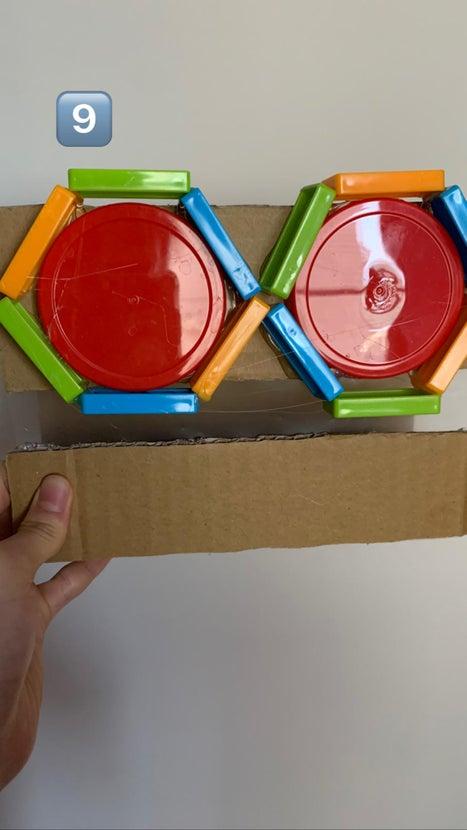
Take 12 pieces of dominoes which will be 4 green dominoes, 4 blue dominoes, and four orange dominoes. Two of each of the colors of the three different colors of dominoes will be on each eye. Glue them horizontally on the outside of the red cap lids.
Source: DIY Robot Head Made Out of RGB LED Lights