Summary of DIY Arduino Weather Station using Nokia Display
This article explains how to build an Arduino weather station using a DHT22 sensor to measure temperature, humidity, and heat index, along with an FC-28 soil moisture sensor for soil moisture levels. The data from both sensors is displayed on a Nokia 5110 LCD. The article covers the necessary components, sensor working principles, and basic wiring instructions for integrating the sensors with an Arduino Uno for real-time environmental monitoring.
Parts used in the Arduino Weather Station:
- Arduino Uno
- Nokia 5110 LCD
- DHT22 Temperature and humidity sensor
- FC-28 Soil moisture sensor
- Breadboard
- Connecting wires
- 1k potentiometer
- 4 x 10k resistors
- 1k resistor
- 330 ohm resistor
Learn to Build Arduino Weather Station using DHT11, Soil Sensor, and Nokia Display
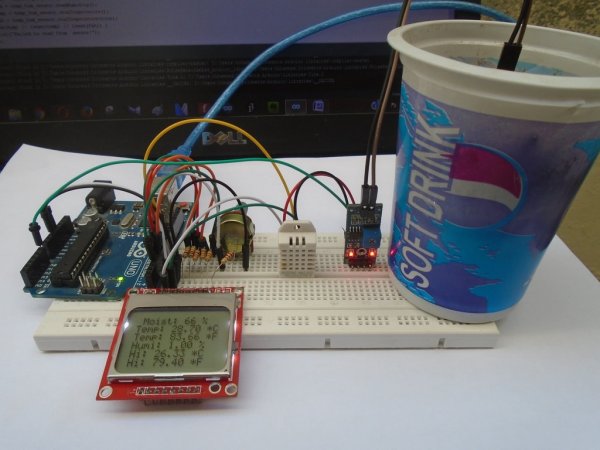
In this project tutorial, we are going to make an Arduino weather station using 2 sensors; FC-28 soil moisture sensor to measure the moisture and the DHT22 sensor to measure the temperature, humidity and the heat index. All the measured parameters (with the help of sensors) will be displayed using Nokia 5110 LCD.
Before we proceed further building our Arduino weather station, let’s see some tutorials which is a prerequisite to successfully implement this project. You may learn how to use Soil moisture sensor with Arduino and also you may learn how DHT11 is interfaced with Arduino. Finally, learn how to use Nokia5110 LCD with Arduino. Once you cover all those three tutorials, you are ready to build a weather station using Arduino.
Components Required
The required components for this project are as follows
- Arduino Uno
- Nokia 5110 LCD
- DHT22 Temperature and humidity sensor
- FC-28 Soil moisture sensor
- Breadboard
- Connecting wires
- 1k potentiometer
- 4 X 10k resistors
- 1k resistor
- 330 ohm resistor
Working: Weather Station using Arduino
In this weather station project, we are going to use two sensors. One is for measuring the moisture of the soil and the other is for reading the temperature, humidity and the heat index.
The FC- 28 soil moisture sensor gives us reading in the form of analog voltage from 0 to 1023. When the soil is dry, the output value of FC-28 sensor will be closer to 1023 and when the soil is wet, the value will be closer to zero. Moisture is measured in percentage, so we need to convert these values to a new scale measuring zer0 to 100. This percentage is then be displayed on the Nokia 5110 LCD.
The DHT22 sensor can measure temperature, humidity, and heat index. The DHT22 sensor gives output in the digital form and is fed directly through the digital I/O pins of Arduino. The Arduino reads this output and calculates temperature, humidity, and the heat index. These values are then displayed on the Nokia 5110 LCD.
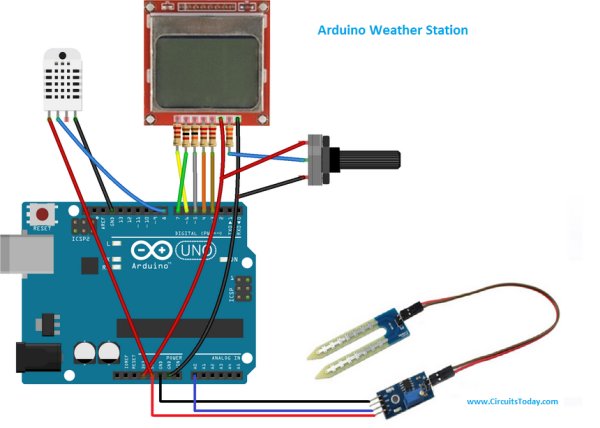
Circuit Diagram
Connections for DHT22 with Arduino
- Connect pin 1 (VCC pin) of DHT22 sensor to the 5V pin of Arduino
- Connect pin 2 (Data pin) of DHT22 to the pin 8 of Arduino
- Connect pin 4 (GND pin) of DHT22 to the GND pin of Arduino
Read more: DIY Arduino Weather Station using Nokia Display