Summary of DIY Arduino radar with display
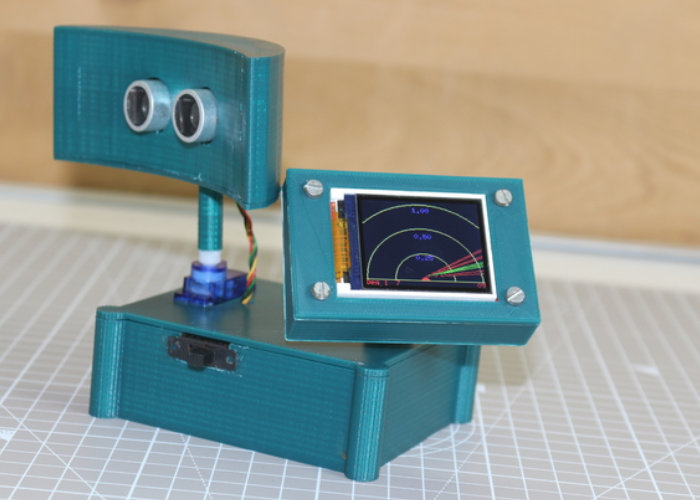
Summary: Mr Innovative built a DIY Arduino radar using an HC-SR04 ultrasonic sensor and a 1.8" ST7735 display. A rotating dish sweeps the sensor, detects objects via reflected ultrasonic waves, and renders detected objects as red lines on the display. Project files, code, and 3D-printable enclosure parts are available on GitHub and Thingiverse.
Parts used in the DIY Arduino radar:
- Arduino (microcontroller)
- HC-SR04 ultrasonic sensor
- 1.8″ ST7735 display
- Revolving radar dish (3D-printed)
- 3D-printed enclosure
- Servomotor or motor for rotation
- Wiring and connectors
- Power source (battery or USB power)
- Mounting hardware (screws, brackets)
Makers, Arduino enthusiasts and students looking to learn more about ultrasonic sensors, may be interested in this DIY Arduino radar created by Mr Innovative. Capable of detecting objects placed in front of it the radar features a revolving dish capable of detecting objects in its line of sight. Watch the video below to learn more about its features, construction and capabilities.
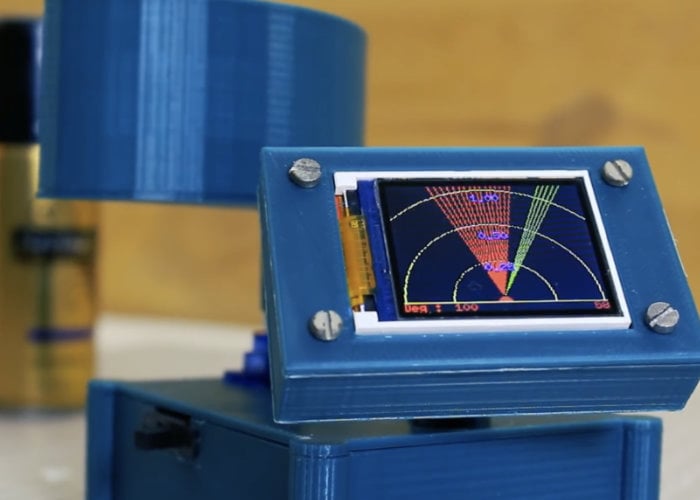
Mr Innovative elaborates further on the project, discussing various components that are part of it. “Hey guys, in this video I created a small radar with a screen using the HC-SR04 ultrasonic sensor. This sensor sends out ultrasonic waves that bounce back after hitting an object, providing data.”
 a visualization is displayed on 1.8″ ST7735 display, if any object detect by radar it’ll show in display in red line.”
Ultrasonic sensors are valuable in many robotics projects as they send out a high frequency sound wave and then detect its reflection to measure the distance of an object. If you want to see how the sensor perceives an area, Mr. Innovative’s “radar” offers an enjoyable visualization.
To get more information on creating your own DIY Arduino radar, visit the official GitHub page and Thingiverse for the 3D printable files for the enclosure and radar dish.
Source: DIY Arduino radar with display
- What ultrasonic sensor is used in the project?
The project uses the HC-SR04 ultrasonic sensor. - What display is used to visualize detections?
A 1.8″ ST7735 display is used to show detections as red lines. - Does the radar have a rotating element?
Yes, the radar features a revolving dish to sweep the sensor across an area. - How are detected objects shown on the screen?
Detected objects appear as a red line on the display. - Where can I find the project files and 3D models?
The GitHub page and Thingiverse host the project code and 3D-printable files. - What principle does the ultrasonic sensor use to detect objects?
It sends ultrasonic waves that bounce back after hitting an object, and measures the reflection to determine distance. - Is the project suitable for students and makers?
Yes, it is presented as a project for makers, Arduino enthusiasts, and students to learn about ultrasonic sensors.