One thing we all always wish we could do when using any display is to load our own custom graphics, be it a logo, gif etc. In today’s tutorial we will show how to do just that on an OLED display using an Arduino.
OLED (organic light-emitting diode) display is a display based on light-emitting diode (LED) in which the emissive electroluminescent layer is a film of organic compound that emits light in response to an electric current. This layer of organic semiconductor is situated between two electrodes; typically, at least one of these electrodes is transparent. OLEDs are used to create digital displays in devices such as television screens, computer monitors, portable systems such as mobile phones, handheld game consoles, and PDAs. OLED displays do not require a backlight because they emit visible light and can thus, display deep black levels and be thinner and lighter than a liquid crystal display (LCD).
We covered how to display text on the OLED display in one of our previous tutorials which can be found here.
Required Component
The following components are required to build this project;
As usual, the exact components used for this tutorial can be bought by following the link attached to each of them.
Schematics
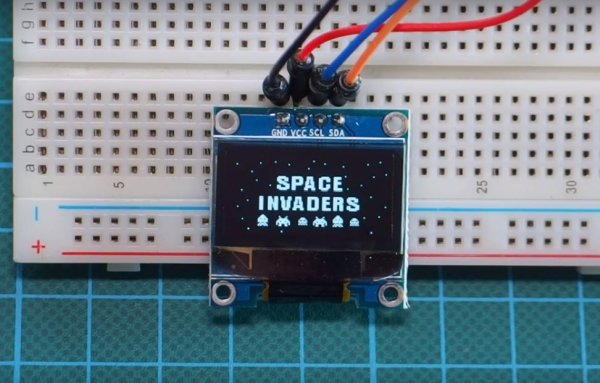
The schematics for this project is a simple one as it involves just the connection between the OLED display and the Arduino. Connect them as shown in the Schematics below.
OLED - ARDUINO

VCC - 5v
GND - GND
SCL - SCL
SDA - SDA
Creating the Graphics
After connecting the LCD to our Arduino, the next line of action is to prepare the graphics to be displayed.
The graphics can be created/designed using tools like Microsoft paint, Corel draw, Paint.net or Adobe Photoshop. The important thing is to ensure the image is saved as a bitmap.
Read more: Displaying Customized Graphics on OLED display using Arduino