The beginning of the project came from an idea, an inspiration from a video posted on the Internet on the YouTube channel “I like to do things” …
Then came the need to make a stand for one of my monitors that housed a clock, a digital analog converter – DAC – integrated into an audio amplifier for my computer. Possessing these two ingredients, the project was able to start …
Step 1: Inspiration and Need
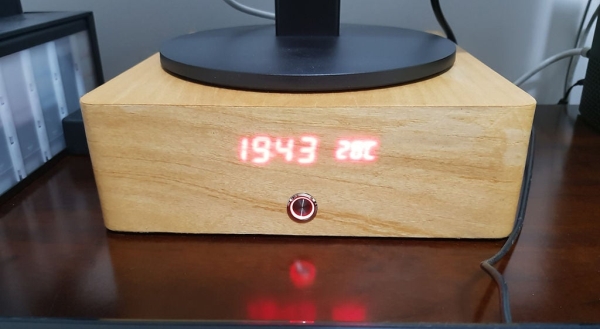
As I said, the idea came from a YouTube channel video “I Like To Make Stuff”, posted at https://www.youtube.com/watch?v=2P-8-zd7sXg&t=101s, which demonstrates how to mount a digital clock that, when off, looks like a blank wooden box but when turned on, the digits appear through the wooden sheet, causing a rather interesting effect.
Allied to this, the need, which was the great responsibility for the execution of the project, to mount a support for one of my monitors that also worked as a DAC and a 30W amplifier for the sound of my computer. From there, it was to give wings to the creativity and to initiate the projects of the electronic and structural part of the equipment.
Step 2: Electronics…
This phase consists of several elements that make up the clock and the sound system.
The clock, which integrates the functions of the thermometer and of the air relative humidity, is composed of the following components:
1 x Arduino Nano
1 x DHT22
1 x 4-digit 7-segment display
1 x 3-digit 7-segment display
1 x Real time clock DS1307
1 x MAX7219
1 x PAM8610 15x15W D class stereo amplifier
1 x 5V voltage regulator
1 x Stainless steel led button
1 x PCM2704
The other components are easily found in electronic component stores.
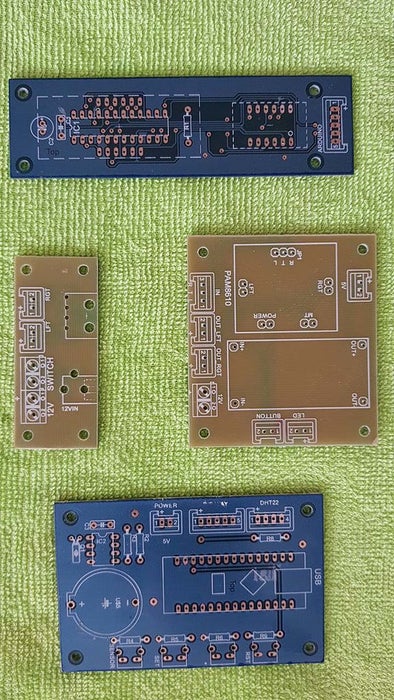
Printed circuit boards were made in Eagle software, inkjet printer-printed photolites, and are produced by the photographic process, with a welding mask and layout, to give a semi-professional finish.
Step 3: The Box…
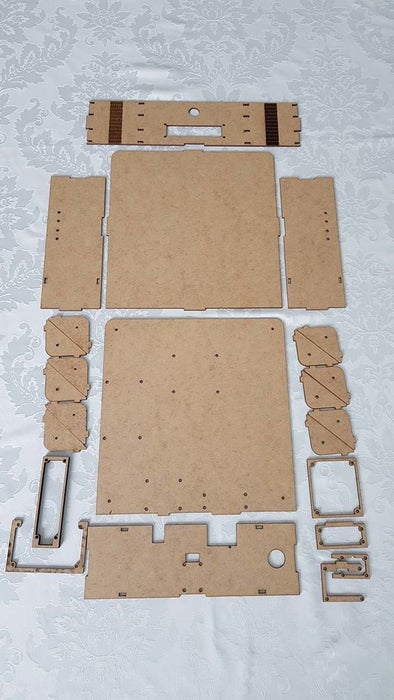
The assembly box and all its elements were designed in a CAD software and had its parts cut laser in MDF of 3mm and 6mm of thickness, whose assembly, due to the precision of the cut, had no greater difficulties, as can be seen in the photos below.
The finish was made with three layers of black spray paint and clear wood veneer coating. The greatest difficulty was to curl the wood sheet, which had to be softened with water, to facilitate its application on the surfaces of the MDF box.
After the glue was dried, three layers of marine varnish were applied to protect and brighten the wood sheet.
Step 4: The Final Assembly!
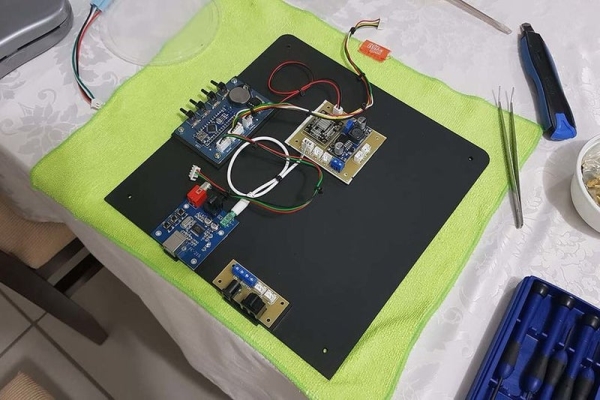
Due to the precision of the laser cut, the final assembly of the project presented no major difficulties. All the parts fit well in their proper places, the spinning was organized so as to allow a clean and tight fit to the box.
Step 5: Final Result.
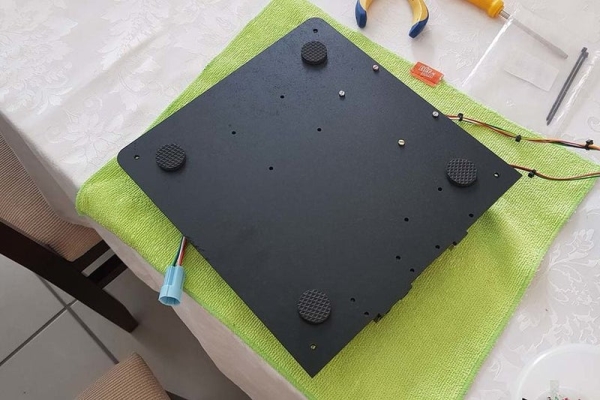
After placing the rubber feet and closing the box, tests were performed that demonstrated the design was successful, with all its functions working properly, requiring no further post-assembly adjustment.
Step 6: Conclusion!
This was a project designed to meet a need that turned out to be an extremely pleasurable job for the execution and final result.
I thank you for your interest in the project and encourage your assembly by those who have an interest in executing it or as inspiration for developing an idea of your own.
Source: Clock, Amplifier and a Little Amount of Wood…