Sometimes words are not enough to share your feelings. That’s when you need Bloomie! Bloomie is a product for people to share their emotions through lights. When you trigger a certain interaction, the message will be sent to the other person’s Bloomie. By using Bloomie, you can share your frustration and excitement and console people you love. Bloomie has three interaction functions.
A: When you are frustrated or disappointed, you can shake Bloomie, which will make the flowers blink red frantically.
B: You can calm your frustrated friend by sending a light signal using the first button, or you can just use it when you are feeling calm.
C: When you press the second button, the flowers will blink in various colors. Share your excitement and joy using this button!
Step 1: Gather Your Materials
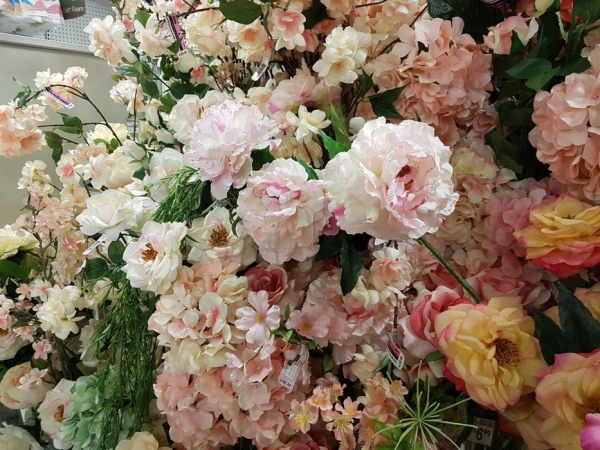
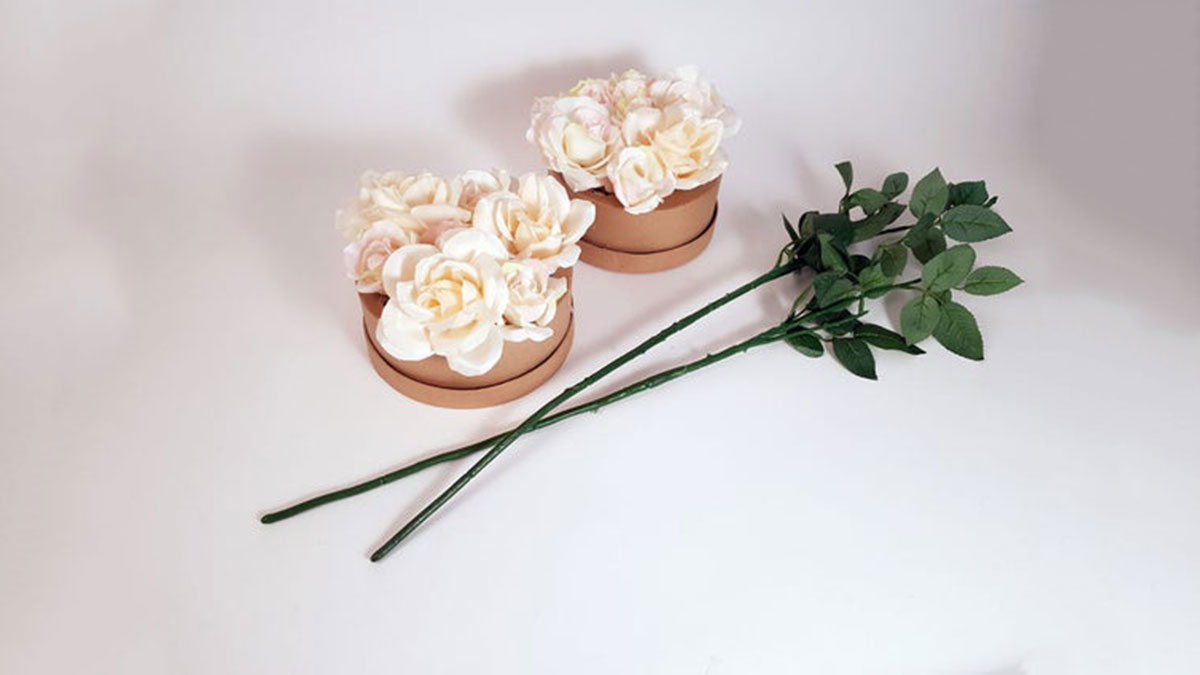
Materials for the project: fake flowers (ideally white flowers), two boxes, wires, two Adafruit Feather Huzzah, two breadboards, two vibration sensor switches, Neopixels, four pushbuttons, lithium batteries, and four resistors.
Step 2: Make the Circuit
1. Solder the Neopixels into one long line
2. Connect the Huzzah to the breadboard
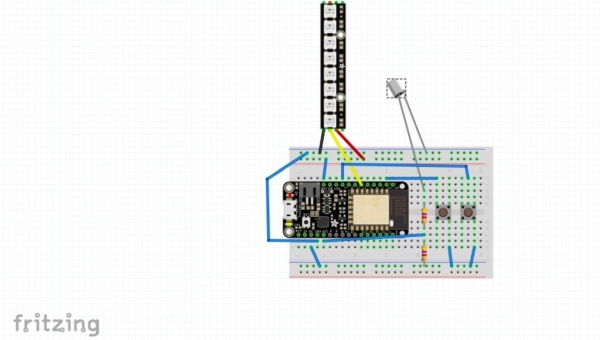
3. Connect the Neopixels, pushbuttons, and resistors to the breadboard according to the circuit diagram.
Tip: Take a photo of Huzzah before you attach it so that you can refer to it when you cannot read which pin is which!
Step 3: Code
The process of how the code works is as follows:
A: Obtain signals (inputs)
B: Send data to Adafruit IO feed
C: Send data back to both circuits and trigger interactions
Step 4: Attach the Circuit to the Box
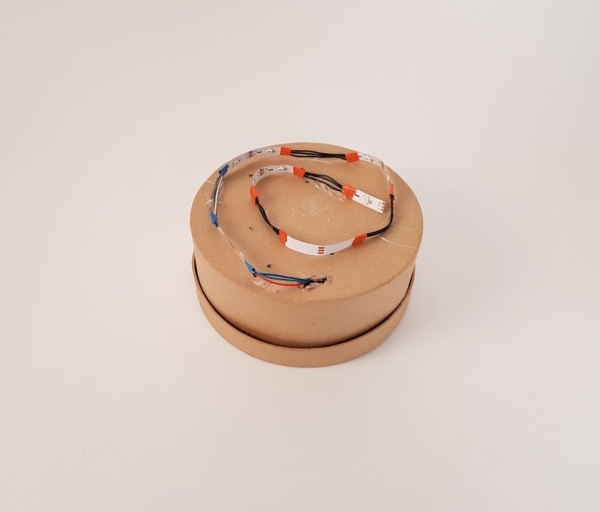
Attach the breadboard to the bottom of the box and make a hole to pull out the Neopixels out. Then, attach the Neopixels in a spiral.
Tip: Make sure you use electrical tape to strengthen the connection of the Neopixels!
Step 5: Cover the Box With Flowers
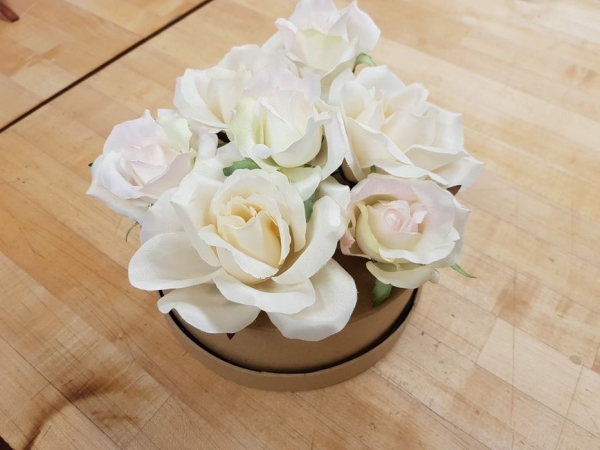
Some flowers have Styrofoam balls inside. These balls maintain the shape of the flowers, but they block the lights from the Neopixels. Therefore, it is better to pull out these balls and use a glue gun to maintain the shape. Then, you can attach these flowers to the box! Be sure to attach the flowers in the right places (where they can diffuse the most light)
Step 6: Enjoy Your Bloomie!
Enjoy your Bloomie with your friends and family members! Bloomie will let you experience new kinds of interaction with your loved ones.
Did you enjoy the post?
Leave a comment!
Source: Bloomie-The Interactive Flowers