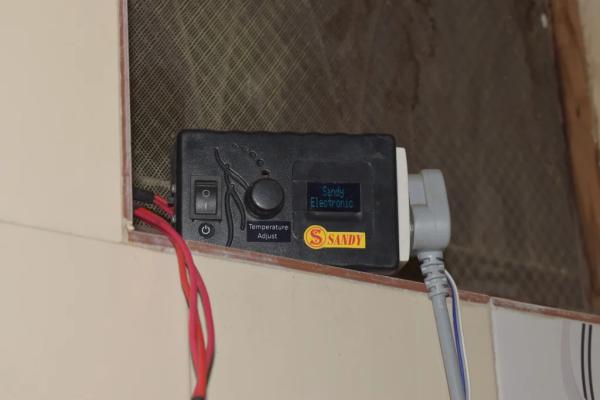
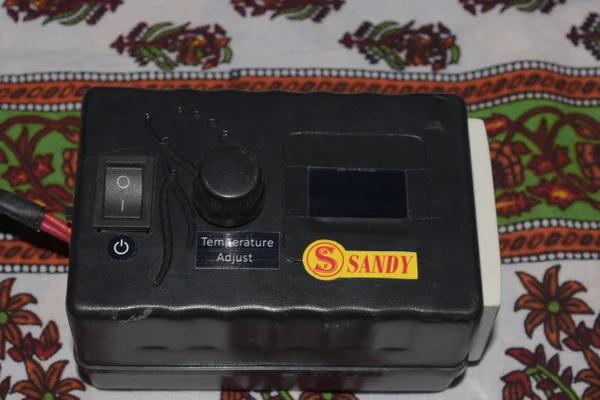
This is the modification of my old version. This is a technology in small box. In the previous version there is no possibility of adjusting the temperature that we need. It had only 2 temperature setup. In this version I added temperature adjustment using rotary encoder and also added a display. Also changed the micro controller to Arduino pro mini. This system has a buzzer i.e., when the water is heated buzzer starts to sound. It has an amazing feature that is last memory. When we set a temperature, that is saved in the EEPROM and when restarted the previous temperature is loaded and it will be cut-off at that temperature. We can use as normal water heater without the control of this system by using a separate slide switch(Auto/Manual).
Some people said to me, it is better to buy a geyser which is very costly comparing to my project. In my system I can use different brands of immersion water heater and we can put where ever we want and also low cost and handy.
Visit my Temperature Controlled Water Heater 1.0.
https://www.instructables.com/id/Temperature-Contr…
Step 1: Materials Needed
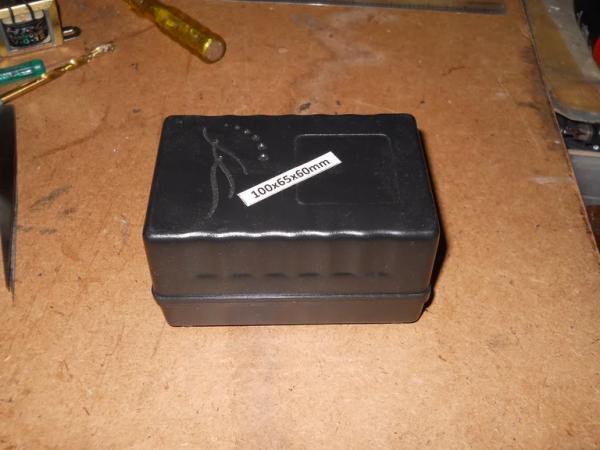
Plastic case
USB mobile charger
Rotary encoder
Display
Arduino pro mini
5v Relay module
Switch
Knob
AC Socket
Temperature sensor
Buzzer
10k SMT resistor
4.7k resistor
1k resistor
3-pin Mains cord
SPDT Slide switch
Immersion Water Heater
Step 2: Charger
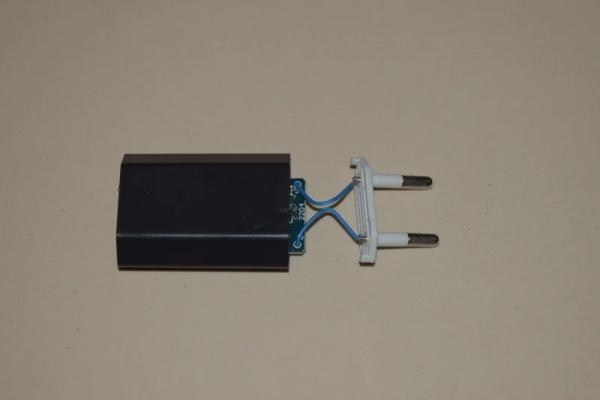
Disassemble the charger and remove the PCB. Solder wire for 220v input and 5v output.
Step 3: Rotary Encoder
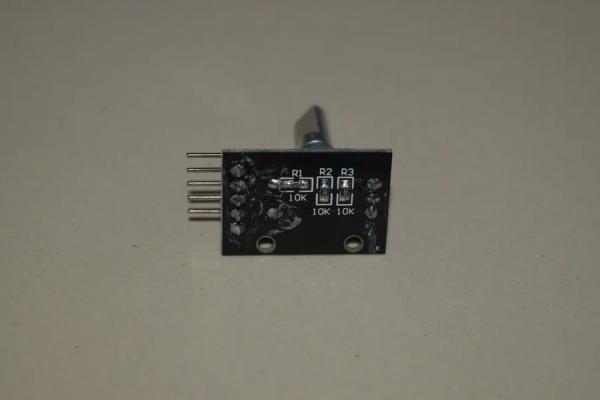
Solder 10k resistor to the board which is used for the push button. Cut the stem in required height for inserting the knob. Since it is not possible to screw fit, I super glued some scrap wood.
Step 4: Enclosure
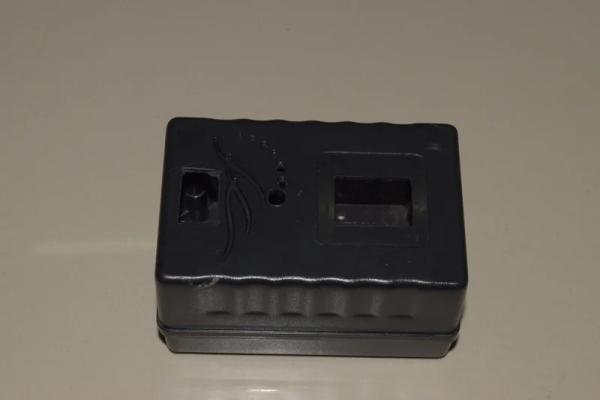
Cut holes for inserting the electronics
Step 5: Install Electronics
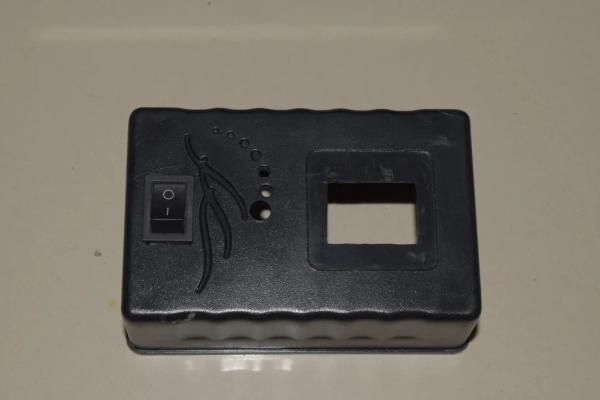
Install all the electronics
Step 6: Wiring
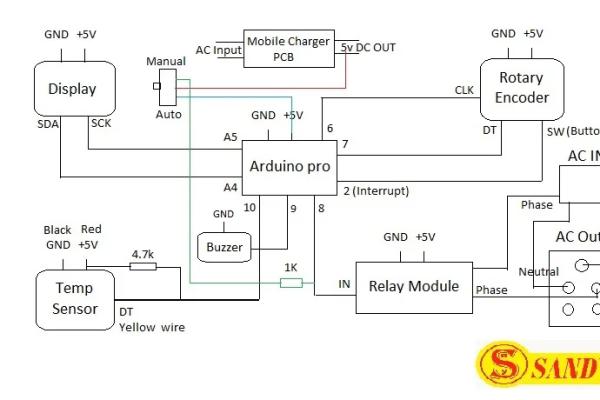
Wire according to the given picture.
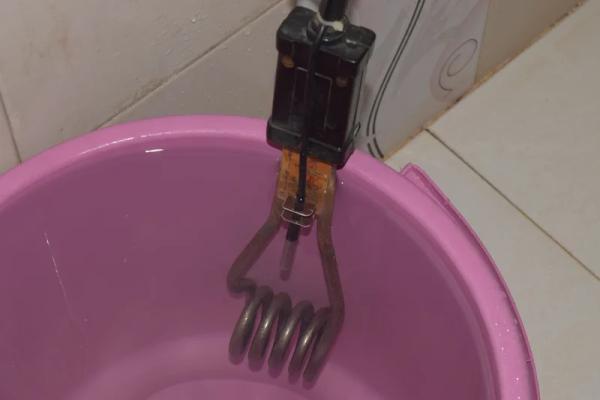
Step 7: Water Heater
Take an aluminium strip, bend and drill holes as shown in pictures. Attach that bracket to the immersion water heater so as to fit the temperature sensor and secure the wire with zip tie.
Note: Since the temperature sensor is fitted very near to heating element, temperature raises very fast and the heater will be shutdown. Immediately heat is spread and temperature goes down and heater will be switch ON. This will happen very fast for 3 times until the preset temperature reaches. After 3 buzzers, hot water will be ready. There are two ways to rectify this problem. One is placing the sensor away from the heating element. Second is to change the code. I provided the code in next step separately.(Please note that I have not tested the rectification code). I am sure it will work. I attached the heating element to water heater to make it as a single unit.
Step 8: Code
I modified the Adafruit SSD 1306 example for the display purpose. Lot of modifications made to the previous temperature code. I used EEPROM library for last memory. Onewire library for the temperature sensor.
Rectification code:
int count=0; // take it as global variable
void buzzer() // replace the original method
{
count++;
if(count>3)
{
for(int i=0;i<5;i++)
{
digitalWrite(buzzerpin, HIGH);
delay(300);
digitalWrite(buzzerpin, LOW);
delay(2000);
}
}
}
Step 9: Labelling
I used epson photo paper.
Step 10: Testing
When the device is turned ON, startup screen appears and then heating starts with reference to the EEPROM temperature set (That is set previously). When turned ON for first time we have to set down the temperature because the default temp is above 100 c. To change the temperature click the button of rotary encoder. Set the temperature and click the button once again to start heating. After the heating is completed screen displays “completed”.
Source: Automatic Water Heating System 2.0