Summary of Backpack Anti-Theft Alarm using Arduino
This article details a DIY backpack anti-theft alarm designed for students to prevent theft in quiet areas like libraries. Using an ATtiny85 microcontroller and an HC-SR04 ultrasonic sensor, the device detects when a backpack is lifted and triggers a 5V buzzer. Security is enhanced by requiring a specific 5-bit binary code entered via five SPDT switches to silence the alarm.
Parts used in the Backpack Anti-Theft Alarm:
- Project Box
- 10K Ohm Resistor
- 330 Ohm Resistor
- Green 5mm LED
- HC-SR04 Ultrasonic Sensor
- Two CR2032 Batteries
- Coin-cell Battery Holder
- SPDT Slide Switches
- Perfboard
- ATtiny85 Microcontroller (with socket)
- 5V Buzzer
- 1N4007 Diode
- 2N3904 Transistor
- 2.54mm Connectors
If you’re a student, like me, then you have heard of all the theft that occurs on campuses today. I can’t even leave my backpack alone for five minutes without worrying about it getting stolen. To ease my mind and to help fellow students, I’ve designed a backpack ant-theft alarm. When activated, this device senses when a backpack is picked up and sounds an alarm to draw attention to the thief. The alarm is perfect for quiet places such as libraries or classrooms where a buzzer would be heard clearly. It is a great project for beginners and experienced electronics hobbyists alike!

The backpack anti-theft alarm is powered by an ATtiny85 and functions using an ultrasonic range sensor (HC-SR04) to calculate distance from the backpack to the ground and a 5V buzzer to produce an alarm. Once the backpack is above a certain distance, the buzzer sounds and does not stop until the device is turned off. To provide the most security, you must enter a 5-bit binary code to turn the device off. This code is made using 5 SPDT switches, (by connecting them in a way that only one combination connects the circuit to ground). If mounted to a backpack correctly, this device can provide excellent security against backpack theft!
Throughout this instructable, you will learn an innovative way of protecting your circuits using binary code, how to interact with the HC-SR04, how to use ATtiny85s, and you’ll have a more secure anti-theft backpack! Let’s get started with our parts list!
 BackpackAntiTheftAlarm_INSTRUCTABLE.mp4(516×290) 21 KB
Step 1: Get Parts!
You’ll need these parts:
-Project Box (3.34″L x 1.96″W x 0.83″H)
-10K Ohm Resistor
-330 Ohm Resistor
-Green 5mm LED
-HC-SR04
-Two CR2032s
-Coin-cell Battery Holder
-SPDT Slide Switches
-Perfboard
-ATtiny85 (with socket)
-5V Buzzer
-1N4007 Diode
-2N3904 Transistor (NPN general purpose)
-2.54mm Connectors
You’ll need these tools:
-Computer
-Wire Stripper
-Dremel
-Soldering Iron (with rosin)
-Hot Glue Gun (with sticks)
-Multimeter (optional)
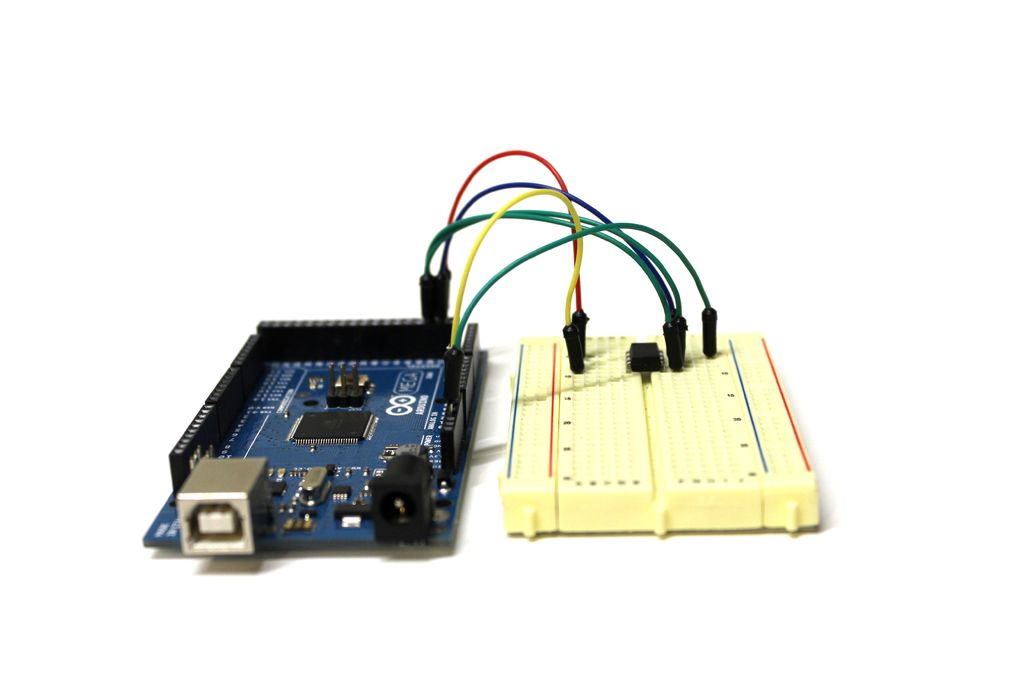
-Arduino (for programming ATtiny85)
Step 2: Solder Main Components
Let’s begin by soldering our main components to our perfboard. Before you solder, make sure you map out which holes in your perfboard will line up correctly with the project box. Check that the HC-SR04 and buzzer are positioned correctly so that they will be able to protrude from the enclosure later on.
Now that you have an idea of what goes where, heat up your soldering iron and solder the HC-SR04, coin-cell holder, buzzer, female 2.54mm connector, and 8-pin DIP socket to the perfboard.
When all your major components are soldered in the correct positions on your perfboard, we can start making our 5-bit security switch!
Step 3: Make Security Switch
Our security switch is going to ensure that only the owner of the backpack alarm can turn it off. Using 5 SPDT switches, we can make a single 5-bit security switch which is off only when one combination of 0s and 1s are entered.
To start the switch, use your wire cutter (or metal cutter) to snip any excess metal on your switches (see pictures). Then hot glue each switch to the last. Make sure you hot glue both sides to make a firm bond. Continue these steps until all 5 switches are straightly and strongly bonded together.
To get our security switch working we will have to move on to the next step to wire our switches!
For more detail: Backpack Anti-Theft Alarm using Arduino
- What components are required to build this project?
The project requires a Project Box, resistors, LEDs, HC-SR04, batteries, switches, perfboard, ATtiny85, buzzer, diode, transistor, and connectors. - How does the alarm detect a theft attempt?
It uses an ultrasonic range sensor to calculate the distance from the backpack to the ground and sounds an alarm when the distance exceeds a set limit. - Can beginners use this project?
Yes, it is described as a great project for both beginners and experienced electronics hobbyists alike. - How do you turn off the alarm after it activates?
You must enter a specific 5-bit binary code using five SPDT switches to connect the circuit to ground and stop the buzzer. - What tools are needed to assemble the device?
Necessary tools include a computer, wire stripper, Dremel, soldering iron, hot glue gun, multimeter, and an Arduino for programming. - Where is this alarm most effective?
The alarm is perfect for quiet places such as libraries or classrooms where a buzzer would be heard clearly. - How are the security switches constructed?
The switches are cut to remove excess metal and then hot glued together on both sides to form a firm bond. - What powers the device?
The device is powered by two CR2032 batteries held in a coin-cell battery holder.