Summary of Automatic Missile Defence System
The article outlines the creation of an Automated Missile Defense System using an Arduino-based setup with servo motors and ultrasonic sensors. It explains the importance of missile defense, components used, and step-by-step assembly of the 3D printed missile launcher parts. The system is designed for tracking and neutralizing airborne threats with precision control enabled by servo motors and distance measurement using ultrasonic sensors.
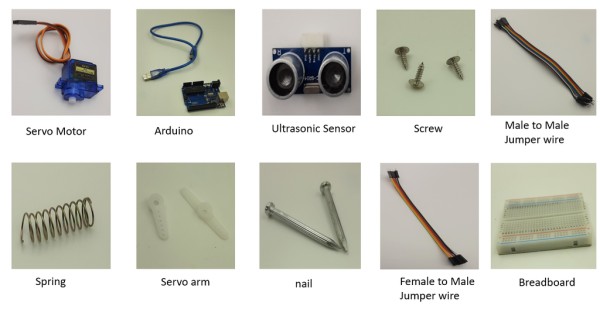
Parts used in the Automated Missile Defense System:
- Arduino (Uno, Nano, Pro Mini, or Mega)
- Servo motors
- Ultrasonic sensor
- 3D printed parts (base, middle part, top part for missile launcher)
- Screws for assembly
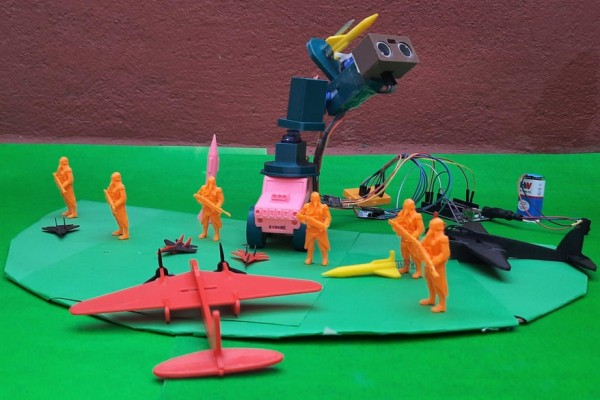
The Automated Missile Defense System is capable of neutralizing airborne threats such as planes, high-altitude ballistic missiles, and low-altitude cruise missiles.
Having missile defense systems is crucial for India due to its surrounding hostile neighbors.
A Surface to Air missile is a type of missile that travels at a very high speed (2-4 times the speed of sound) and is designed to target aircraft and cruise missiles. It possesses superb acceleration and a compact warhead. Typically, it is directed by radar or Infrared technology.
Missiles such as RBS 70, Shtil, and SM-2 can also target surface objects. However, they will not be as efficient since their warhead is specifically created to obliterate a fragile target such as an aircraft and not solid structures like buildings or heavily protected vehicles like tanks.
Step 1: Video Demonstration
Step 2: Things Needed
Step 3: Arduino

Arduino is a user-friendly electronics platform that is open-source and relies on simple hardware and software.
The microcontroller chip has various input/output pins that can be configured as digital I/O pins or analog input pins. This board can now be programmed using an amazing Arduino IDE, which is available for free download.
Arduino is available in various forms and dimensions. A few popular Arduino models include…
1. Arduino UNO
2.Arduino nano
3.Arduino Pro mini
4.Arduino mega
Arduino is an excellent instrument for creating interactive items, receiving signals from an assortment of switches and sensors, and managing numerous lights, motors, and other devices such as a buzzer. Arduino projects can function independently or they can be linked to a computer via USB.
A range of projects can be created using Arduino, such as a remote control car, automation, and other projects involving embedded systems and IoT technology. If you are new to project-making, Arduino is the perfect fit for you.
Step 4: Servo Motor
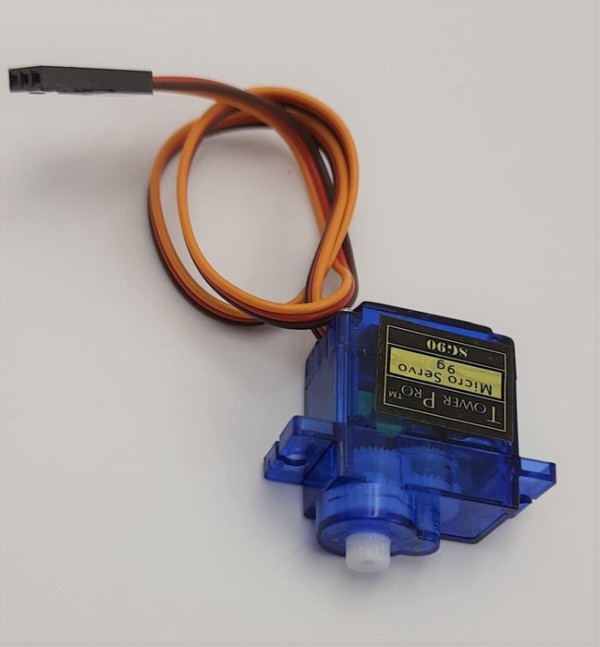
A servo motor is an electrical device that can push or rotate an object with great precision.
If we want to rotate an object at some specific angles or distance, then we can use a servo motor.
Orange Wire – Signal Pin
Brown Wire -GND
Red Wire – Power supply
Step 5: Ultrasonic Sensor
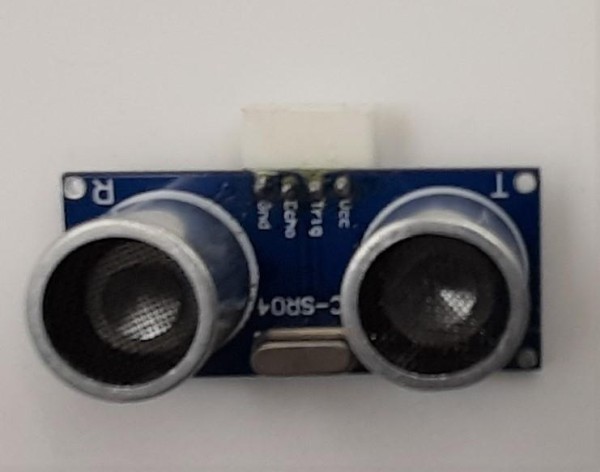
An ultrasonic sensor is used to measure distance by ultrasonic waves. The ultrasonic sensor head emits an ultrasonic wave and receives the wave reflected back from the target object. It measures the distance to the target (object) by measuring the time between the emission(transmitter) and reception(receiver).
The Required formula: Distance = ½ T x CT
= Time between Transmitting and receiving of the sound wave.
where,
C = the speed of sound(340 m/s).
Step 6: 3D Parts
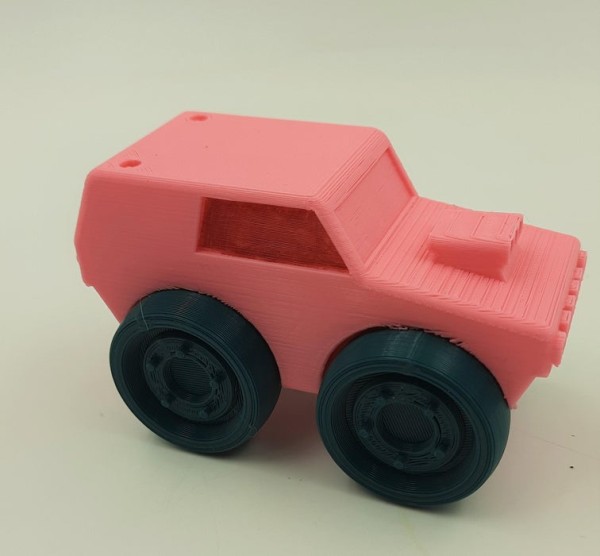
Step 7: Physical Building – Base Servo Motor
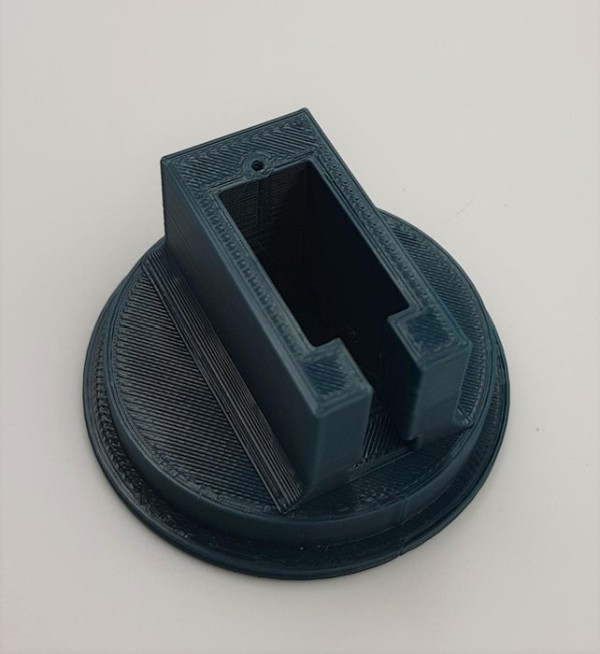
Insert the servo motor into the 3D printed parts.
Put screw along with servo motor in the 3D printed base parts.
Set the Servo motor angles based on the requirements.
Step 8: Physical Building – Fix Middle Part Servo Motor
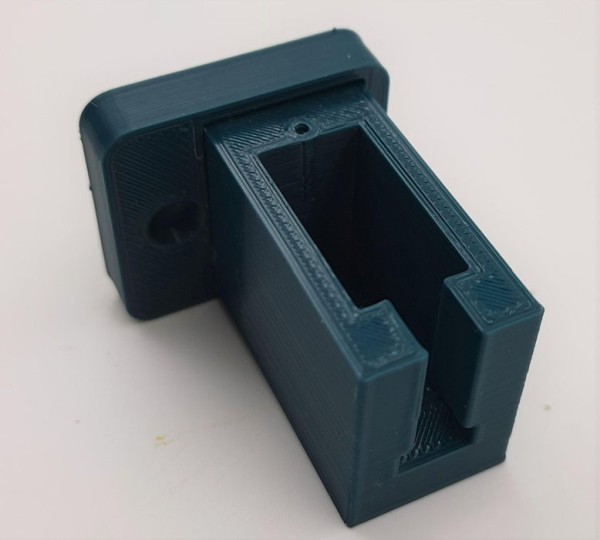
This is the middle part of the Missile Launcher.
Place the servo Motor into the particular 3D printed slot.
Fix the screw along with the Servo motor.
Step 9:

Insert the center of the missile launcher into the base using a screw for assistance.
Next, make sure to securely fasten the screws on the base servo motor.
Step 10: Physical Building – Fix Top Servo Motor
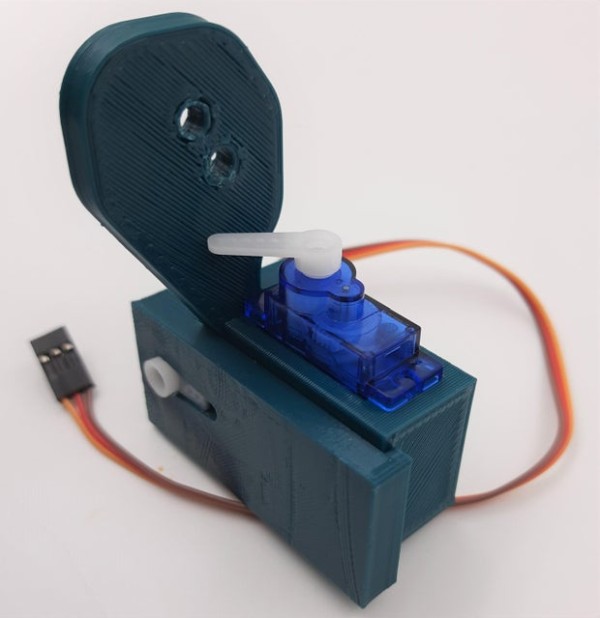
This is the third part of the Missile launcher. Again take the servo motor and place it in a particular slot and insert the screw.
Source: Automatic Missile Defence System
