Summary of ASCII Table using Arduino
This article demonstrates an Arduino project that prints a table of ASCII characters alongside their decimal, hexadecimal, octal, and binary values. The setup initializes serial communication at 9600 baud and iterates through visible ASCII characters starting from '!'. No external hardware components are required beyond the Arduino board itself, which must be connected to a computer for serial output.
Parts used in the ASCII Table using Arduino:
- Arduino Board
Demonstrates the advanced serial printing functions by generating a table of characters and their ASCII values in decimal, hexadecimal, octal, and binary. For more on ASCII, see asciitable.com
Circuit
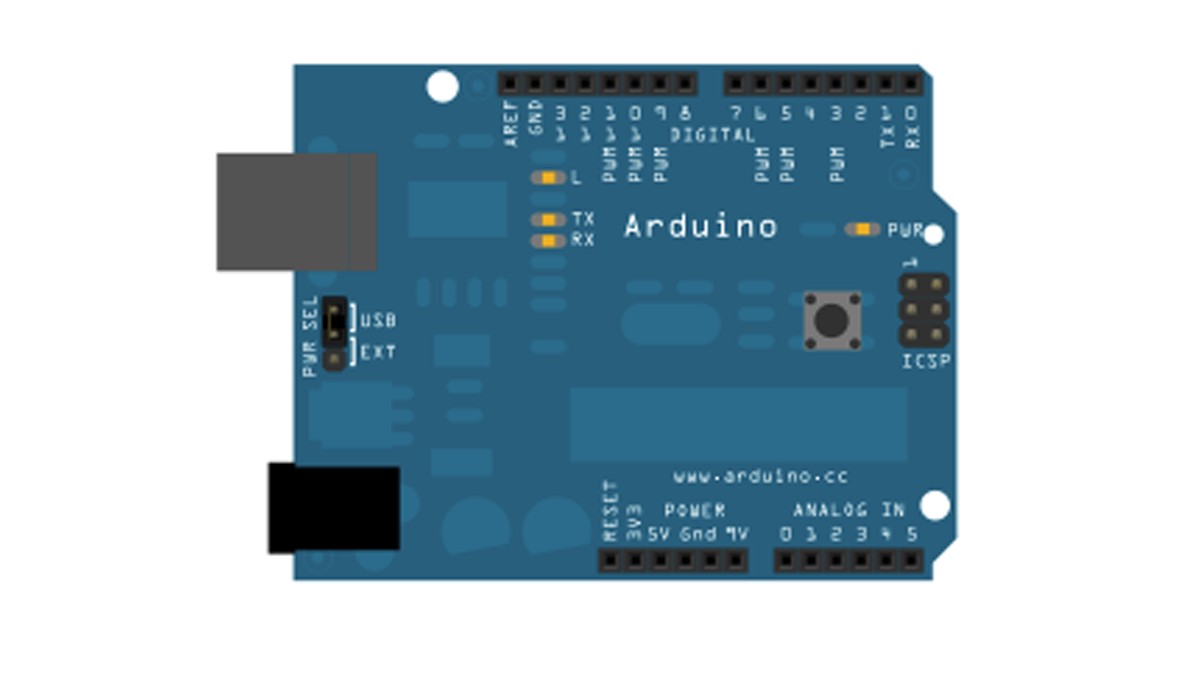
image developed using Fritzing. For more circuit examples, see the Fritzing project page
None, but the Arduino has to be connected to the computer.
Code
/*
ASCII table
Prints out byte values in all possible formats:
* as raw binary values
* as ASCII-encoded decimal, hex, octal, and binary values
For more on ASCII, see http://www.asciitable.com and http://en.wikipedia.org/wiki/ASCII
The circuit: No external hardware needed.
created 2006
by Nicholas Zambetti
modified 9 Apr 2012
by Tom Igoe
This example code is in the public domain.
<http://www.zambetti.com>
*/
void setup() {
//Initialize serial and wait for port to open:
Serial.begin(9600);
while (!Serial) {
; // wait for serial port to connect. Needed for Leonardo only
}
// prints title with ending line break
Serial.println(“ASCII Table ~ Character Map”);
}
// first visible ASCIIcharacter ‘!’ is number 33:
int thisByte = 33;
// you can also write ASCII characters in single quotes.
// for example. ‘!’ is the same as 33, so you could also use this:
//int thisByte = ‘!’;
void loop() {
// prints value unaltered, i.e. the raw binary version of the
// byte. The serial monitor interprets all bytes as
// ASCII, so 33, the first number, will show up as ‘!’
Serial.write(thisByte);
Major Components in Project
Hardware Required
- Arduino Board
For more detail: ASCII Table using Arduino
- What does this Arduino code demonstrate?
It demonstrates advanced serial printing functions by generating a table of characters and their ASCII values. - How many formats are used to display the ASCII values?
The code displays byte values in decimal, hexadecimal, octal, and binary formats. - Does this project require any external hardware?
No, there is no external hardware needed as long as the Arduino is connected to the computer. - At what speed is the serial communication initialized?
The serial communication is initialized at 9600 baud. - Which character starts the ASCII table loop?
The loop begins with the first visible ASCII character '!', which corresponds to number 33. - Can I write ASCII characters using single quotes in the code?
Yes, you can write ASCII characters in single quotes, such as using '!' instead of 33. - What happens if the serial port has not opened yet?
The code includes a wait loop specifically for Leonardo boards to ensure the serial port connects before proceeding. - Where can I find more information about ASCII?
More information on ASCII is available at asciitable.com or Wikipedia.