This project consists of an interactive Arduino-based Halloween decoration referring to a witch cauldron. As you position your face in front of the cauldron and you get close, the eyes start moving around. At the same time, when there is very low light in the room the program turns on a LED light located in the center of the eyes, simulating the pupils.
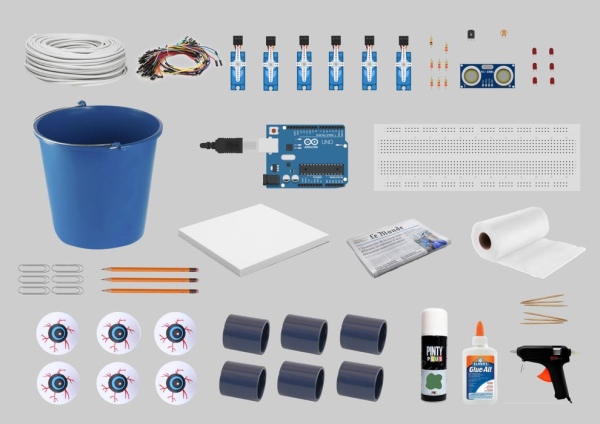
Supplies
Micro Servomotor SG90(x6)
Resistor 10kΩ
Resistor 1kΩ
Resistor 220Ω (x6)
Ultrasonic Distance Sensor
NPN Transistor PN2222 Photoresistor
Red LED light (x6)
Protoboard
UNO R3 Controller Board
USB Cable
Breadboard Jumper wire
Regular wire
Foamboard
Newspaper
Kitchen towels
Plastic bucket
Pencil (x3)
Plastic eyeballs (x6)
PVC union tube 40mm (x6)
Spray paint (light green, dark green and black)
All-purpose white glue
Glue gun
Toothpick (x6)
Metal clip
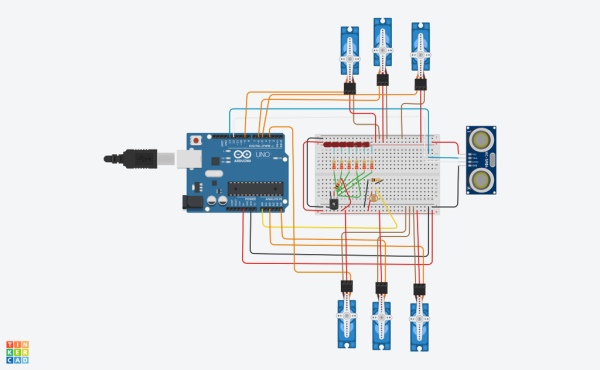
Step 1: Schematic of Electrical Connections
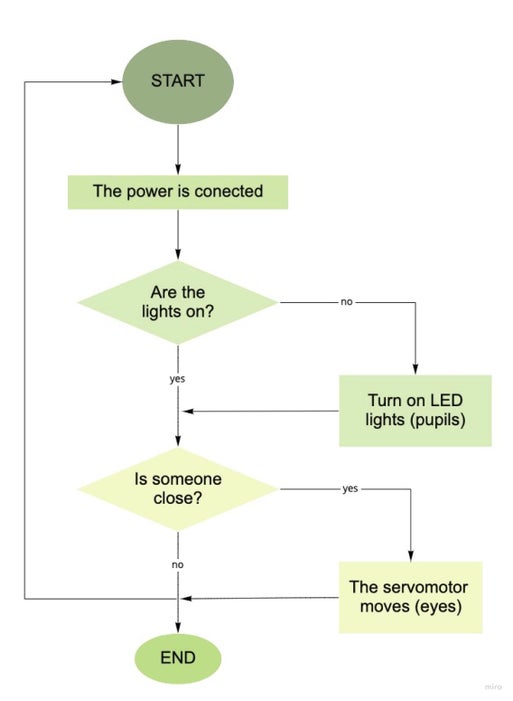
Step 2: Flow Diagram
Step 3: Guide to Construction

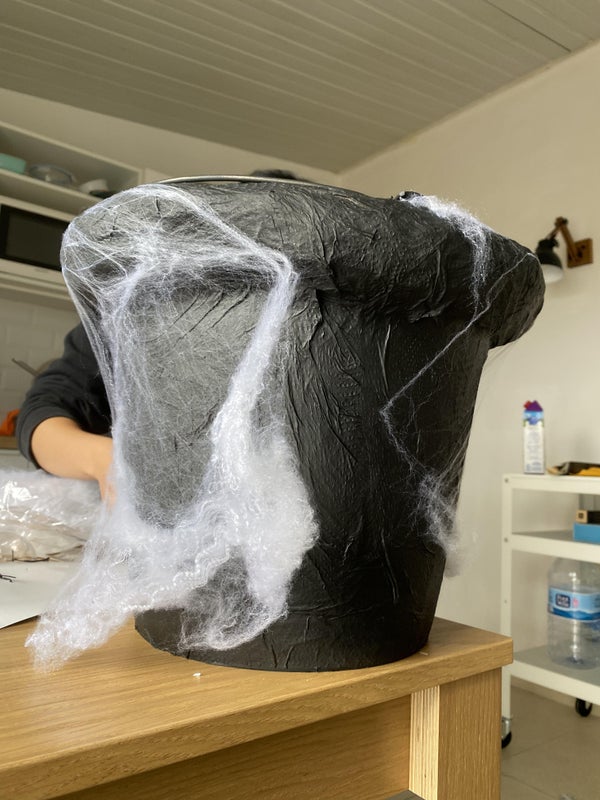
Take the bucket and give volume to the top edges with rolled newspaper and glue it with the silicone gun, then cover the entire bucket with paper towels and white glue to give texture and more resistance to the borders.
Once everything is dry, we give two coats of color with black spray paint.
Step 4:
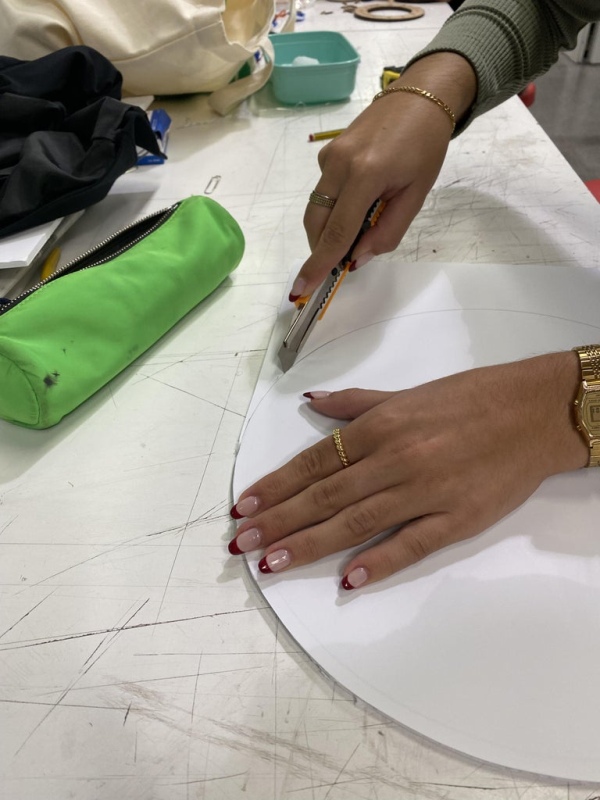
Make a circumference with the foam board so it is high enough to simulate the volume of liquid in the cauldron. Then, drill the holes through in which we will introduce the different elements that will be seen or the ones necessary for the system to work.
We paint it with different layers of green shades and let it rest to dry.
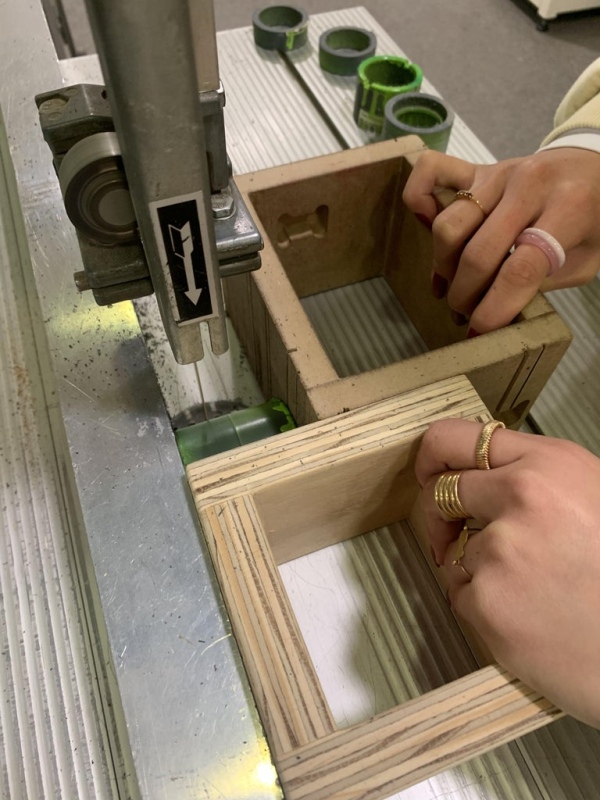
Step 5:
In each of the six PVC tubes, cut two slits in the upper part with the saw, which will later be used to support the axis of the eyes.
Next, paint the visible upper part with the two shades of green, to obtain texture.
Step 6:
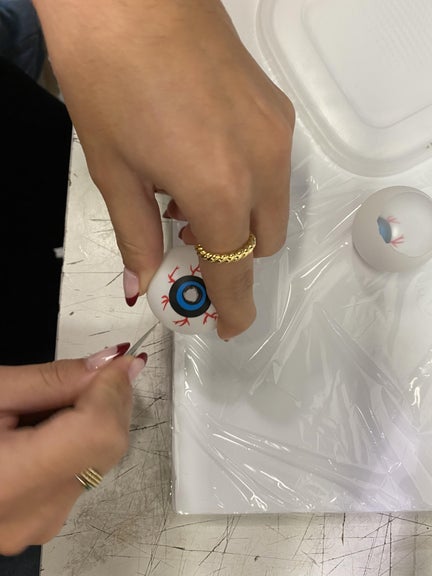
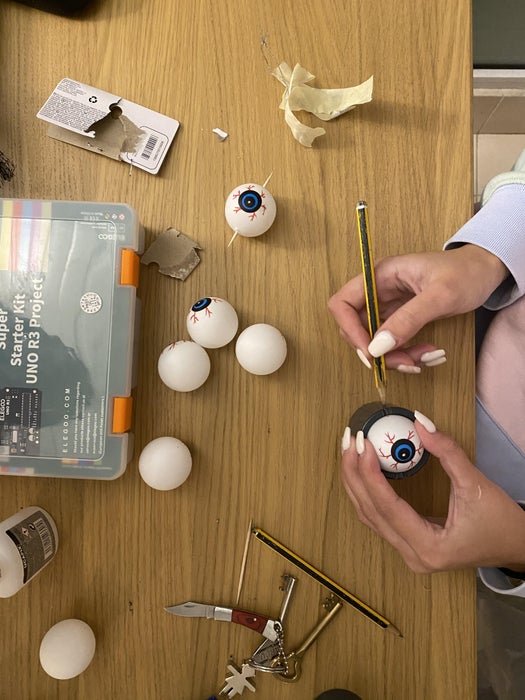
For the eyes, cut two small holes in the middle of each one, where a toothpick will be introduced to serve as an axis. And in the part opposite to the pupil, glue with silicone half of a pencil, which will help us to provide movement to the eyes.
Step 7:
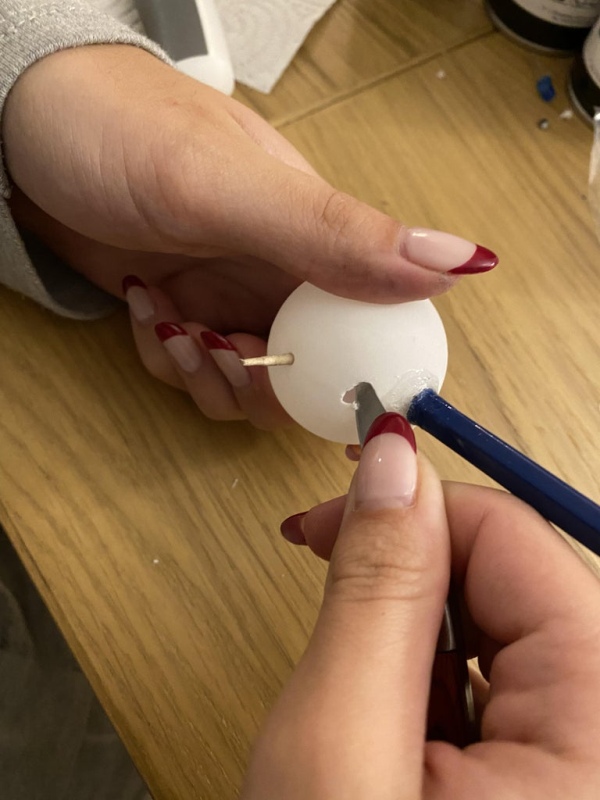
Then, perform a small opening in the back of each eye, right next to the pencil, which will allow us to introduce the wires of the LED light. At the same time, create another opening right in the pupil, which will be where the LED will come out of the eye.
Step 8:
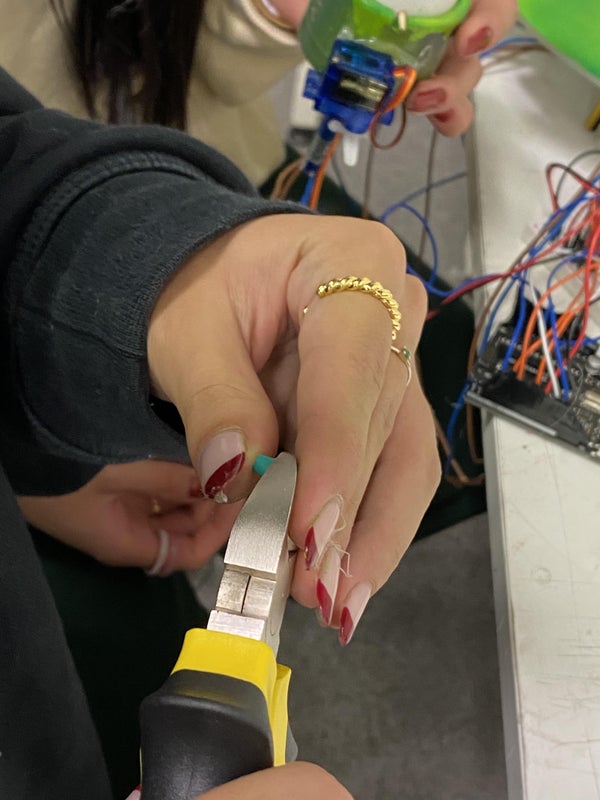
Cut the PVC tubes next, as they are the supports of the eyes they have to be shorter, to allow the pencil to have a greater angle of rotation. A quarter of the tube is enough.
Step 9:
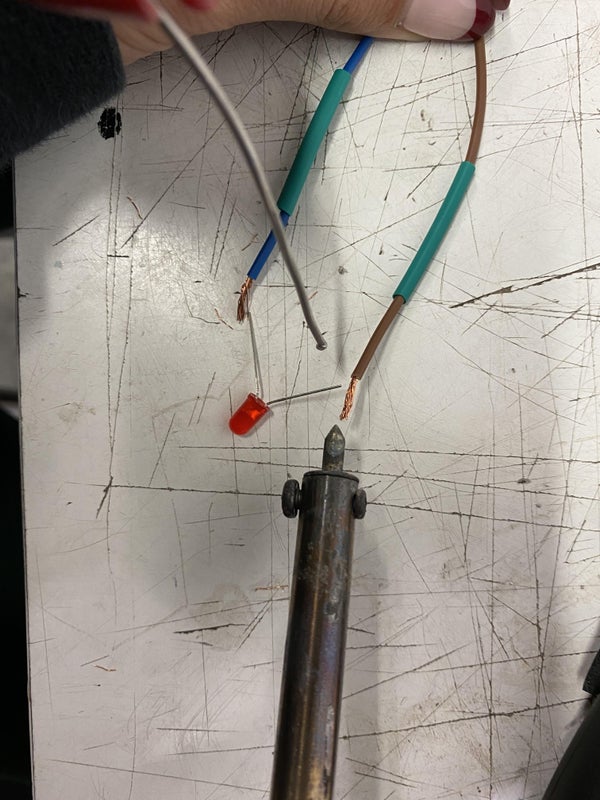
Introduce the two wires already stripped through the hole in the back of the eye and extract them through the hole of the pupil. We carefully solder each of the ends to the LED wires. The brown wire goes with the short leg and the blue wire goes with the long leg. The other end of the eyes will be connected to the protoboard.
Step 10:
Insert the LED light into the pupil until it fits tightly and add a drop of glue so it doesn’t move.
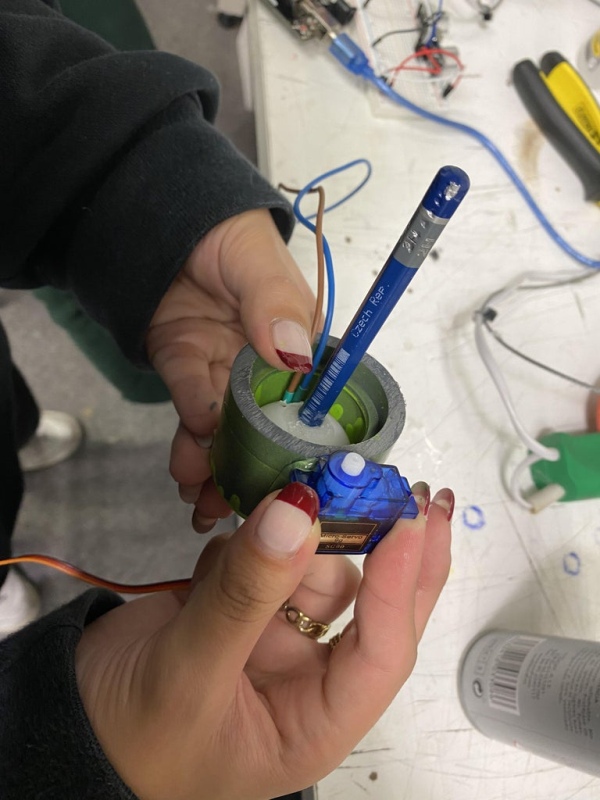
Glue the servo motors on the side of the tubes, in a position that is aligned to the axis of the eyes. Then, with paper clips, bend the metal until it forms a small piece to hold the pencil and thus make the eye rotate. This small piece will be glued to the servo motor at one end with silicone and the other will hold the pencil, shaped like a hook.
Step 11:

Introduce the six tubes through the holes already cute in the lead foam board and glue them with the silicone gun leaving a small distance on the outside, hiding the whole mechanism on the inside.
Step 12:
In order that the eyes can rotate perfectly, attach some small rubber cylinders in the slits of the tubes, where inside will be the chopsticks that likewise will be able to rotate perfectly.
Cut the leftovers of these last two elements so it does not exceed the borders of the tubes.
Step 13:
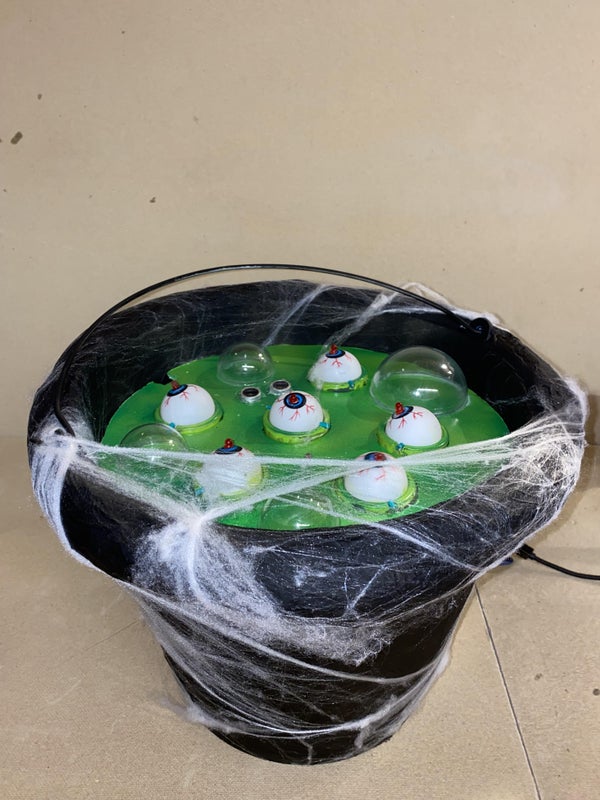
For a more aesthetic finish, add different decorations and Halloween details such as spider webs and spiders on the outside of the bucket, and on the inside, glue clear plastic spheres simulating bubbles.
Step 14: Conclusion
To conclude, we would like to mention the most outstanding points during the process of the design and construction of this project.
What is clear is that to ensure a good result, one must start with a well-structured idea. Our idea evolved to make the witch’s casserole, as it allowed us to adapt more to Halloween’s theme and use a structure like a cube, it allowed us to hide all electronic elements very easily.
Code-making has been quite affordable as previous class exercises have allowed us to program it simply, but we have also had to help ourselves with videos or holes, such as for the proper placement of the transistor and to get all eye LEDs controlled by it. We have also realized that connecting the elements between protoboard and Arduino is a process that requires attention and trying to sort everything in the best way possible on the plate, because we found ourselves in times where something didn’t work for a despist that did nothing work or, when we didn’t find the error, we had to be very clear how we connected everything to understand so much cable and to be able to fix it.
For the assembly part, it took a lot of effort to get rotary eyes like the ones we’ve built up, as they had to rotate on a single axis and the motion transmission had to be the right one between the eye and the ServoMotor that makes it move. It is the part that cost us the most to think about and build, but we finally managed to get this mechanism to work perfectly.
Thanks to this project, we have learned manipulation and programming with Arduino UNO, and to produce real motorized mechanisms that function as desired, as well as creating an object that manages to set the terrifying climate of a party like Halloween.
Source: Arduino Witch Cauldron